Roasting a delicious, beautiful, crispy-skinned, juicy turkey for Thanksgiving isn’t nearly as hard as most people think. True, I’ve eaten enough dried out, flabby-skinned mounds of sadness to know that the secret is not well known. It’s high time the secret got out.
The first thing you have to understand is that the federal guidelines for cooking temperature are written by the same people who require a warning label on a cigarette lighter that the contents are flammable. In fact, the USDA has admitted off the record that harmful bacteria that may be present in raw poultry are effectively destroyed at 147 degrees. Also, the internal temperature of a large bird could “push” — or keep rising — by up to 15° after you pull it out. So don’t cook to the temperature on the label. (THIS IS NOT MEDICAL ADVICE. UNDERCOOKED MEATS CAN BE BAD FOR YOU.)
The second thing is that turkey skin needs a little fat to sauté so it will come out crispy and golden. If you cook at low temperature until it is nearly done all the fat under the skin will melt out. When you turn it up near the end to brown the skin you’ll get a soggy, nasty mess. You need to start high to crisp the skin, then turn down to finish. Unless you’re one of those heathens that discards the skin.
Finally, turkey skin is watertight. It’s designed to keep water out and turkey juices in. This means basting serves no useful purpose. Anything you put on the outside is just going to run off, unless you’re doing a glaze. And every time you open the oven to baste it, you’re letting all the heat out, extending the cooking time and drying out the meat. If you think you’re doing it to get a nice golden skin, the method below does that much better and easier.
Directions
Start with a completely thawed turkey. I’ve gotten large frozen birds before that sat in the fridge for over a week and still had ice crystals inside. It’s not like I come home one day and decide to cook 17 pounds of meat, so I prefer to plan ahead and pick up a fresh bird at the butcher the day before.
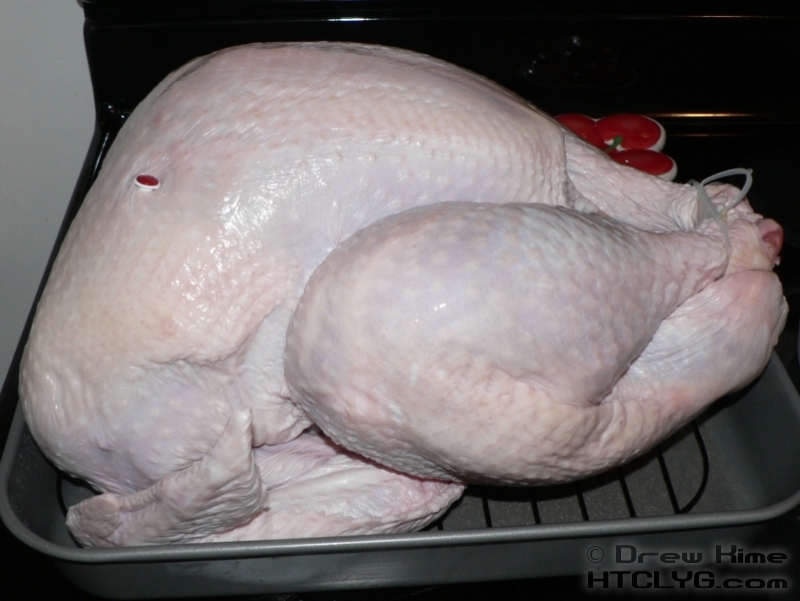
NOTE: Those little pop-up things are completely worthless. Ignore them.
After removing the neck and giblets (that’s the pack that’s stuffed inside) rub down the outside with pomace oil1, or melted butter or bacon fat, then give it a healthy dose of salt and pepper. Since I’m a skin freak, I take this a couple steps farther. I mix about half-and-half pomace and soy sauce, to give the browning a little boost, and add some poultry seasoning to that. Brush it over the whole bird, then do the salt and fresh ground pepper.2
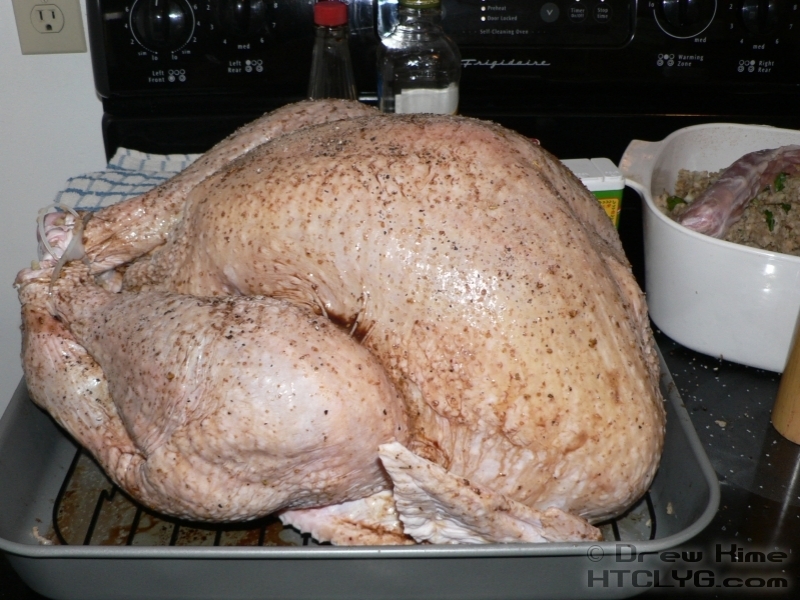
Notice I’m not using a covered roasting pan. Since I’m not going to be putting a lid on I prefer using a flat rack on a low-sided pan. Another option is to use a baking sheet. (Not a cookie sheet, the heavy-duty kind you’d see in a restaurant. They don’t cost any more than a good cookie sheet. If you don’t have any, go get a couple.) The roasting is more even when more of the bird is exposed to the heat.
While the oven is preheating to 500°, make a triangular piece of heavy-duty foil that will cover the entire breast. Take two more pieces of foil and make small “sleeves” for the wings. Set the foil aside. When the oven is ready, put the bird in and set a timer for 15 minutes. Keep a close eye and pull it out as soon as it looks right. This step is not about temperature or time, it’s all about how it looks.
Now put the foil on the wings and on the breast. Put a little oil or butter on the foil first so it doesn’t stick. Now put the probe from your digital thermometer through the foil into the thickest part of the breast. Most sources will say to put it in the thigh because the white meat of the breast cooks faster than the dark meat of the thighs. But we’re protecting the breast from overcooking, and setting a lower target temperature than most sources.
Set the thermometer to 160° (or 165° if your bird is under 10 pounds), turn the oven down to 350° and return the pan to the oven. Now go away and leave it alone. Really. Don’t open the door to see how it’s doing. Don’t baste. Don’t mess with it. Trust the thermometer.
When you hit your target temperature, pull the bird out.

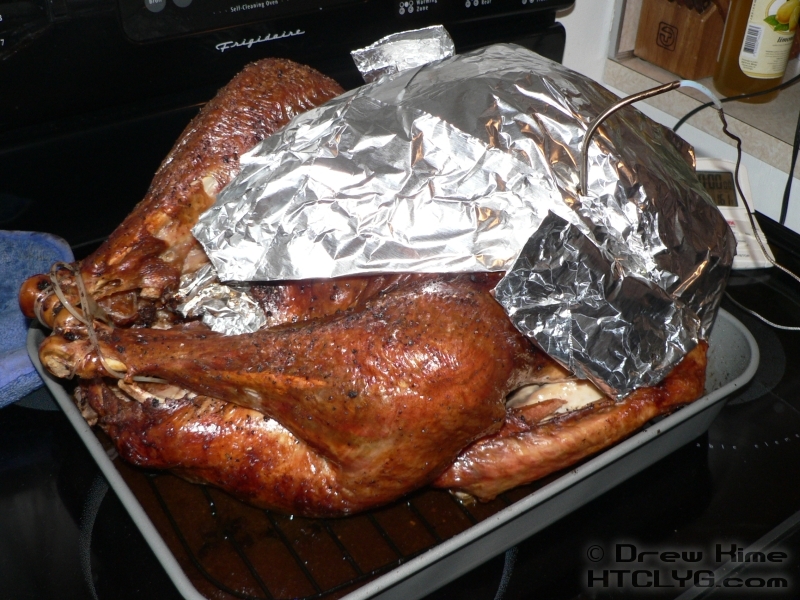
You can see below that I made the foil triangle just a little too short and the end of the breast got a bit darker than I intended.

I plan to make the same mistake again next year … that skin was fantastic. In this next shot you can see the arrangement of the foil better.
If I wanted to go all Henry VIII and gnaw on a drumstick, while waving it around like a club between bites, I might also wrap the ends of those in foil. But I find them too stringy, with too much cartilage to be appetizing. Since they’re just going into the stock pot, I don’t bother wrapping them.
So after all that, how did the breast come out?
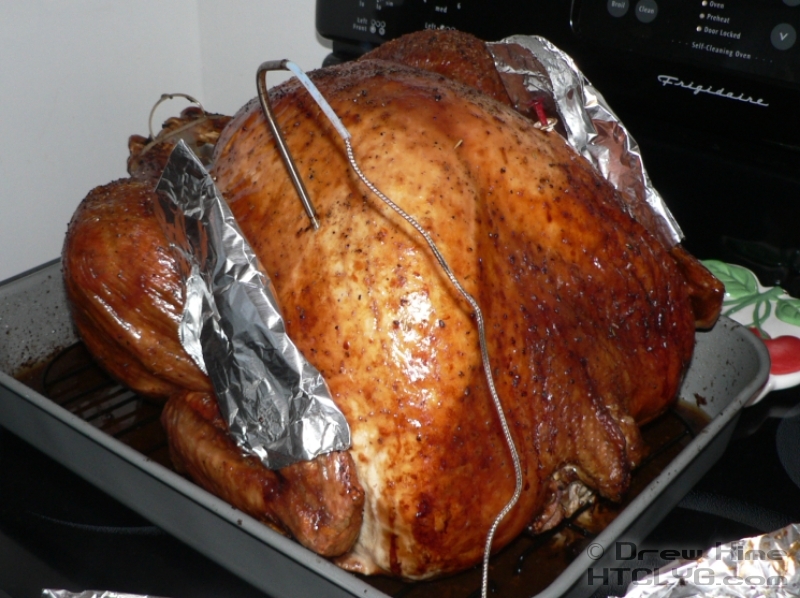
Pretty, isn’t it? You’ll see that the probe from the thermometer is still in there. If you pull it too soon, the heat in the breast will push a ton of juice out the hole. Leave everything be for at least 15 minutes after you pull it from the oven, longer for a larger bird.
If you’ve let it rest properly, you should be able to handle it long enough to move it to the cutting board.
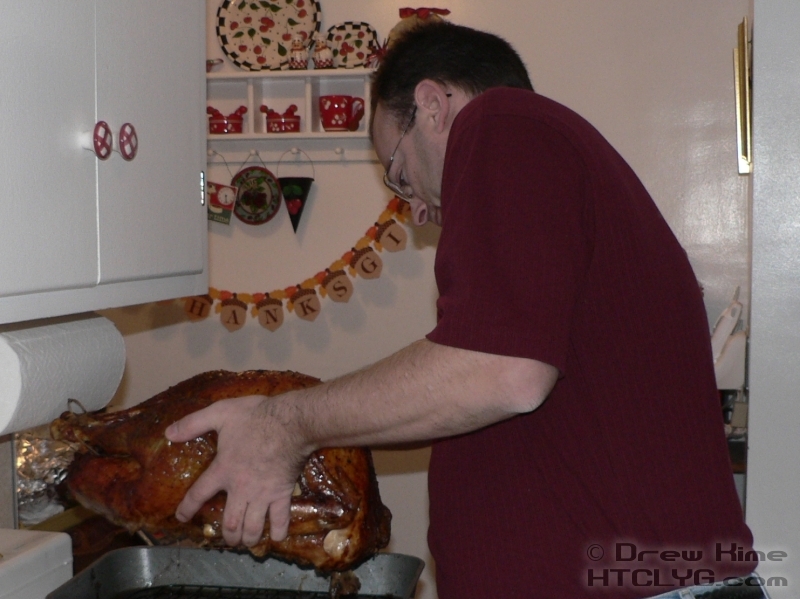
I don’t like using forks for this. I get a better grip with my hands, and I really don’t want the bird to slip and hit the floor.
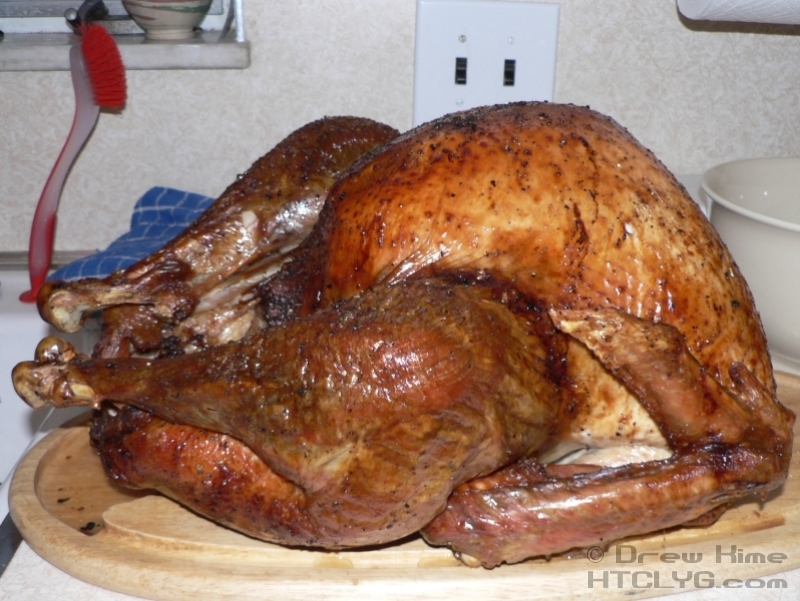
Now with all the foil off and the probe out, you can see the finished product.
The argument
Should you stuff the bird, or do the dressing in a casserole? (If it’s not in the bird, it’s “dressing”.)
If you’re going to the trouble of roasting a turkey, your main goal should be that the turkey is good. Stuffing it increases cooking time, which increases the chances the meat will be dry.
While I admit that given the choice I’ll take the stuffing from the bird before the dressing from the casserole, it’s difficult to tell the difference if the casserole is done right. In other words putting it in the bird makes it easier to get good stuffing, but harder to get good turkey.
So the cavity on my bird was empty, right?

Yes, it’s stuffed. You see, my wife really likes the stuffing in the bird. So the choice is happy wife vs. slightly moister drumsticks, which I’m just putting in the stockpot anyway. I’m no dummy.
1. Pomace is from the last pressing of olives, after all the flavorful oil has been removed. Since it is still 100% olive oil it has all the health benefits. Since it is more refined, it can withstand higher cooking temperatures.
2. I like a burst of flavor, so I have my grinder set very coarse … just barely more than cracking the peppercorns.


