You might think after three days of eating prime rib I’d be a little tired of it for a while. If so, you’d be wrong. Maybe if I had gone four days straight then I’d have gotten tired of it. I guess I’ll have to try it sometime and see.
Until then, I’m going to keep enjoying days like this past Saturday. I took the girls to the West Side Market, had some lunch on the balcony, and picked up a rib steak and some veggies for dinner.
Directions
Prep
I started with two heads of broccoli.

Cut the stem off really close to the head.
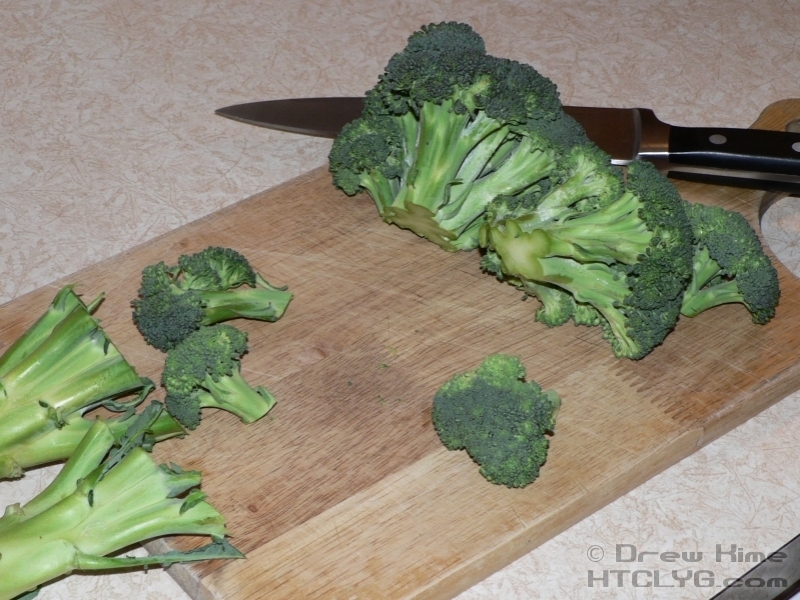
A few florets will come free if you cut close enough. Next cut everything down to bite-sized. Any florets that are too big, split the stem in half then pull and it will come apart cleanly. Don’t try to cut all the way through or you’ll end up with little bits of the head all over.

Keep going until everything is prepped.

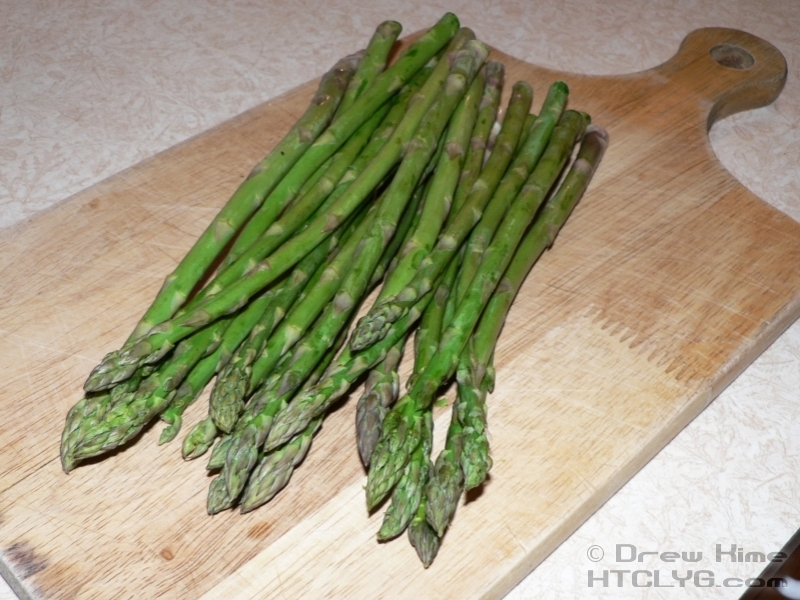
Next is the asparagus. Note the small, white-ish, triangular leaves down the sides of each stem. These become important later.
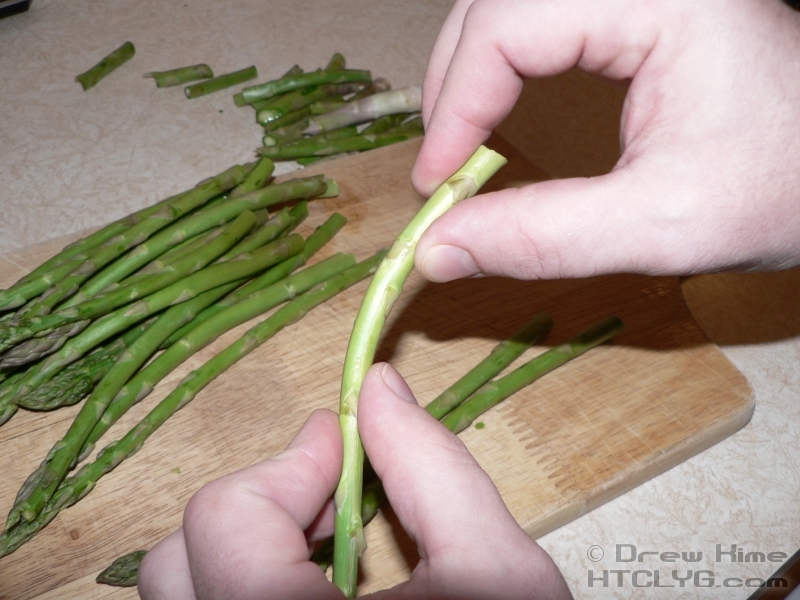
As soon as asparagus is cut in the field it starts losing moisture through the cut end, which starts getting fibrous and tough. Unless you can guarantee yours was just harvested that day — or maybe the day before — you’ll need to remove the dried out part. But you don’t know how much that will be.
So here’s what you do. Hold the un-cut end in one hand. Bend the cut end with the thumb and index finger of your other hand until it snaps. It will break right at the edge of what has gotten tough.
With the veggies prepped, I started on the rib steak, on the bone. It’s the same cut as the standing rib roast, but cut one bone thick and cooked like a steak.
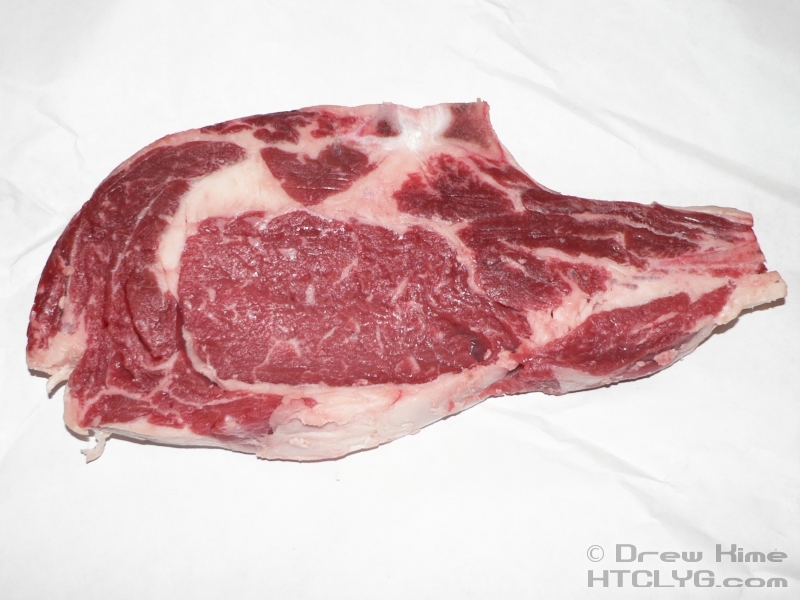
This is about a pound. I could easily eat the whole thing, but with side dishes this is plenty for my wife and I to share.
Pat it dry with a paper towel, then apply a generous coating of kosher salt and fresh ground black pepper.
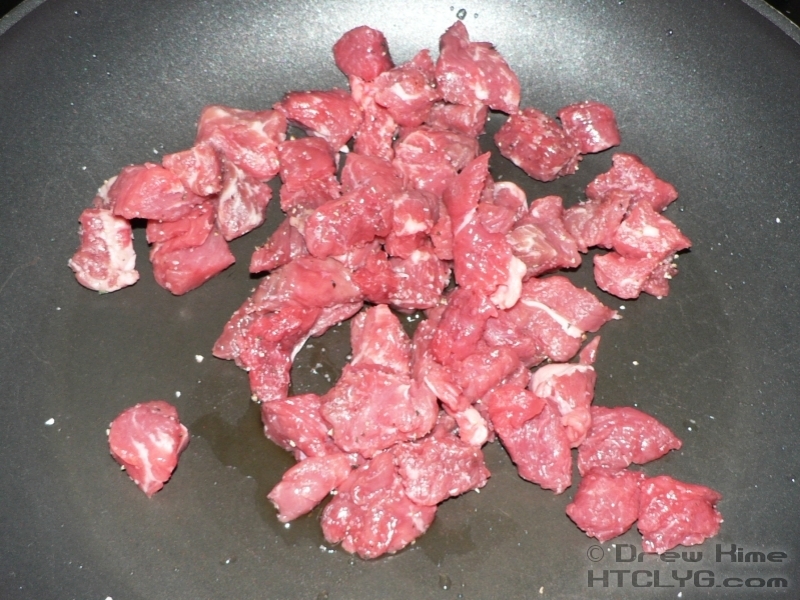
For the girls, I always get a half-pound of stew meat.
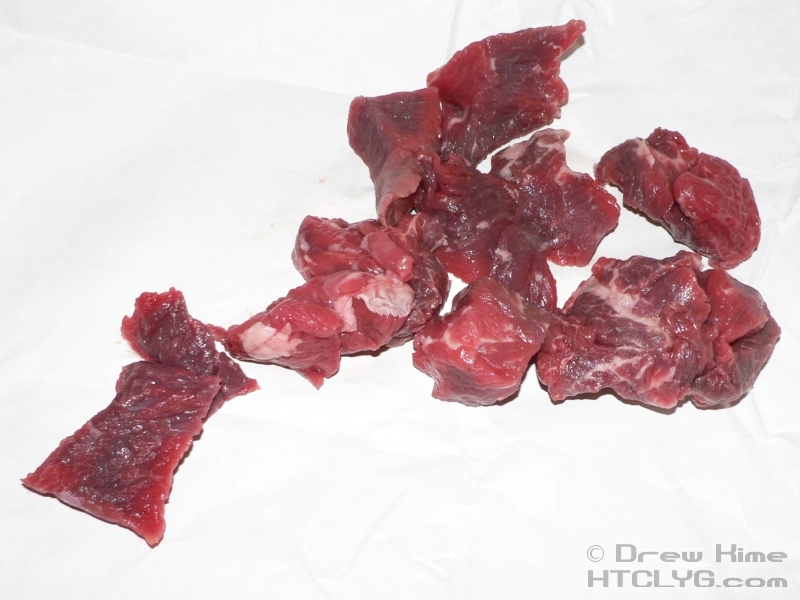
It’s way cheaper than nearly any other cut of steak, and I have to cut their meat up for them anyway. I cut it before cooking which exposes much more surface area to the pan for the Maillard reaction to work its magic, so the taste is generally just as good.

Cook
Throw a couple of tablespoons of bacon fat in a hot pan.

Let it melt and get hot enough to start forming tiny little bubbles. That’s how you know it’s ready for the steak.
As soon as you put the steak in you should hear a strong sizzle and see bubbles all the way around.
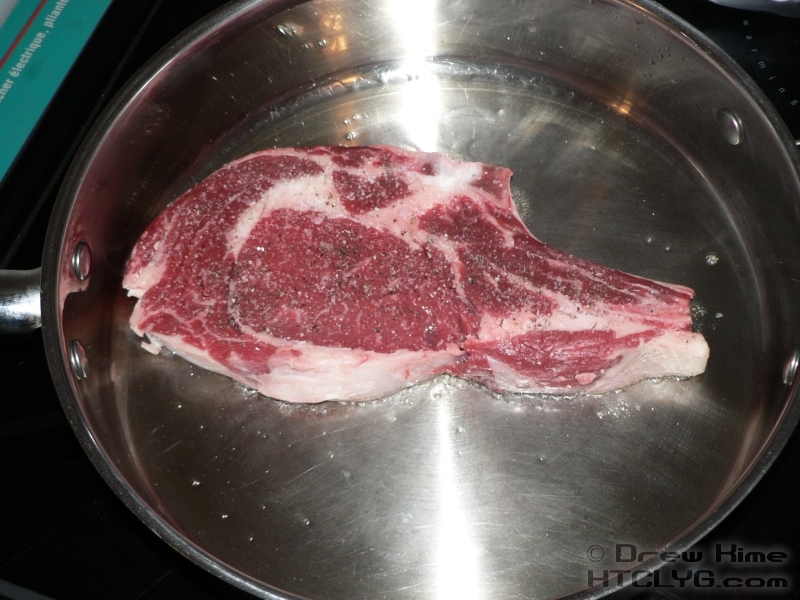
Leave it like this for two minutes without lifting it to see how it’s doing. You’ll know it has formed a delicious brown crust when the steak moves around when you give the pan a quick shake. When it moves around freely, it’s ready to turn over.
While the steak is cooking, season the asparagus. Put it on a baking sheet covered with foil. Drizzle with a couple of tablespoons of extra virgin olive oil, and add kosher salt and fresh ground black pepper.
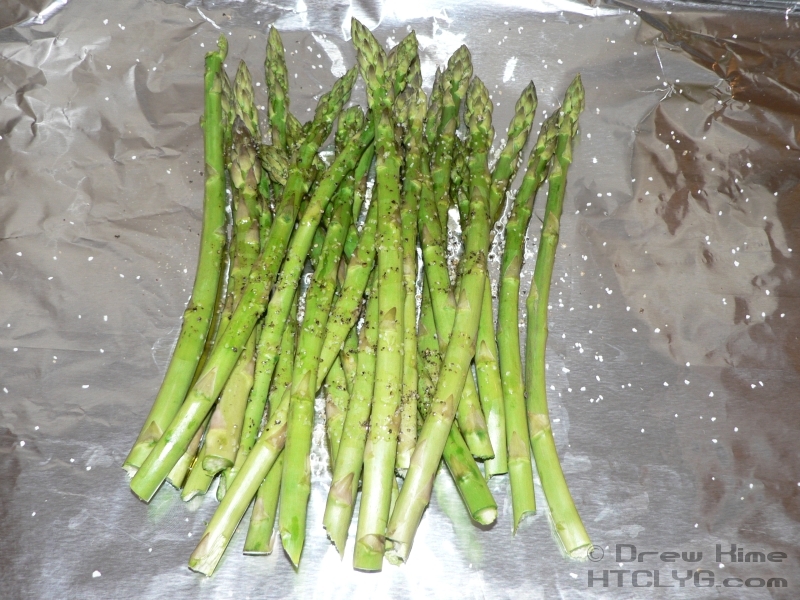
Toss everything in with your hands to make sure every stem is coated, then spread them out in a single layer.
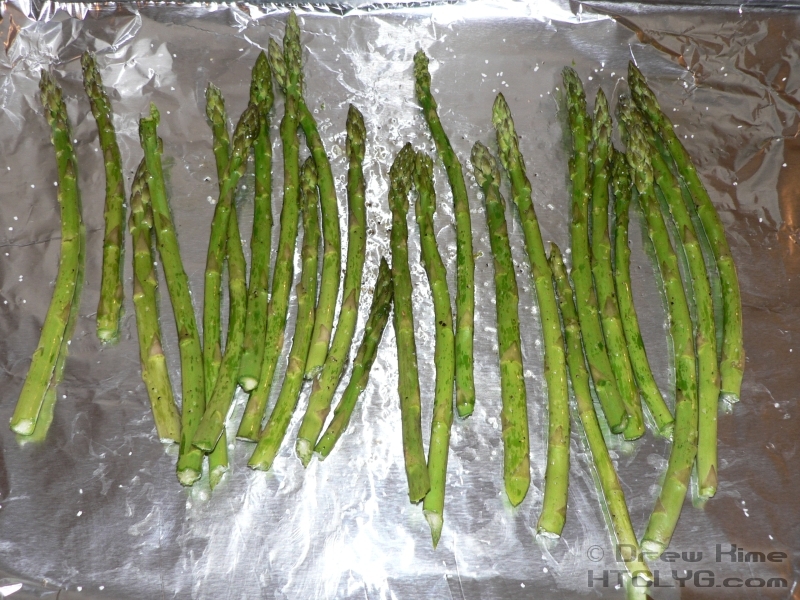
Put the pan six inches under the broiler set to low. Once you’ve practiced this once or twice you can go on high. Don’t try it the first time though — greens under extreme heat are very touchy.
By the time the asparagus is in the oven, the steak should be ready to flip.
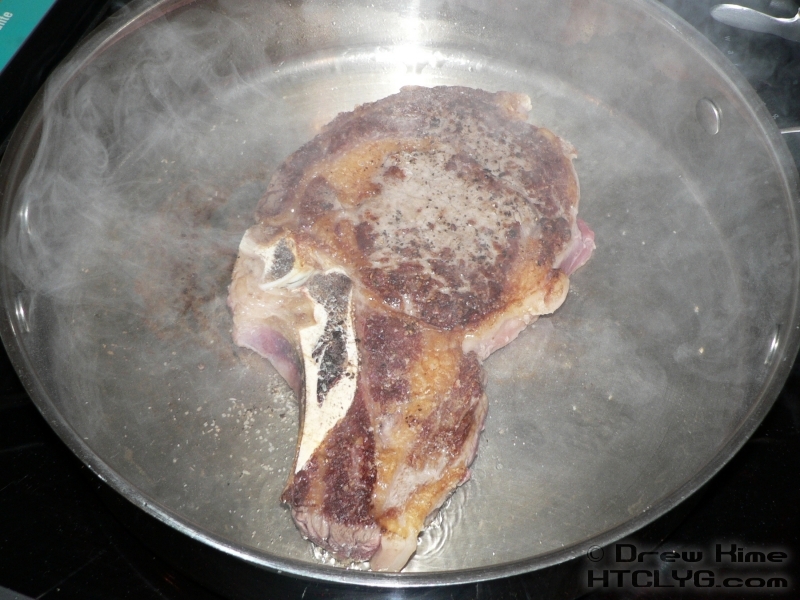
Already looks good enough to eat. Notice the steam. As Rachael Ray would say, that pan is screaming hot. It should only take about 30 seconds to form the crust on the other side and come loose from the pan. As soon as it does, put the whole pan in the bottom of the stove, well away from the broiler.
Now you’ve got just a couple of minutes to season the broccoli. The asparagus will cook very quickly. I wouldn’t try doing two sides at the same time like this until you’re pretty comfortable with all the techniques going on.
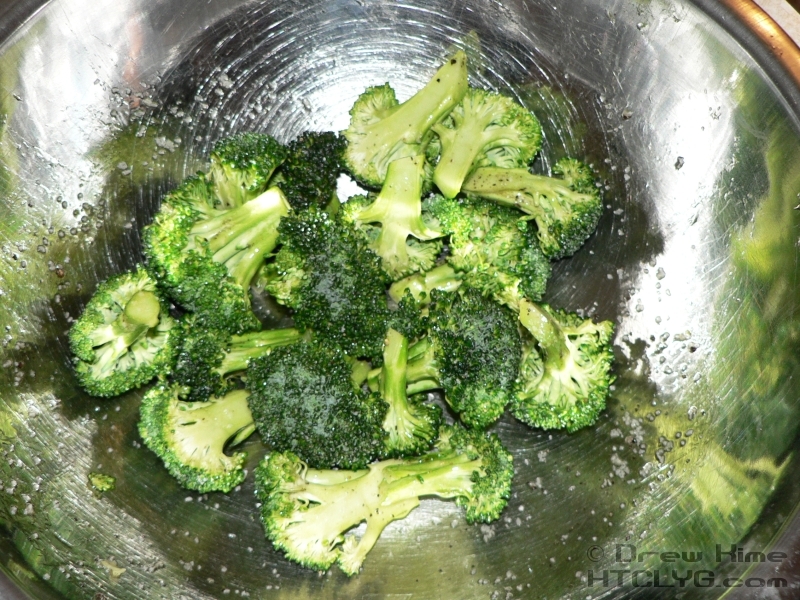
Put the broccoli in a mixing bowl that is quite a bit larger than you need to just hold all of it. Pour the olive oil in around the edge of the bowl so it runs down underneath, not directly onto the florets. You want the oil on the surface, not soaked in. Toss well to coat, and add salt and pepper.
Somewhere in the midst of all this going on, I found the time to get the diced stew meat into a hot non-stick pan with some bacon fat in it. I went with the non-stick so I could do a stir-fry.
Way back when I first showed the asparagus, remember I said to notice the white-ish leaves on the stems? Take a look at them now.

When you see the edges just start to turn brown it’s time to turn everything over. Put it back under the broiler and keep a close eye on it. At this point you can go from “done” to “charcoal” in about 30 seconds.
During that minute or two to finish the asparagus, I gave the stew meat a quick toss.
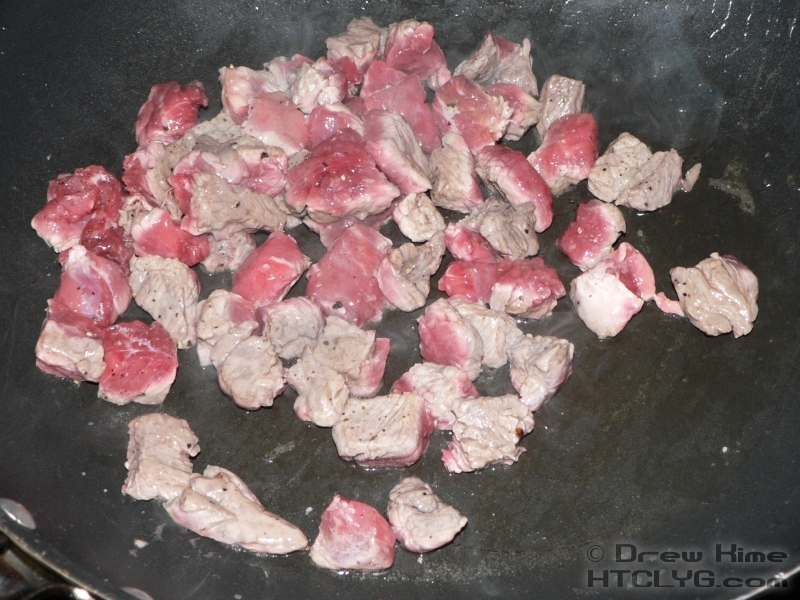
Starting to look good. It’s not getting as much crust yet as it would in the steel pan. That’s good, though. As small as these pieces are, they wouldn’t release well — they would stick and burn.
Now everything is going to start finishing up all at the same time, so make sure you don’t have any kids or cats underfoot.
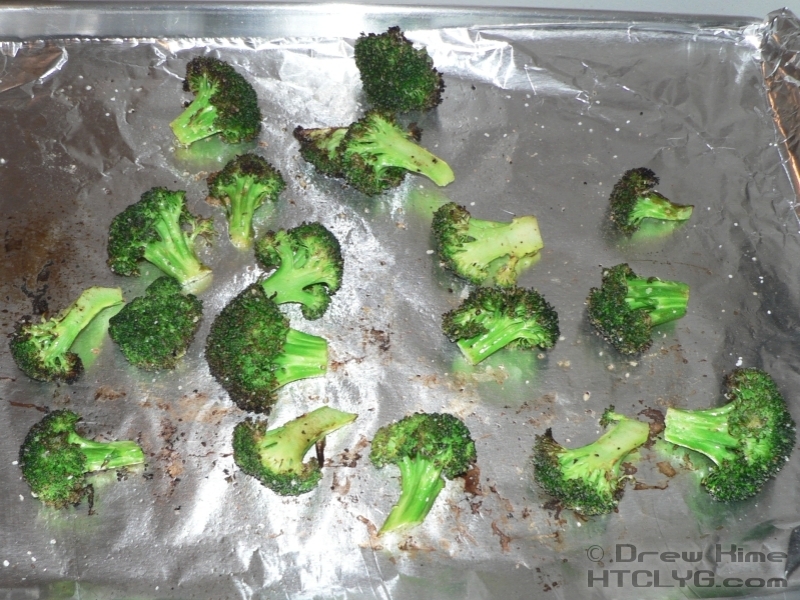
First up is the asparagus. It’s done when the leaves are dark brown.

You want to pull it just before things start to go black. This will take some practice to get right. It’s definitely better to pull too soon than too late.
As soon as that’s out the broccoli goes in. That will take less than a minute on each side. So like I said, don’t try both sides together until you’ve practiced, and make sure no small creatures are around to trip you up.
Next up is the beef stir-fry.
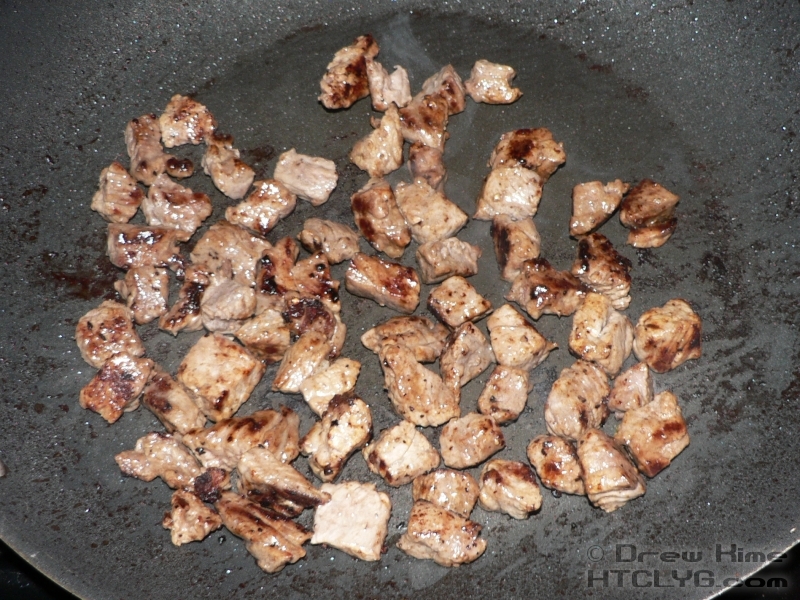
Turn the broccoli as soon as you see the first sign of brown, and pull it as soon as you see brown on the other side. Broccoli wants to burn. I think it doesn’t want to get eaten.
Now pull the steak from the bottom of the oven.
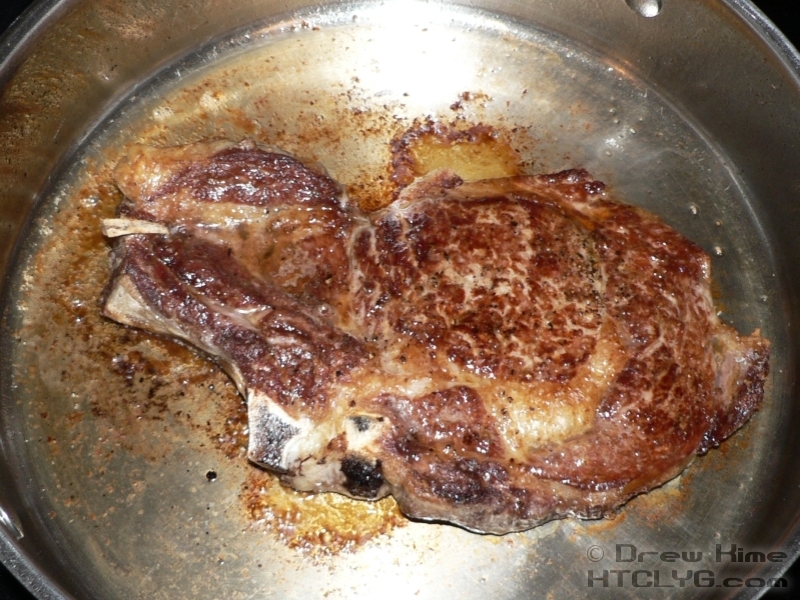
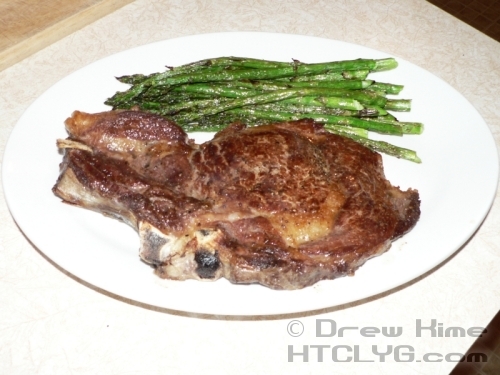
It smells even better than it looks. Plate up the steak with the asparagus and prepare to collect rave reviews.

Serve up the beer stir-fry and broccoli to the kids.
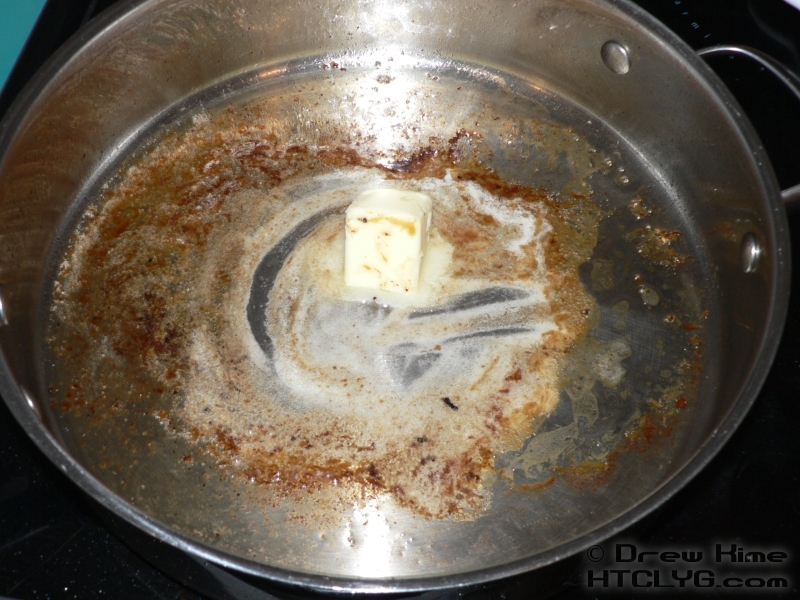
The pan sauce
All that wonderful baked-on crust in the steak pan should have been more than enough flavor for a fantastic pan sauce. (Should have been? Yeah, a little foreshadowing there.) First step is to melt a couple of tablespoons of butter over low heat, swabbing it around to pick up plenty of the stuck bits.
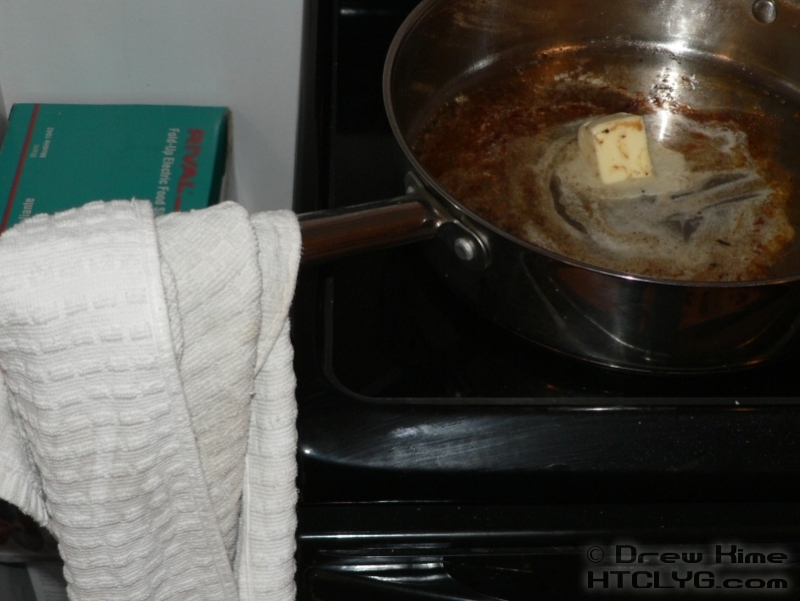
Don’t forget, like I did, that this pan has been in the oven and the handle is still very hot.
Once the butter is melted, add a couple of tablespoons of flour.

You need to stir this constantly over low heat. Much lower than what I had it set to. And don’t go out on your back porch to dispose of the dead mouse the cat just brought home. The flour will burn by the time you get back.
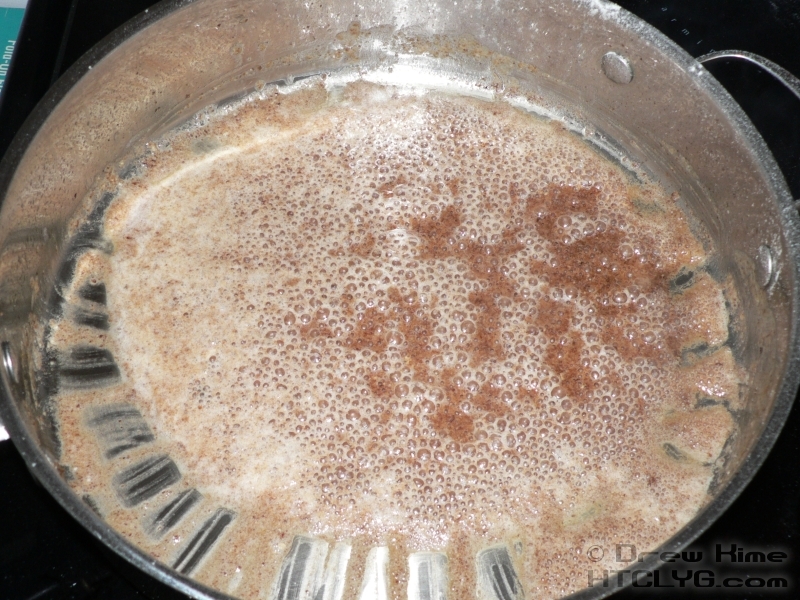
It may not look that bad in the picture, but the dark brown area is already starting to get grainy and lumpy. I stirred and beat that sauce as hard as I could to try to rescue it. No such luck. I had to put the whole pan outside before the smell of burnt flour made it out of the kitchen and into the rest of the house.


