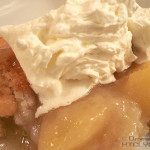
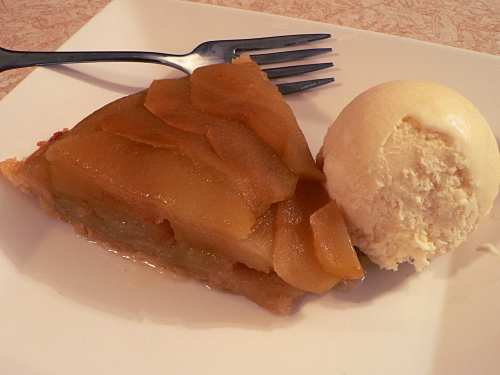
Back around the turn of the last century, the Tatin sisters in Paris invented an upside-down apple pie for their pastry shop. It must have been a success, since people are still making it over a hundred years later. If you like apple pie, except for the way the filling tends to run out when it’s hot, you’ll love this. The filling is almost entirely apple, and it holds it’s shape really well when serving.
Ingredients
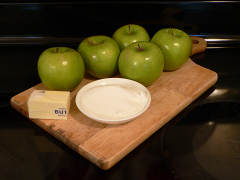
5-6 large, tart apples (ie: Granny Smith)
½ cup sugar
4 tablespoons (½-stick) butter
1 pie crust
Directions
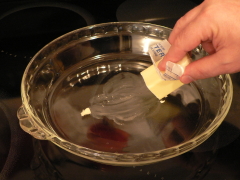
Pre-heat the oven to 375°. While it’s heating up, lightly grease a pie plate with butter.
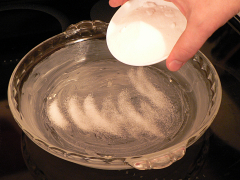
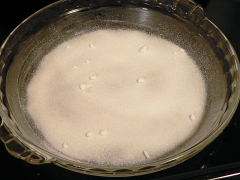
Sprinkle half the sugar into the plate, until the bottom is completely covered.
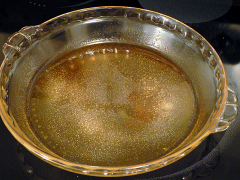
Put the sugared pie plate in the oven for 15 minutes, or until the sugar is melted and lightly browned.
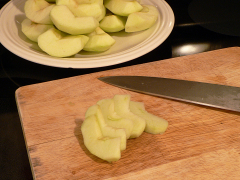
While the sugar is cooking, peel and slice the apples. Go for thin slices.
UPDATE: You might want to click that link about peeling apples. In a comment below, someone tried to use one of those apple coring tools and it did not go well.
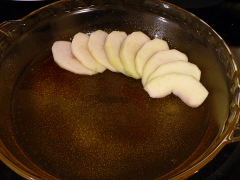
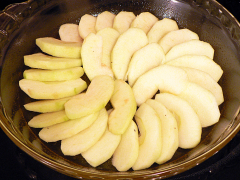
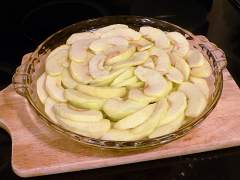
Arrange the slices carefully in the first layer. This is going to be the top, so take your time.
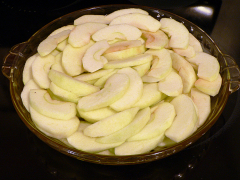
Then fill the plate with the rest of the apples.
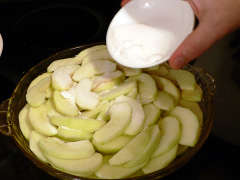
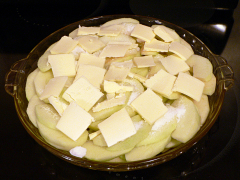
Sprinkle the rest of the sugar on the apples, then slice the butter and distribute it over the top.
Bake for 15 minutes until the apples are soft. UPDATE: A comment below reminded me to put a cookie sheet under the pie in case it boils over. I got lucky this time and didn’t have any spillage. But if I’d had one more apple I would have included it, then I can guarantee it would have boiled over. So I got lucky.
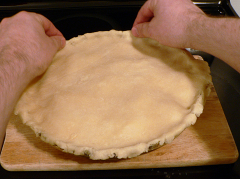
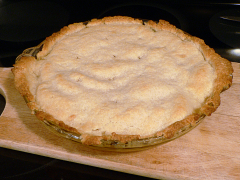
Cover with a pie crust, and pinch the edge so the filling is completely sealed in. Prick the crust with a fork to let steam out.
Don’t pinch the crust over the top of the edge like you do with a regular pie. And like I did above. (Oops.) Tuck the edges of the crust down inside the pie plate.
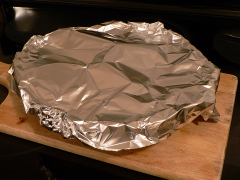
Bake for 15 minutes until the crust is golden brown, then cover with foil and bake another 10 minutes.
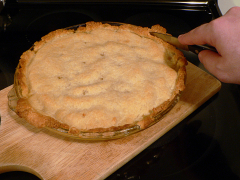
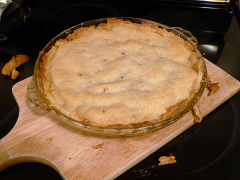
Since I got distracted and did the crust on the top instead of inside, I had to trim it. (You’ll see why in a second.)
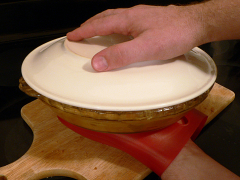
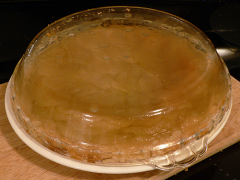
Cover the pie with a dinner plate and flip it over. This is why you can’t put the crust on top of the pie plate, the dinner plate will keep sliding around.
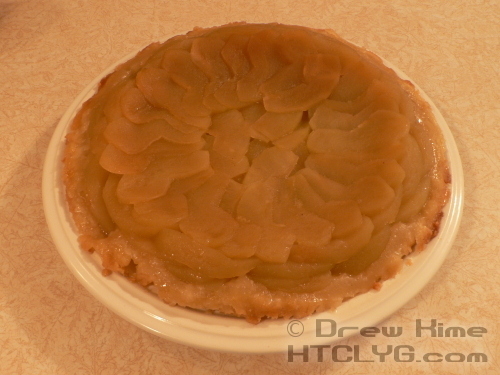
Lift the pie plate off and let the pie sit for at least 10 minutes before slicing.
And that’s it.
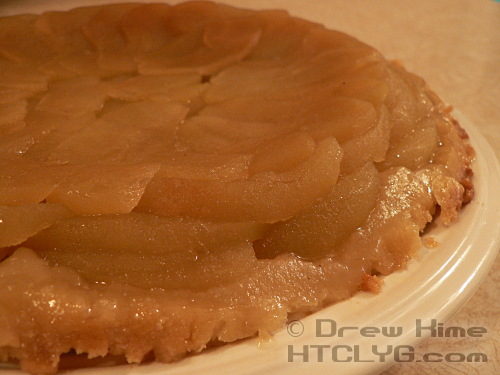
One of my favorite things about this take on apple pie is how well it holds together after it cools. You can slice a wedge and pack it in your lunch, and it will still be all together when you take it out to warm up in the microwave.
Be sure to check back next week when I’ll be cooking like your great, great, great, great, great grandmother.
(Oh, by the way … that vanilla ice cream in the first photo is home-made from scratch, too. I’ll show that recipe in a couple of weeks.)
Ingredients
- 5-6 large, tart apples (ie: Granny Smith)
- ½ cup sugar
- 4 tablespoons (½-stick) butter
- 1 pie crust
Instructions
Pre-heat the oven to 375°. While it's heating up, lightly grease a pie plate with butter. Sprinkle half the sugar into the plate, until the bottom is completely covered. Put the sugared pie plate in the oven for 15 minutes, or until the sugar is melted and lightly browned.
Peel the apples and slice into very thin wedges. Arrange carefully in the pie plate -- the bottom layer will become the top, so take your time. Sprinkle the rest of the sugar on the apples, then slice the butter and distribute it over the top. Bake for 15 minutes until the apples are soft.
Cover with the pie crust, tucking the ends inside the rim of the plate. Bake for 15 minutes until the crust is golden brown, then cover with foil and bake another 10 minutes.
Cover the pie with a dinner plate and flip it over.
