Ever since I was a kid I’ve loved bread and butter pickles. My mother’s garden always produced way more cucumbers than we could possibly eat, and she would turn the extras into pickles. I don’t remember if she made any other kinds. All I remember is the bread and butter.
Ingredients
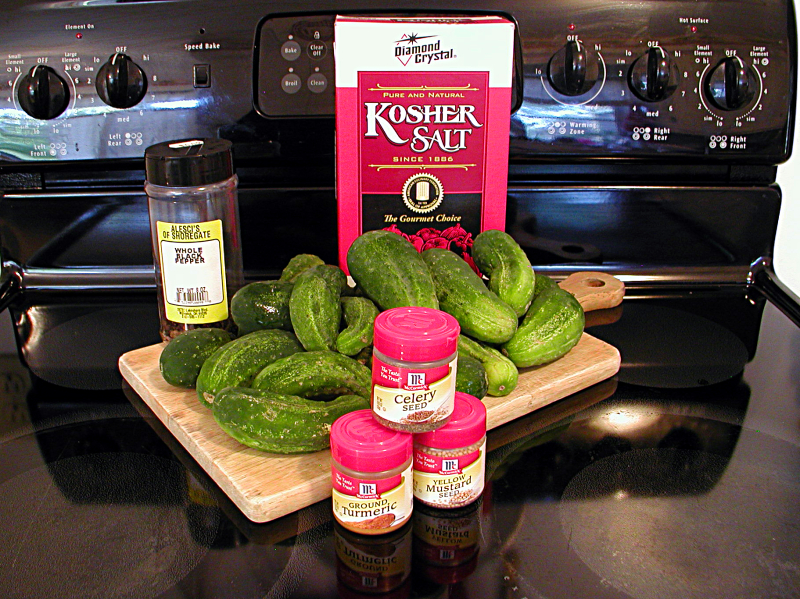 5 pounds cucumbers
1 cup kosher salt
5 cups cider vinegar (not pictured, because I’m a dummy)
5 cups sugar
1½ pounds onion (also not pictured … big dummy)
2 tablespoons yellow mustard seed
1 tablespoon celery seed
1 tablespoon turmeric
1 tablespoon coarsely cracked black pepper
Directions
The brine
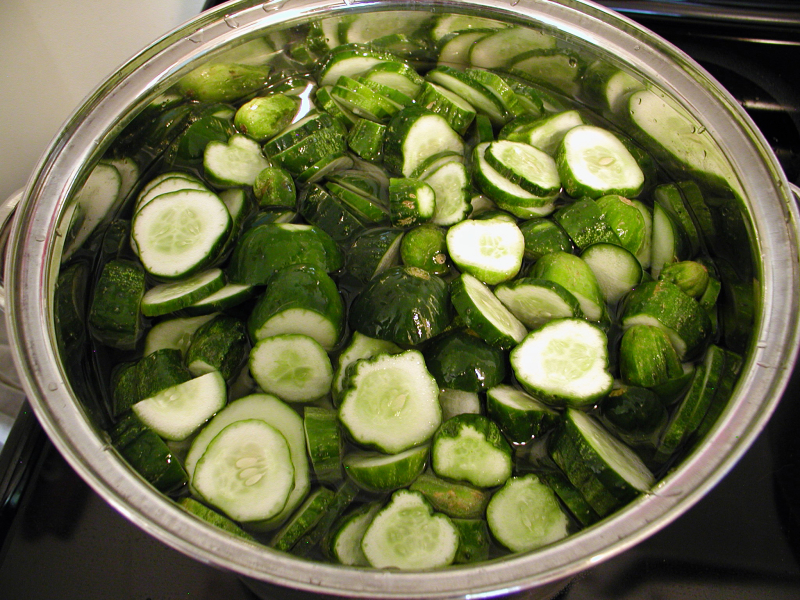
You can do bread and butter pickles either as chunks or as thin slices. So I did both.
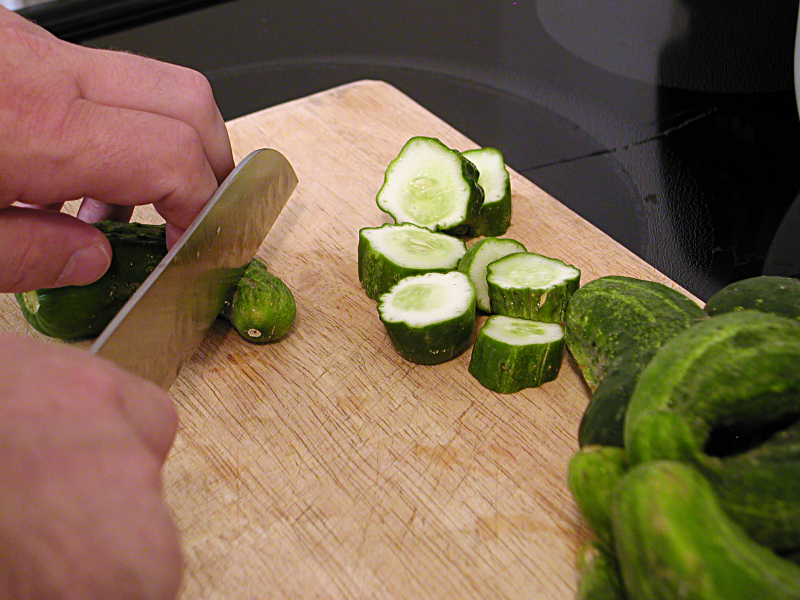

I did about 50/50, figuring I could separate them back out when I put them in the jars. Stop laughing, I’m an optimist.

Dissolve the salt in a large pot with 6 quarts of water. Filling with hot tap water instead of cold will help it dissolve faster.

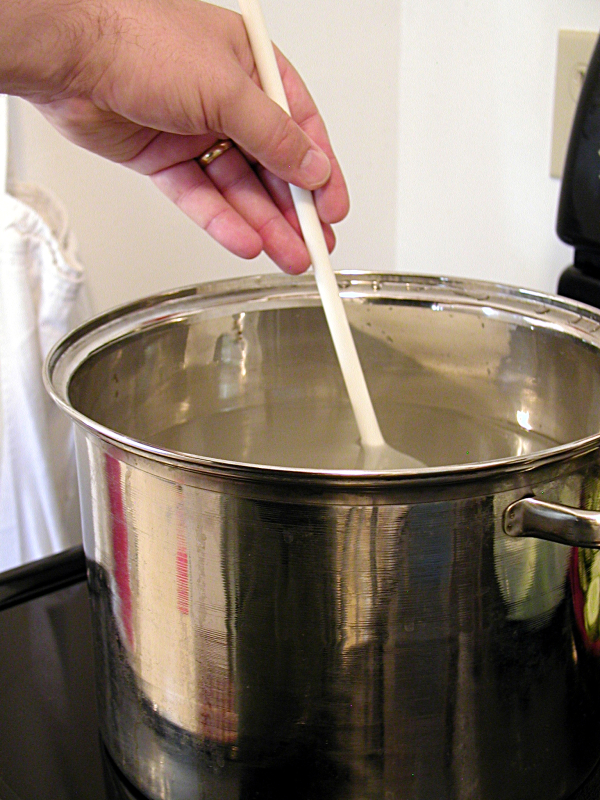
Once the salt is dissolved, add the cuke pieces and stir to make sure they’re not all stuck together.
Oh, a note on salt. You can use kosher salt, like I did, or pickling salt. Yes, they make special salt for this. But don’t use iodized table salt. The iodine will make the liquid all cloudy. Still tastes the same, but it will look gross.
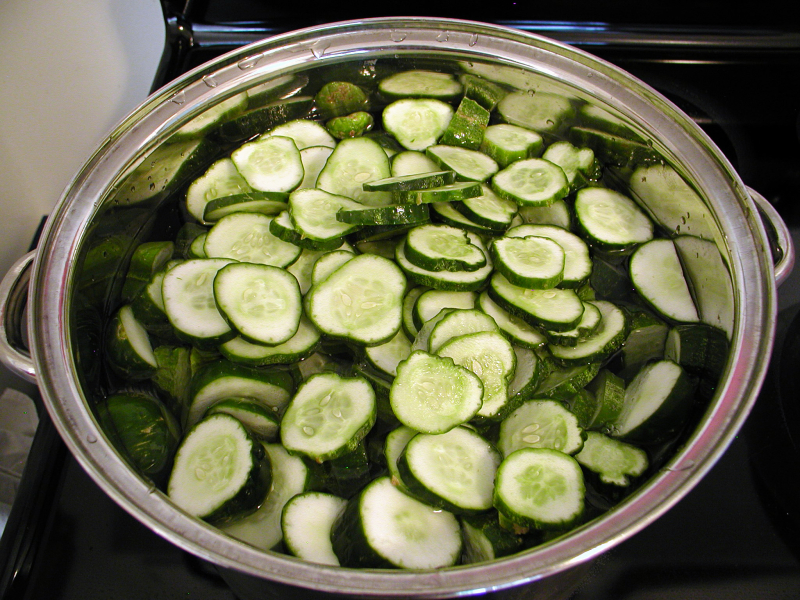
My cukes kept floating, so I put the strainer in on top to keep everything submerged.
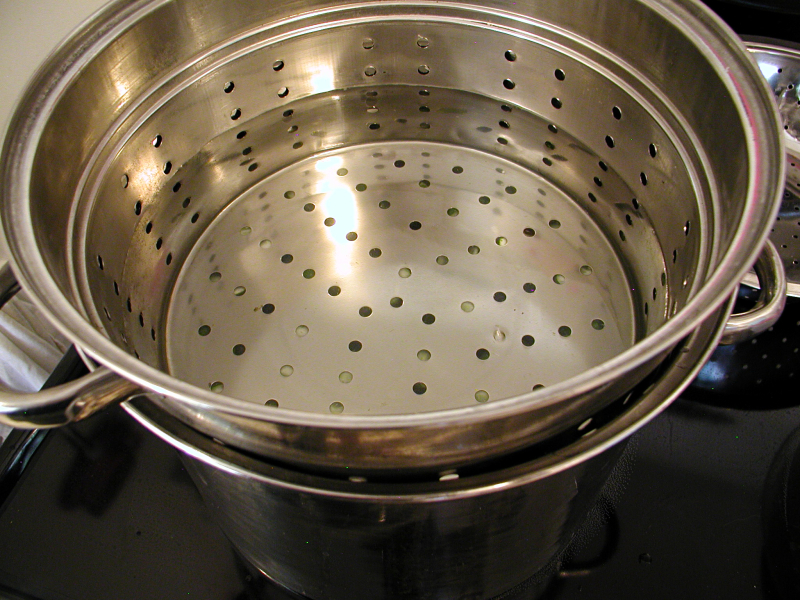
I don’t know that this was necessary, but it made me feel better.
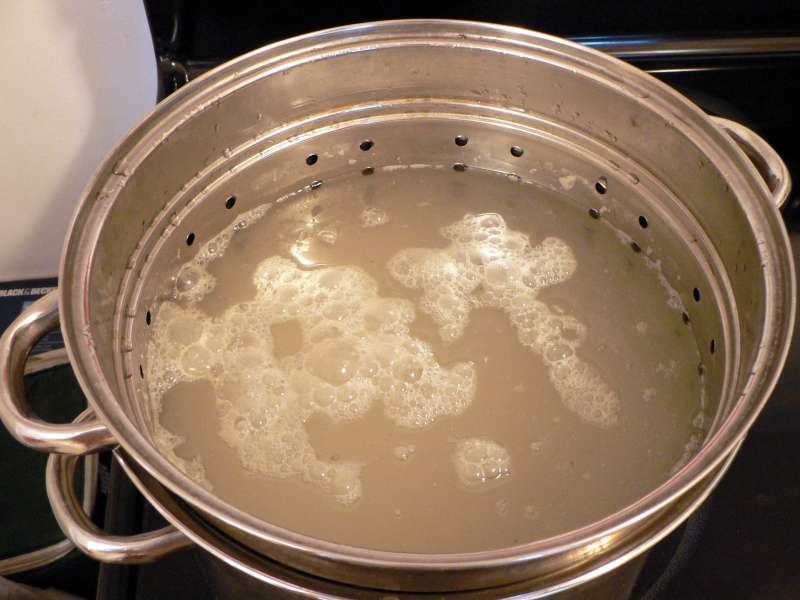
Cover the pot and leave it somewhere cool overnight. The fridge is good if you have room. Otherwise a cool basement should be fine. When you open the pot the next day, there will be a bit of foam on top. Don’t worry, this is normal.
The flavor
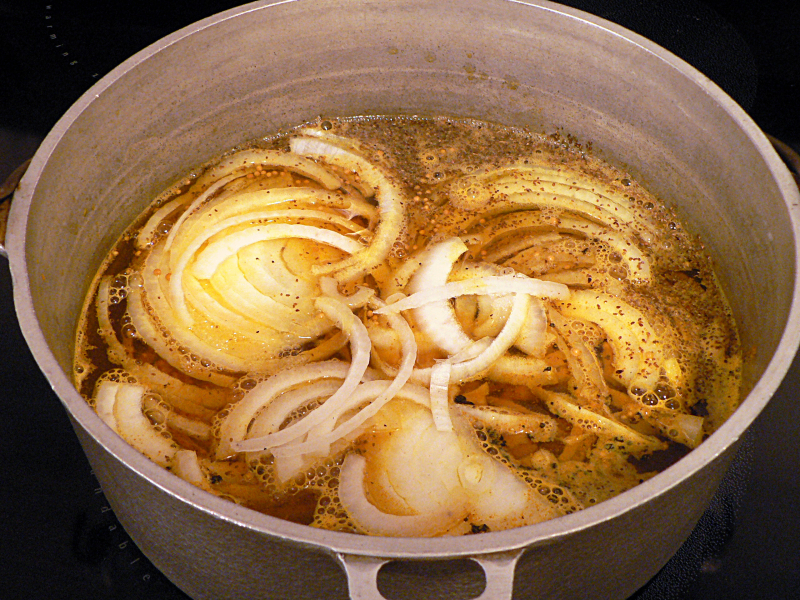
Combine the sugar and the cider vinegar in a large pot over medium heat and stir until it’s dissolved.

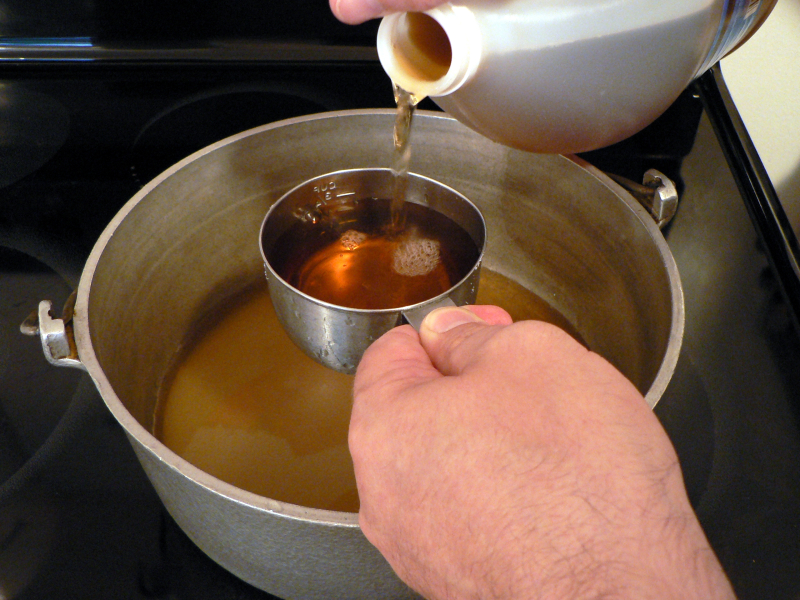
Don’t inhale the steam from this. Cider steam will burn your lungs. (Okay, it burned my lungs. I’m assuming it would do the same to yours.)
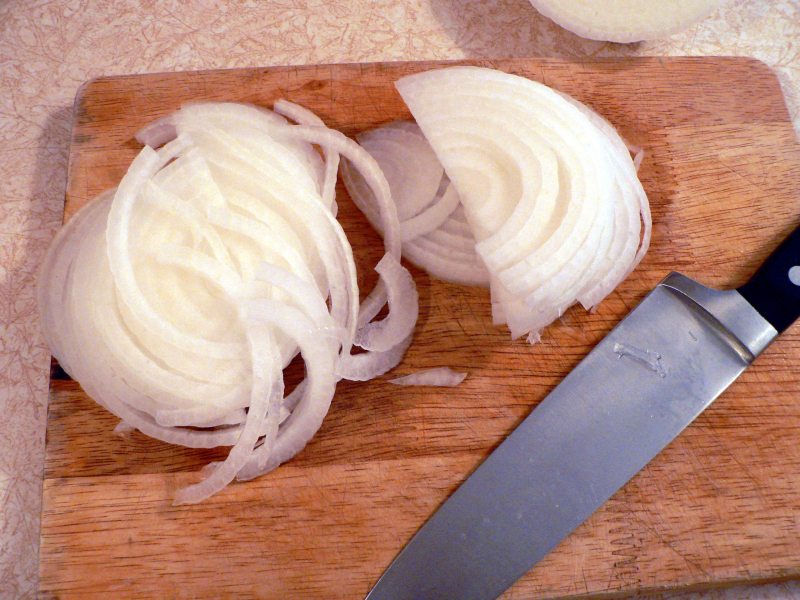
While you’re waiting for the sugar to dissolve, slice the onion very thin.
Add the mustard and celery seed to the pot.
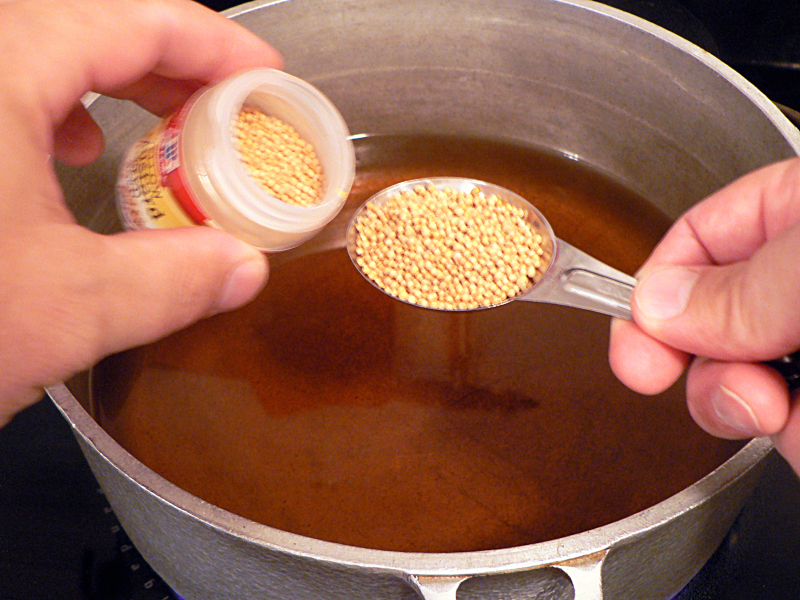
Wow, this looks like a lot of seeds.
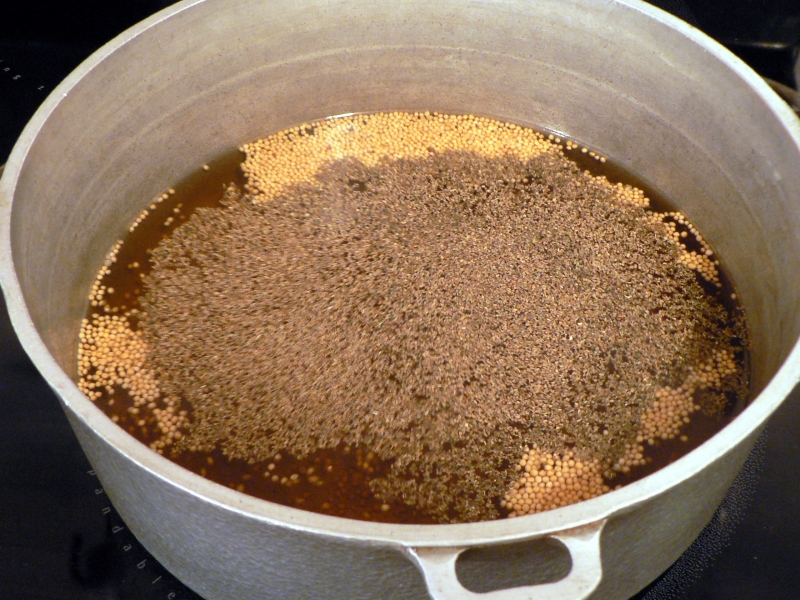
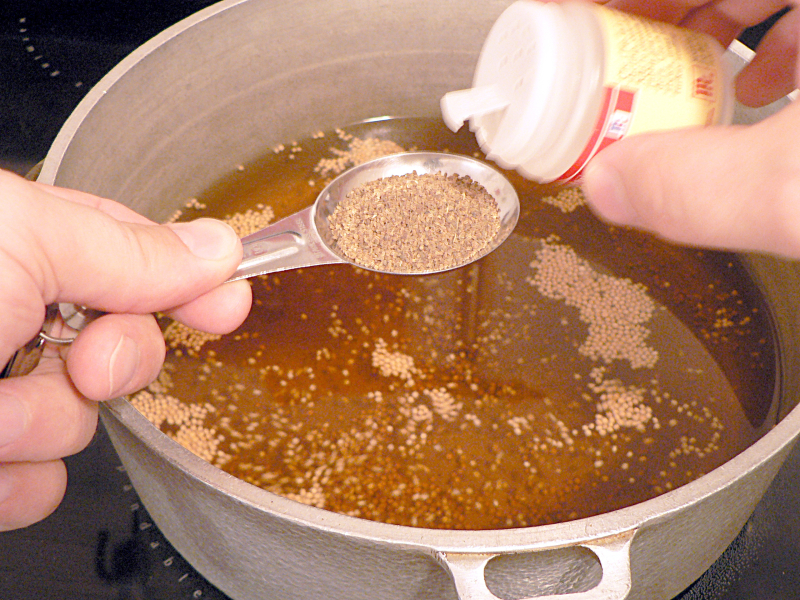
Be careful with the turmeric. This stuff stains everything it touches. Remember those chewable tablets the dentist gave you when you were six, that would stain all the tartar and junk in your teeth so you knew where to brush? Turmeric is like that, except yellow, and it shows you where your pot isn’t spotlessly clean. I don’t want to get any of this on my counter. I’m afraid of what I’ll see.
 UPDATE — Important note on turmeric: Because my measuring spoons wouldn’t fit inside the little jar, I dumped it into the spoon over the bowl. As you can see, I got a bit more than I wanted, maybe an extra teaspoon. Turmeric is bitter, peppery with a hint of mustard. In fact it’s used in mustard for bite and for color. Don’t put too much in your bread and butter pickles. They come out as a good hot pickle, but not what you would expect from a bread and butter pickle.
Drain the cuke pieces. I already had the strainer in my pot, so I just used that. Otherwise use the colander.

As I was about to add the cukes to the juice, I decided I should have cut the onions into smaller pieces. I was about to scoop them all back out onto the cutting board when I got a better idea.
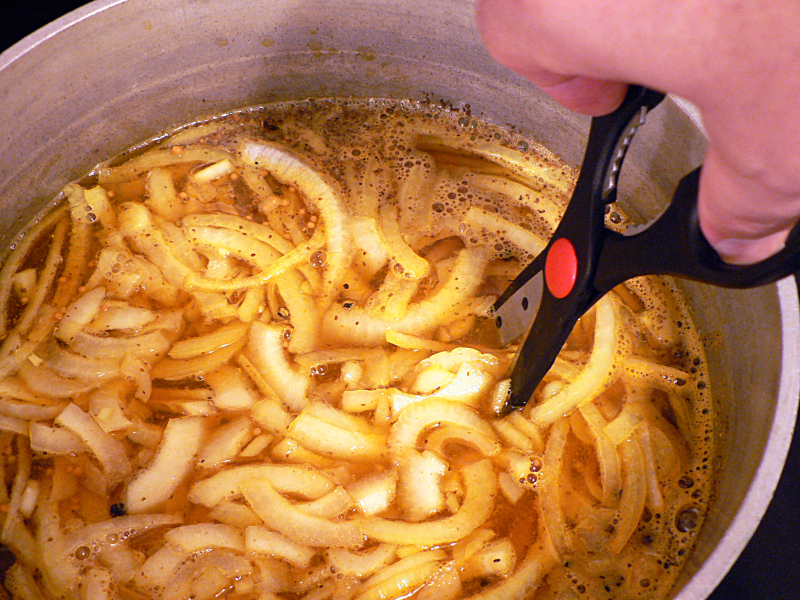
Yeah, perfect. Now add the cukes and stir. If you measured everything correctly, there should be just enough liquid to cover the cukes.
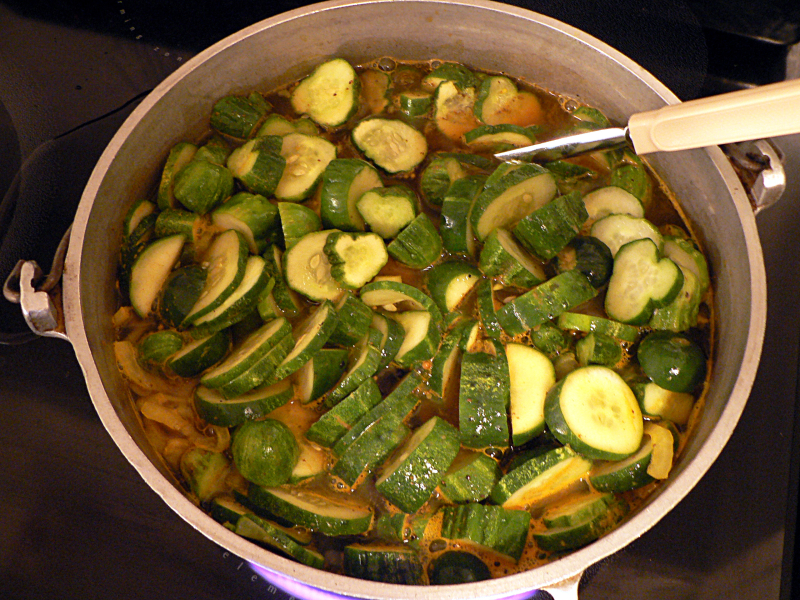

Place over medium heat until it comes to a boil.

Don’t walk away. If your pot is as full as mine was, it can start to boil over the edges almost immediately after starting to boil. (No, I didn’t this time.) Then turn the heat down, cover the pot and simmer for five minutes.
Canning
Unless you’re having a party, or pregnant and having cravings, you won’t be able to finish all of these right away. You can let them cool for several hours in the pot, then store them in a tightly-sealed container in the fridge for two weeks.
Even better, if you’ve got the hardware, is to can them. In jars. Yes, you can things in jars. Don’t ask.

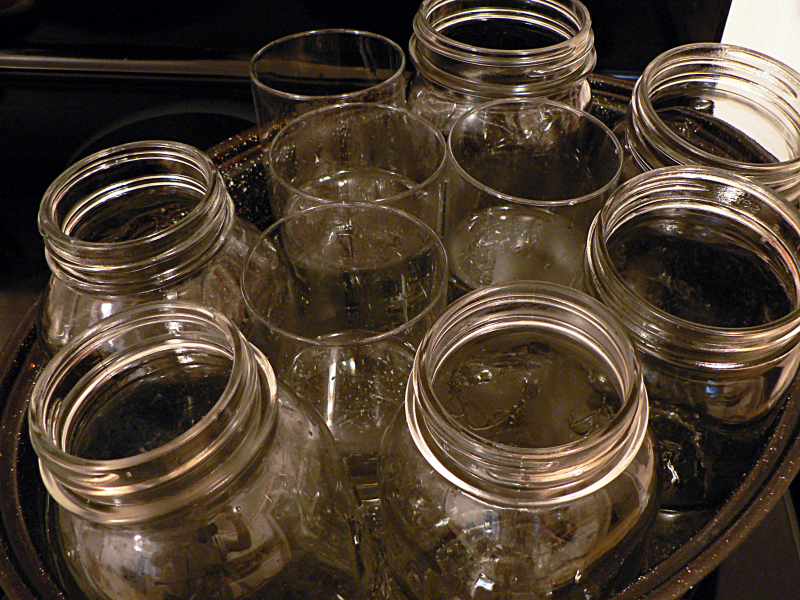
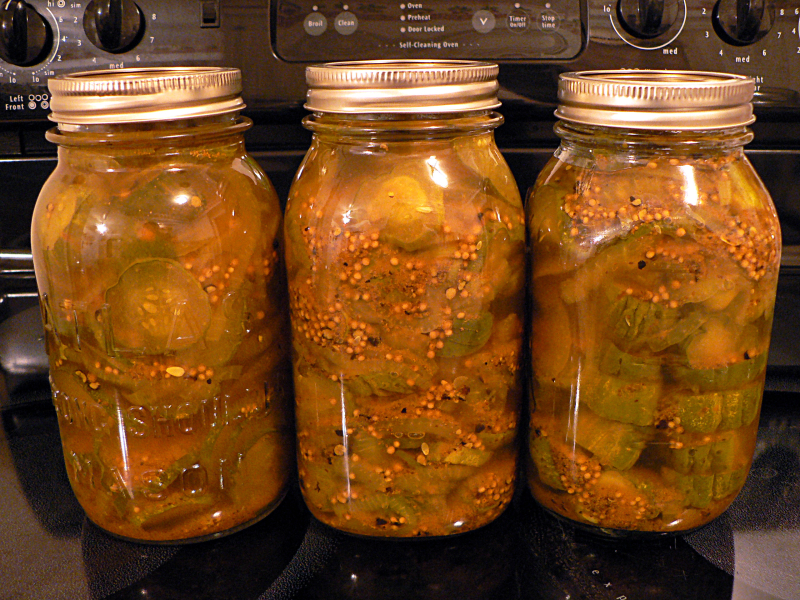
If I had read the recipe I was working from correctly, I would have 6 pint jars here. If you’ve done this before, or if you’re a good judge of volume, you’ll see that there are 6 quart jars there. This is why you always read recipes all the way through before you start. So that you don’t make mistakes like this.
I don’t have a special pot for canning, so I just grabbed something that was big enough to hold all the jars. That happened to be my roasting pan. It was more than big enough. So big, in fact, that when I started to fill it with water all the empty jars started floating and falling over. Oops. So I took the jars out, re-sterilized them, and packed the extra space in the roaster with drinking glasses.
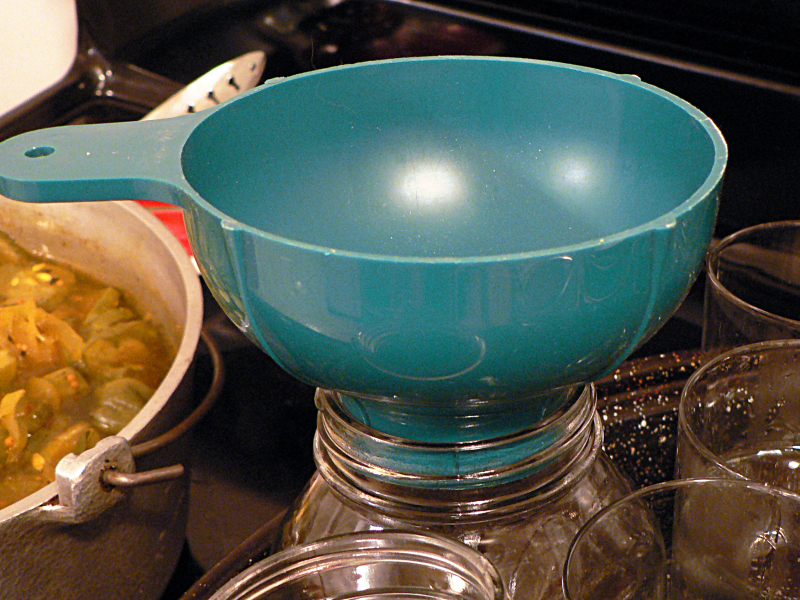
You can get the cukes into the jars without a funnel, but not the juice. If you’re doing this for the first time, get yourself one of these wide-mouth funnels. They’re made especially for canning. You should find them where you get your jars and lids.
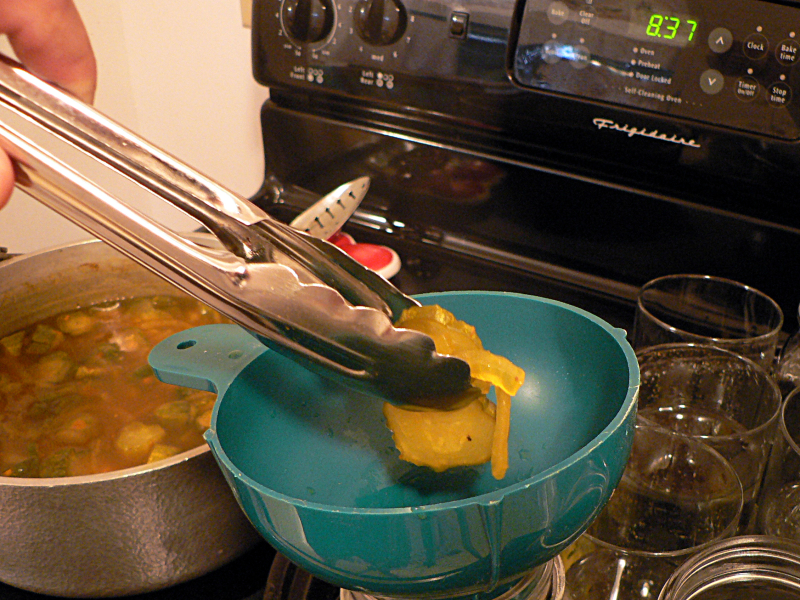
I started out with the tongs, trying to separate the slices from the chunks. Once I accepted that there was no way that was going to happen, I switched to the ladle.
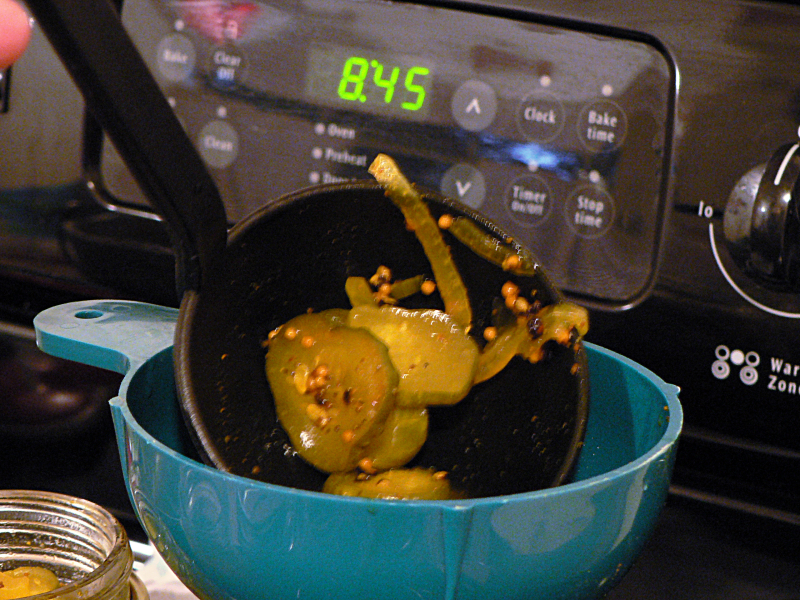
I got lucky and there was exactly enough to fill the three jars.
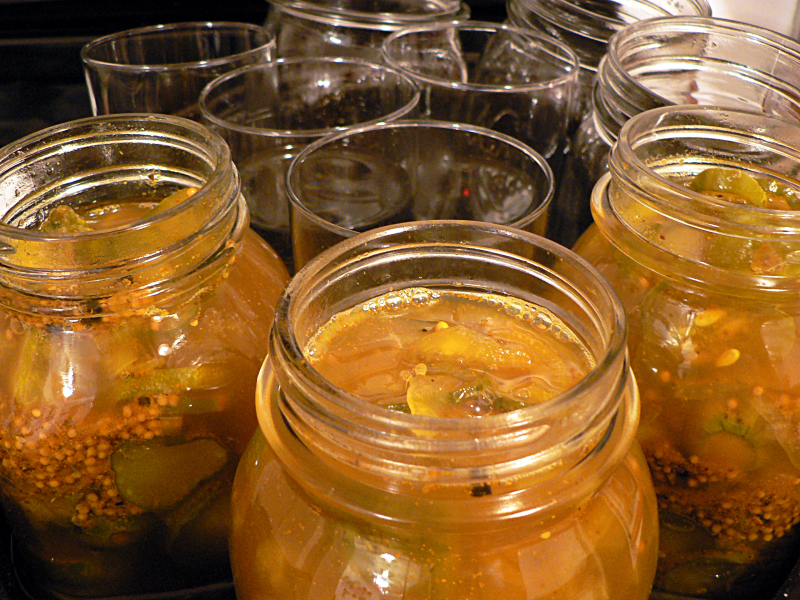
Leave a half inch of “headspace” in each jar. The jars won’t seal right if you don’t. Just fill to the bottom of the threads and you should be fine. They also won’t seal right if there is any pickle juice on the top of the rim, so make sure they’re all clean.

Put the pot and filled jars over high heat and bring everything to a boil. Don’t expect a rolling boil in the jars, but you should see bubbles coming up. Go for about 10 minutes after the water in the pot comes to a boil.
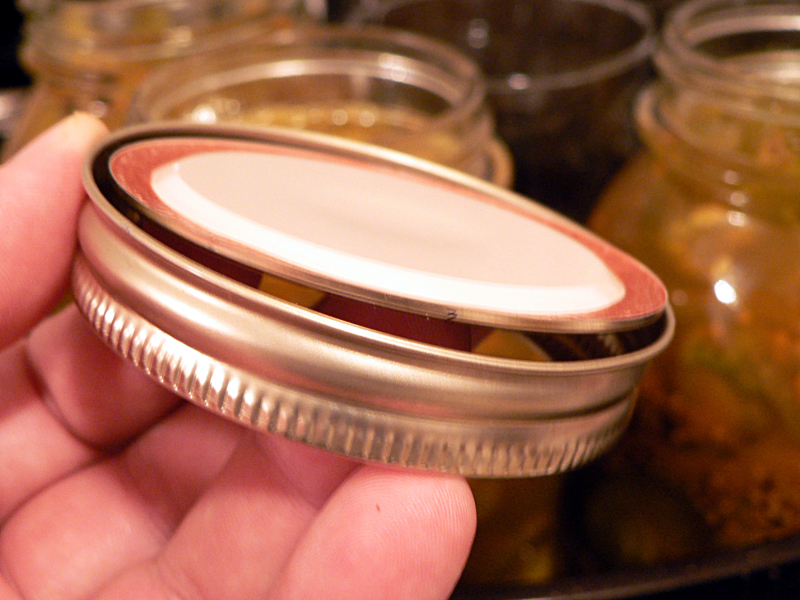
The lids for canning jars come in two pieces, a ring and a lid.
After the 10 minutes of boiling, remove from heat and put a lid and ring on each jar and tighten barely finger tight. The ring should lightly hold the lid against the top of the jar. The heat will cause the air in the headspace to expand and squeeze out under the lid. When it cools, the air will contract and vacuum seal the lid. You’ll know it’s done when you hear a pop.
Three pops later, I’ve got three jars of pickles ready to … I was going to say “ready to eat” but they’re not. I’m going to leave these for at least two weeks before trying them.
And that’s it.
A note on re-using parts
When you open a jar, you’ll have to break the seal on the lid. Depending on how tightly it sealed, you might have to pry pretty hard. But no matter how easily it may have opened, you don’t re-use the lids. You can keep the jars and the rings and use them over and over, but the lids are a single-use item. That’s why they’re sold separately.
Whew, that was a bit more work than I expected. But it should go much faster next time. Which should be in another month or two when my father-in-law’s garden is ready to harvest. I’ll put some pictures up tomorrow of what I’ve got to look forward to.

Ingredients
- 5 pounds cucumbers
- 1 cup kosher salt
- 5 cups cider vinegar
- 5 cups sugar
- 1½ pounds onion
- 2 tablespoons yellow mustard seed
- 1 tablespoon celery seed
- 1 tablespoon turmeric
- 1 tablespoon coarsely cracked black pepper
Instructions
Slice the cukes into the size you want. Dissolve the salt in a pot with 6 quarts of water. Add cuke pieces and stir. Leave in a cool place overnight.
The next day, dissolve the sugar in the vinegar in a large pot over medium heat. Stir in the mustard, celery seed, pepper and turmeric Slice the onion very thin and add. Drain the cukes and add.
Bring to a boil, then turn down to a simmer for 5 minutes.
Transfer to 3 quart jars or 6 pint jars. Process in a water bath canner for 10 minutes, or keep the jars in the refrigerator.


