For special deals and more great content, sign up for the free How To Cook Like Your Grandmother Newsletter.
Email address:


Also receive blog posts via email

Name: (optional)

Not now, thanks

How To Make Pizza Sauce From Scratch

Part of cooking from scratch is knowing just how “from scratch” it needs to be to feel good about what you’re making. The other part is knowing where to buy the parts you’re not going to make for yourself. This time it was getting a pizza crust from Alesci’s and doing the sauce from scratch.

Ingredients


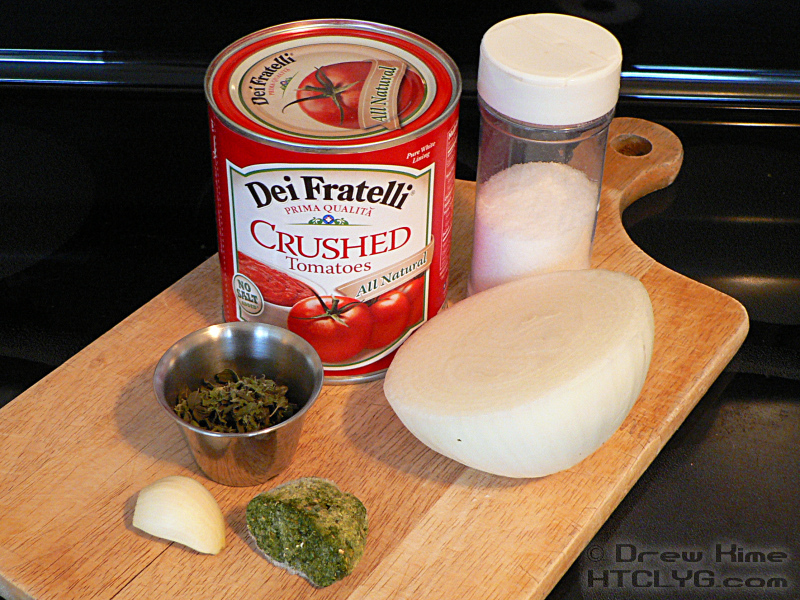
28 ounces (one large can) crushed tomatoes
1 cup diced onion
2 tablespoons basil pesto
2 tablespoons dried oregano (3 tablespoons fresh)
1 clove garlic (two if they’re small)
2 teaspoons kosher salt

Directions

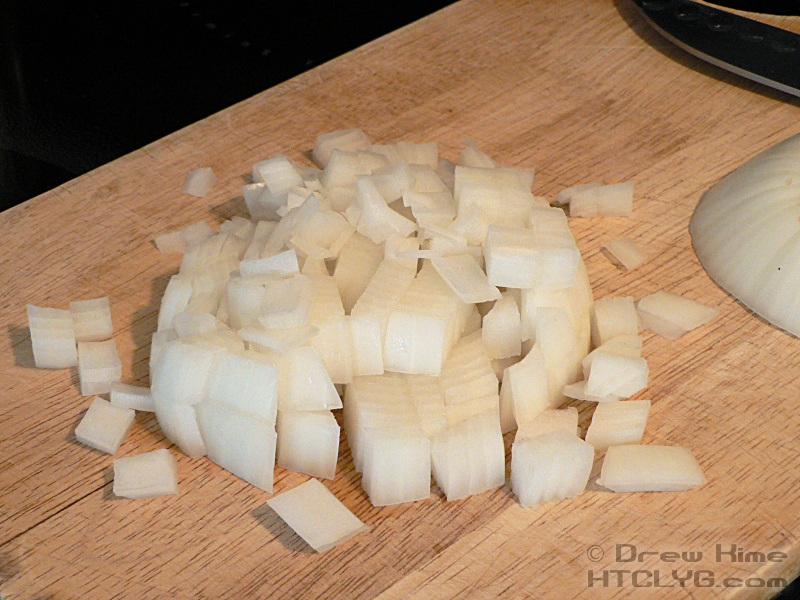
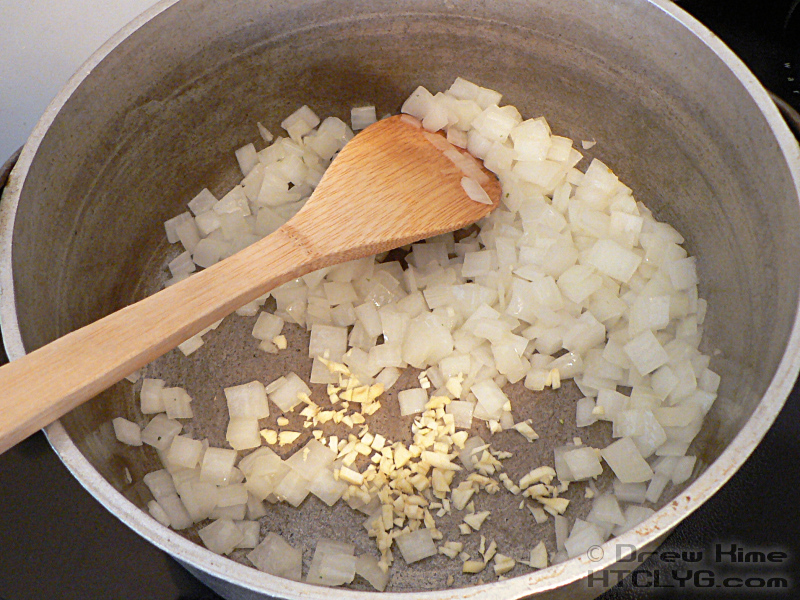
Start out by dicing the onion

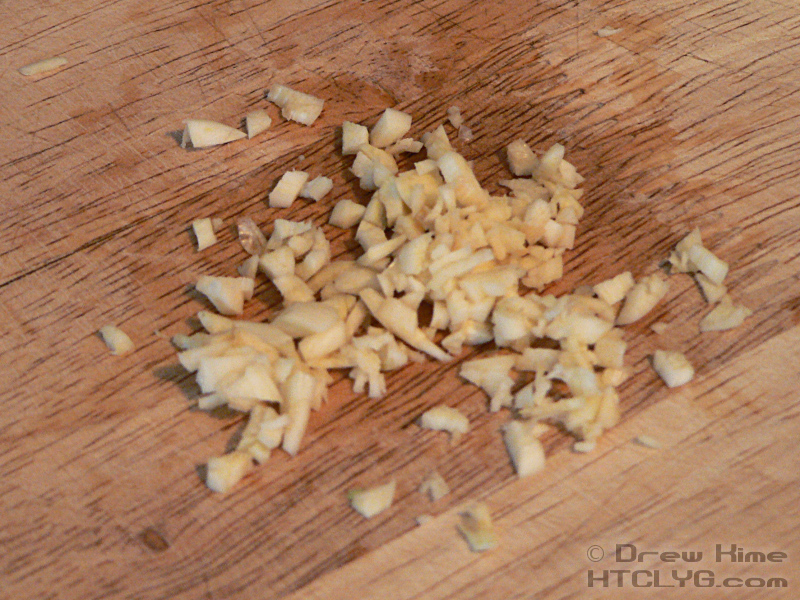
… and mincing the garlic.

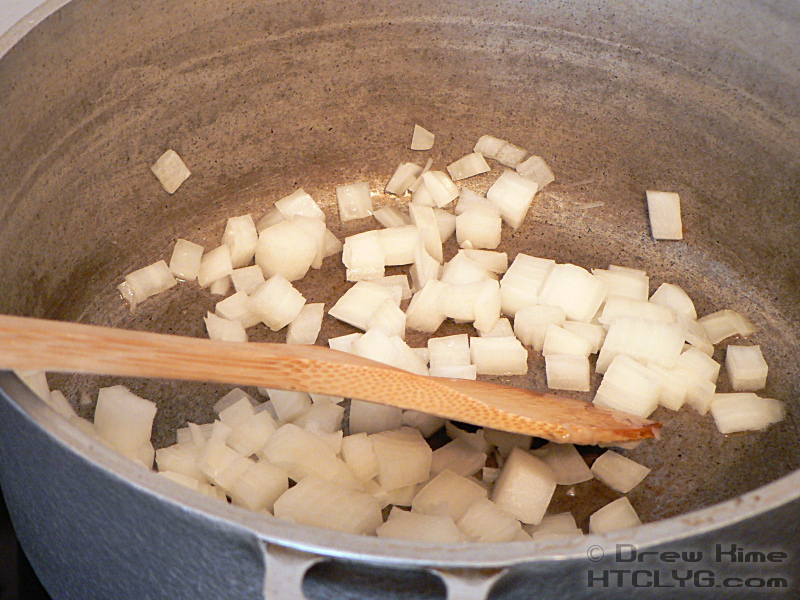
Heat some fat in a pan over medium heat — butter, olive oil, or like I did, rendered bacon fat.

Sauté the onion until it just starts to turn clear …

… then add the garlic and keep stirring until the garlic starts to get darker, but not brown.
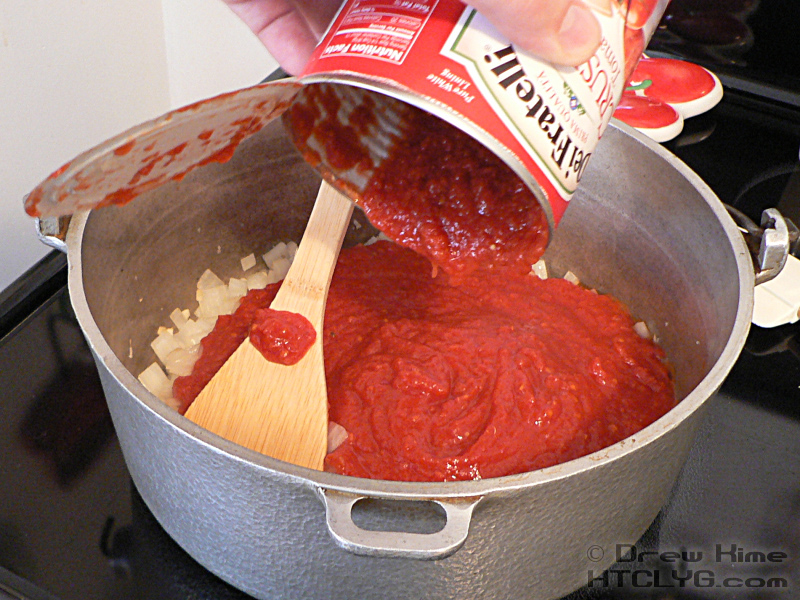
Add the tomatoes …

… and the pesto and oregano.

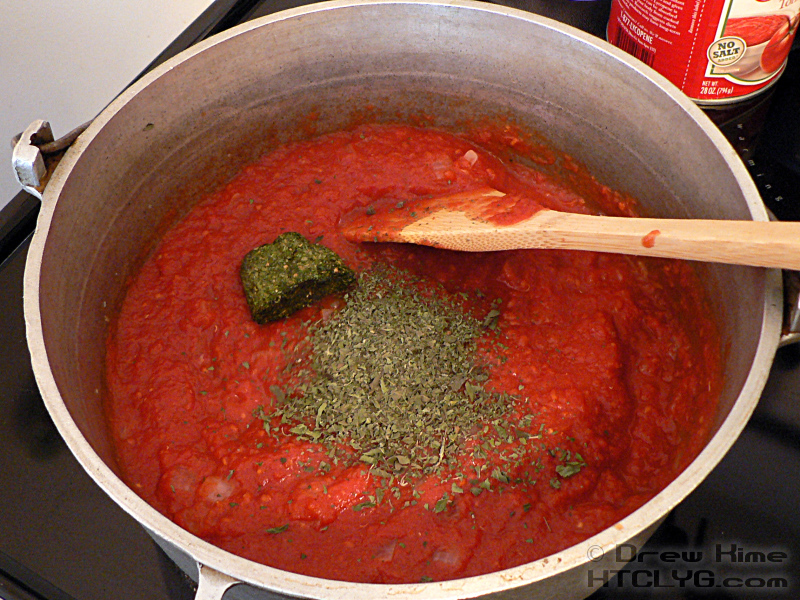
Simmer over medium heat for about 15 minutes, stirring frequently, until the sauce is warmed through.

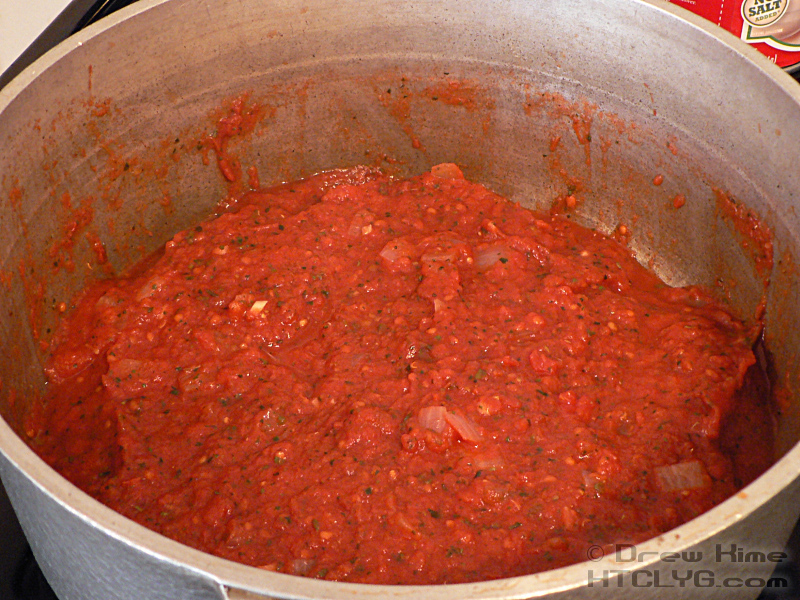
Remove the pan from heat and blend with an immersion blender (AKA stick blender) until the sauce is smooth.

If you used a large pot, like I did, you’ll need to tip it up to keep the end of the blender submerged. Otherwise you’ll spray tomato sauce all over the stove … the wall next to the stove … the front of your shirt … If you’ve read any of my other posts there’s a good chance you’ve seen the phrase, “Don’t ask how I know this.”

Once it’s smooth, put one large ladle full on the crust …

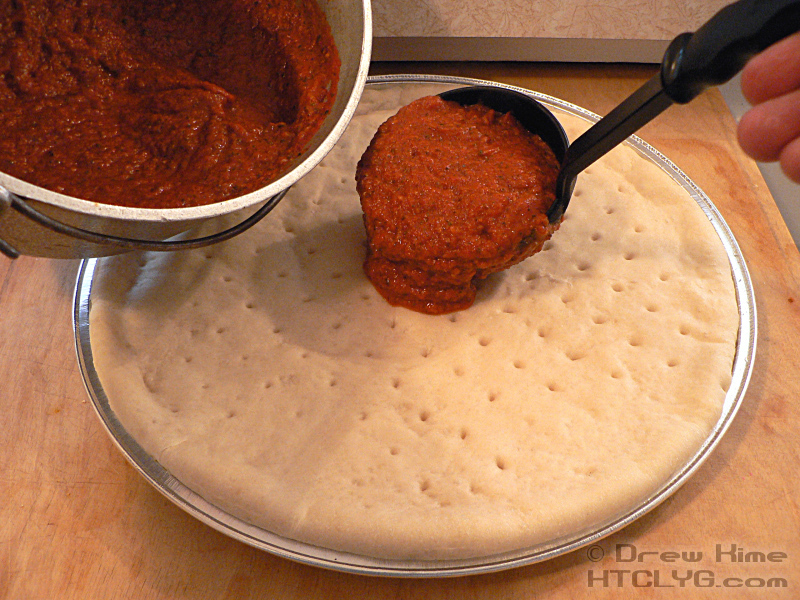
… and have your daughters spread it around.

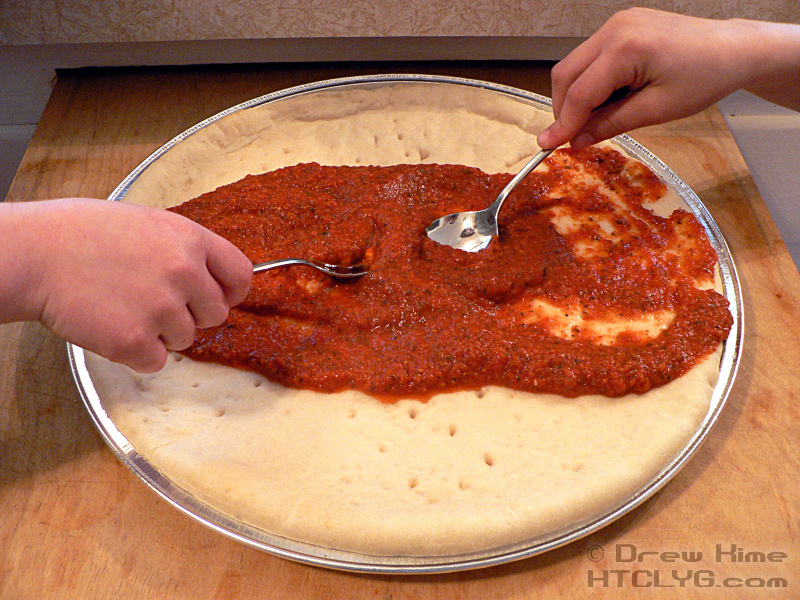
Wait, hold on, back up. Doesn’t that title up top say “How To Make Pizza Sauce From Scratch”? And I don’t see any “pizza crust” in the ingredients list. What’s up with that?

Yeah, well, a picture of a bowl of tomato sauce would be pretty boring. So I helped the girls make the pizza and included the rest of the steps here. (If you came here via the “gluten free” tag, this is where it stops being gluten free. You’re on your own for gluten-free pizza crust.)

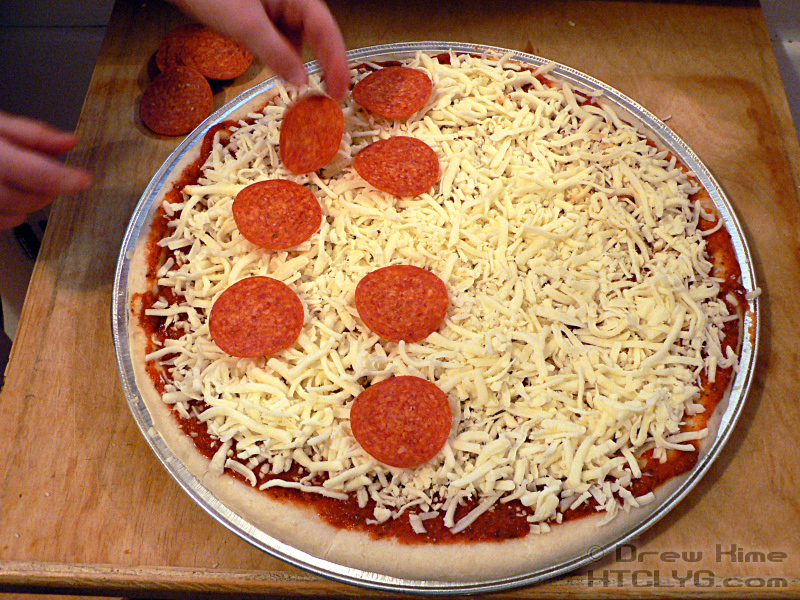
So … have the girls spread about a half-pound of shredded mozzarella and provolone cheese (Alesci’s sells a 50/50 mix).

Make sure the cheese goes right up to the edge, but not over. You don’t want it melting and dripping over into the inside of the oven.

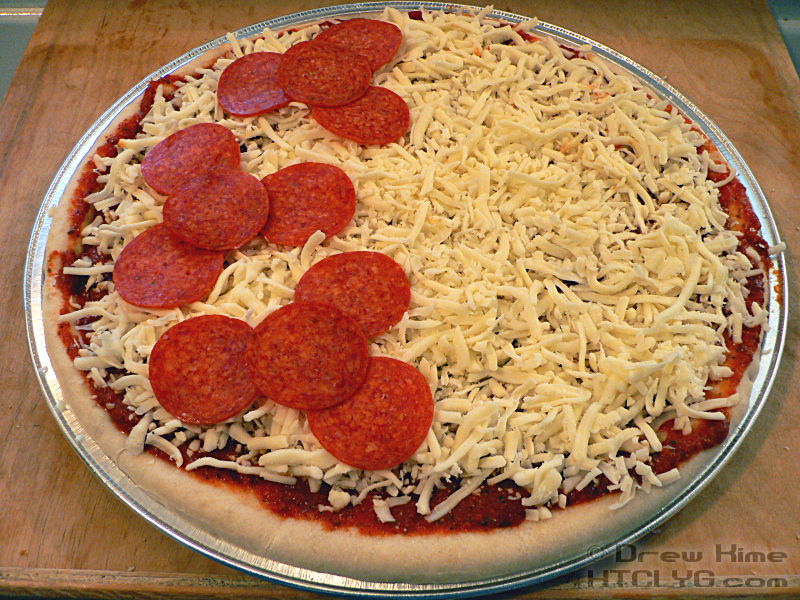
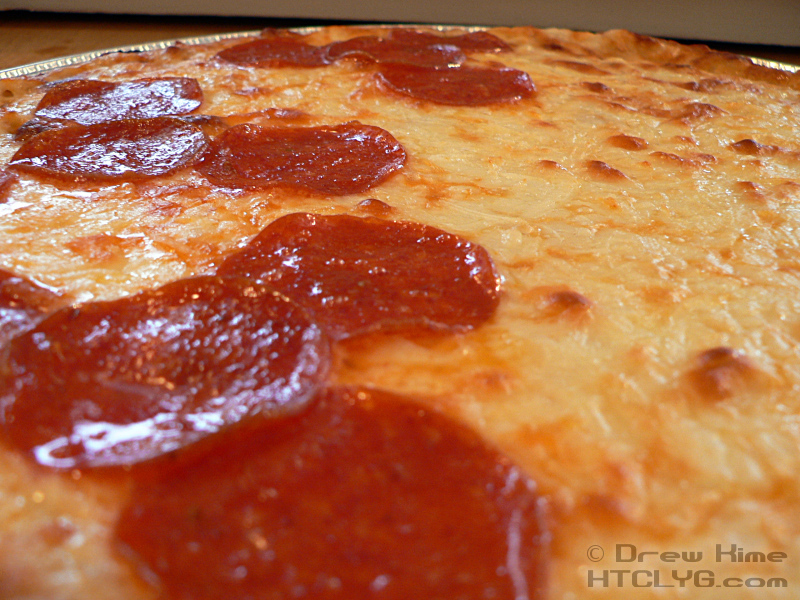
Have the girls add whatever toppings they want. In this case, pepperoni on half, the other half plain cheese.

Think about how you’re going to cut it — six cut, eight cut, etc. — and make sure the toppings are evenly distributed.

Bake at 450° for 15-20 minutes, until the cheese is bubbling and starting to get just a little brown around the edges.

And that’s it.


Like what you see? Vote for me as one of the most influential people online. It only takes 10 seconds: Click here to vote.


Want more like this? For more recipes like this, that you can hold right in your hands, and write on, take notes, tear pages out if you want (Gosh, you're tough on books, aren't you?) you might be interested in How To Cook Like Your Grandmother, 2nd edition, Illustrated. Or to learn your way around the kitchen, check out Starting From Scratch: The Owner's Manual for Your Kitchen.

This entry was posted in Dressing / Sauce and tagged , . Bookmark the permalink. Post a comment or leave a trackback: Trackback URL.

43 Comments

  1. Stephanie
    Posted April 14, 2008 at 12:01 am | Permalink

    This is a great-looking recipe – I’ll definitely have to try it. And how sad is it that I’ve made TONS of homemade pizza, and never thought to distribute the toppings according to how it will be sliced! That is a brilliant idea!

  2. Posted April 14, 2008 at 1:00 am | Permalink

    Yeah, well, when you’re as smart as I am … [cough] uh huh, right. When you order pizza from someplace that does it that way, like I do, after about the third or fourth time you realize, “Hey, that’s a pretty good idea.”

  3. Pat
    Posted April 14, 2008 at 9:11 am | Permalink

    This looks great! I would have never thought to use rendered bacon fat to saute the onions and garlic for the sauce, but I imagine it gives it a nice meat flavor.

  4. Posted April 14, 2008 at 9:28 am | Permalink

    “Everything’s better with bacon.”™

    Bacon fat is my first choice for all frying/sautéing. The only time I’ll use olive oil or butter instead is with really lightly flavored foods, like flounder.

    Actually I was just talking to someone yesterday about the sauce she makes that has beef bones cooking in the sauce for eight hours. I’m drooling again just thinking about it.

    If I’m going to do an eight-hour sauce, though, it’s going to be a huge batch, so I’m holding off on that until this fall when I start canning.

  5. Ben
    Posted April 14, 2008 at 10:02 am | Permalink

    Yes! Finally a recipe for pizza sauce even I can make :-p Thanks for sharing.

  6. Kathleen
    Posted April 14, 2008 at 12:30 pm | Permalink

    Hi Drew, you stopped by to visit my cooking blog, so I just had to come and say hello. I just love your posts and everything looks so yummy! Blessings, Kathleen

  7. Cerwydwyn
    Posted April 14, 2008 at 1:29 pm | Permalink

    I love your blog. Partly because I feel so smart when I read it. It’s kind of sad that folks don’t know how to cook like this anymore…well, except for me, and my kids. I learned from my Grandma! Thanks for doing such a great public service :-)

  8. Ryan
    Posted April 15, 2008 at 7:56 am | Permalink

    Very good post there as usual! My basic tomato sauce is roughly the same as this – although I don’t think onions go so well in a pizza sauce. And I cannot resist putting chillies in everything usually too.

  9. Posted April 15, 2008 at 8:12 am | Permalink

    @Ben, something tells me you’ve got a perfectly fine recipe for pizza. It just isn’t the “traditional” version we get here in the U.S. Would I win that bet?

    @Kathleen, thanks for the visit. Count on seeing me at yours to steal some more recipes.

    @Cerwydwyn, you reminded me of something I heard years ago. “Jeopardy and Wheel of Fortune both make you feel stupid. Jeopardy because you don’t know anything. Wheel because you’re watching it.” :-)

    @Ryan, I didn’t used to put the onion in, but way more garlic. (Like four or five cloves, yumm.) My wife wouldn’t eat it because, while it tasted great, she didn’t like smelling like garlic for the rest of the night. So this was a compromise, but I still like it.

  10. Kitchen Scrapbook
    Posted April 15, 2008 at 4:25 pm | Permalink

    Just came over here from your comment on my blog. Thanks for the salad recipe! That’s a good-lookin’ pizza! I’ll have to try that pizza sauce. And what a great idea to distribute the toppings according to how it’ll be sliced!

  11. Trance104
    Posted March 4, 2009 at 10:42 am | Permalink

    I sort of used this recipee, except i didnt use a can of tomatoe paste… thats not cooking from scratch! anyway i blended about 5 sliced tomatoes then put them in a pot with some garlic and onions and seasonings of course! Then I just boiled it to get most of the water out while stirring, and i had this amazing sauce! i also did NOT add any salt and it was great! All organic as well.

    thanks for the inspiration!

  12. Posted March 4, 2009 at 4:10 pm | Permalink

    Trance, I don’t care that people follow my recipes exactly. I’m just happy when someone sees one and decides to go make something similar.

  13. Anonymous
    Posted May 1, 2009 at 8:56 pm | Permalink

    TOO MUCH SALT!!!!
    I threw away the pizza and the dinner was ruined!

  14. Posted May 2, 2009 at 11:46 am | Permalink

    I’m sorry it didn’t work for you. My first thought is that the tomatoes you got already had salt in them. I’ve noticed a lot of variation in how much is in canned tomatoes. Next time I’d recommend checking the flavor of the sauce before assembling and baking the pizza.

    If there’s still too much salt, slice a potato in quarters lengthwise and simmer it in the sauce for about 20 minutes. It will absorb lots of the salt.

    • Sandi
      Posted August 25, 2010 at 1:13 pm | Permalink

      Lol Drew, that’s really nice that you took a ridiculous comment with no detail like that seriously. Thanks for the potato idea!

      • Posted August 25, 2010 at 5:24 pm | Permalink

        I live to serve.

  15. Jim
    Posted May 9, 2009 at 9:09 pm | Permalink

    Yo Drew! You da man!
    I used your recipe and even made the pesto too (though I don’t have a stick blender, so my counter top blender wrestled with it quite a bit). I also added about 1 fat Tablespoon of authentic Hungarian paprika my mom-in-law sent over from Budapest. Additionally, 1 small can of tomato paste thickened up the sauce quite nicely. Tomorrow, I’m making the dough for the crust then throwing the whole shebang onto a pizza stone inside my bbq grill…thinking about adding some mesquite smoking chips to the fire for a bit of a Southwest twist to pizza. Will probably not do that though, cuz the smoke will permeate my zah stone and I’ll be forever making mesquite flavored zah. Glad I posted this blog, so I could think with my fingers for a change. Thanks for a great recipe here. Appreciate the pics added to the instructions! Take good care.

  16. Posted May 10, 2009 at 11:39 am | Permalink

    Jim, I never thought about the stone absorbing flavors. How serious a problem is that?

  17. Jim
    Posted May 10, 2009 at 7:55 pm | Permalink

    Hey Drew,
    From everything I’ve read about pizza stones, they are like sponges…that’s why you don’t use soap on them, cuz the soap taste soaks into the microscopic spaces between the stones grains.
    Now I’m in a real dilemma…tried the pizza stone in the bbq. Heated bbq with stone to about 450F. Put the first pizza on parchment paper instead of corn meal. Results: completely charred pizza dough on the bottom all the way through to the toppings. Had to toss out that pie and extinguish the burning parchment paper.
    second attempt: no parchment, but cornmeal on the stone. Results: same as the parchment…charred pie. Scraped off the toppings from the charred crust and ate them.
    Now I have a completely charred pizza stone that I’ll end up tossing out in the garbage. I’m not sure why the crust charred so much. I only had the first pizza on the stone for 10 minutes; I let the stone cool to 350F for the second pizza and it sat on the stone for only 5 minutes. It looked great on top, but the bottom was completely black, up to about 1/8 inch thick.
    So I’m not sure that I’ll use a stone on the bbq again, unless I find a different stone. the one I used without success was by Genius BBQ products…won’t go back to them again.
    Good luck with your pizza travels.
    Take good care.

  18. Posted May 10, 2009 at 8:38 pm | Permalink

    Damn Jim, that really sucks. I’ve never heard of using a pizza stone in the BBQ, so I have no idea what to expect there. If yours is made by a BBQ company, I would think it should be able to handle the heat like that.

  19. Matt
    Posted May 21, 2009 at 1:18 pm | Permalink

    Drew:
    Fantastic recipe, I’m bookmarking this to try on the next pizza I make!

    And hello from right outside Cleveland!

  20. Posted May 24, 2009 at 8:25 am | Permalink

    Matt, where outside Cleveland?

  21. cheryl
    Posted May 30, 2009 at 4:11 pm | Permalink

    Way to go Drew! (And me too!) I was fortunate enough to have everything in this recipe growing right outside my back door, (except for the salt) I used Roma tomatoes, fresh basil and oregano and garlic! Yummy, I thought this would be a difficult task, finding a good recipe, but when I put in pizza sauce from scratch in the google box, there you were! My first stop and WooHoo!!!

  22. Posted May 30, 2009 at 6:29 pm | Permalink

    Holy cow, Cheryl, where do you live that you’ve already got all that ready to harvest?

  23. Martyna.
    Posted June 24, 2009 at 12:03 pm | Permalink

    hey thanks for taking the time to post this recipe. helped me out alot. im 16 and i dont really have anyone to teach me about cooking.
    so i just wanna say thanks. =]

  24. Posted June 24, 2009 at 12:16 pm | Permalink

    Martyna, I think that's great that you're already interested in cooking. I really wish I had started earlier, instead of living on Ramen and Pop-Tarts all through college.

  25. James
    Posted July 16, 2009 at 2:24 pm | Permalink

    Haha I think this is so funny… "from scratch" ?! You used tinned tomatoes and a ready made base!? Sad really how people think this is "from scratch"…

  26. Posted July 16, 2009 at 2:45 pm | Permalink

    Thanks for the feedback, James. While I would, of course, prefer to use fresh, I live in Cleveland where the growing season doesn't support year-round fresh tomatoes. So the ones available fresh in the grocery store are imported, meaning they were picked hard and green and "ripened" using ethylene gas.

    The canned tomatoes that I used listed two ingredients: tomatoes, and salt. In other words, exactly the same ingredients that would be in them if I canned them myself. Canned tomatoes are not only less expensive than the same volume of fresh, they are higher quality, since they are picked ripe and canned. In fact they're one of the best, least-processed foods you can buy.

    As for the other ingredients, the pesto was made from basil I grew myself — plus olive oil and garlic. The garlic and onion were fresh. And the bacon fat was rendered and filtered by … well, me again.

    Sad really how some people think this is not "from scratch".

  27. Thanos
    Posted July 18, 2009 at 4:34 am | Permalink

    Hey Drew, great recipe as always. :)

    I wanted to ask you, can you keep this in the freezer? And, if yes, for how long? I was thinking of doing something like a triple dose which will be used during the week.

  28. Posted July 18, 2009 at 9:07 am | Permalink

    Thanos, I prefer canning, but yes you can freeze it. As long as you can get most of the air out, it will freeze quite a long time. I've gone several months without any noticable loss in quality.

    I actually like freezer bags, since you can squeeze pretty much all the air out. And after closing it up, lay it flat so the sauce freezes in a thin pack, so it will thaw faster when you pull it.

  29. Anonymous
    Posted September 3, 2009 at 5:49 pm | Permalink

    D-Man!

    I've got killer tomatoes from our organic CSA and I'm going to make your pizza sauce recipe from total scratch! Thanks for the info.
    Let's eat!!!!

    David

  30. Posted September 3, 2009 at 8:42 pm | Permalink

    David, unless you've got the meatiest tomatoes in the world, you'll probably need to cook it down until it thickens a little bit. Good luck with it.

    Oh, and why does everyone with a killer garden, or a CSA membership, need to rub it in my face every time they're picking up some fresh veg? Man, I have got to find one that delivers locally.

  31. Sara Paschal
    Posted September 10, 2009 at 10:32 am | Permalink

    I am bookmarking this one suounds delightful. Our garden stinks this year we have 25 tomato plants out there lots of green plant and small green tomatoes…it has been a very cold SD summer so I have no problem going with the canned. Any clues as to how we can ripen these inside if they don't turn before frost?

  32. Posted September 10, 2009 at 11:10 am | Permalink

    Sarah, here are two great pages for that. First, is a trick to get the plants to hurry up with the ripening: http://www.weekendgardener.net/vegetable-gardening-tips/green-tomato-090709.htm

    Next is what to do with them once you pull the plants: http://www.wikihow.com/Ripen-Green-Tomatoes

    I expect to be doing several of these techniques, as all mine are still totally green.

  33. Sara Paschal
    Posted September 19, 2009 at 8:46 am | Permalink

    Thaks for posting these links the site was very helpful;)

  34. Posted May 20, 2010 at 6:58 pm | Permalink

    shyt lookin gud son

  35. sara varela
    Posted July 8, 2010 at 1:18 am | Permalink

    So glad to come across this site…I have no problem with canned tomatoes in fact I use them to make a great salsa which involves one large can of crushed tomatoes, half an onion, one batch of cilantro and half a tablespoon of salt. Mix in a blender an enjoy….can’t wait to make this sauce with my kids. Great post..

  36. Raymond
    Posted August 9, 2010 at 6:54 am | Permalink

    Hey Drew, a little comment all the way from Holland.

    I came across your site and see how you make use of the simplicity of homecooking.
    I love it!!

    One tip though:

    When mincing garlic, the cellstructures break and all those little chemicals in the garlic will react with the oxygen in the air surrounding it.
    The result will be a bit of a bitter taste and smell…
    When using seesalt while mincing, those little chemicals will go out and have some fun with the salt, instead of the oxygen, resulting in a much better taste!!
    And since the salt will bond with the garlic, the taste won’t be (much) saltier.
    Offcource you could compensate by using less “overall-salt”.

    Greetz Raymond

  37. Posted August 10, 2010 at 3:11 pm | Permalink

    Raymond, I actually made my own garlic salt a while back. I hadn’t thought about how the salt would preserve the garlic flavor, but you’re absolutely right.

  38. Posted August 25, 2010 at 11:42 am | Permalink

    Question. About how much FRESH tomatoes would equal a 28 ou. of canned crushed tomatoes?

  39. Posted August 25, 2010 at 12:50 pm | Permalink

    That’s 3-and-a-half cups. You can check What’s Cooking America for a list of tomato conversions.

  40. Zada
    Posted August 29, 2010 at 12:23 pm | Permalink

    THIS is NOT from ‘SCRATCH’…is is from a can of tomatoes!

  41. Posted August 29, 2010 at 8:40 pm | Permalink

    If you can tell me where to find fresh tomatoes in Cleveland in April I’d love to hear it.

    Or I could just point out that the can of tomatoes had two ingredients listed: tomatoes and salt. They were exactly the same as they’d have been if I had canned them myself the previous fall. Except my tomatoes failed. (I’m not much of a gardener yet.)

Subscribe to comments on this post

Post a Comment

Your email is never published nor shared. Required fields are marked *

*
*

You may use these HTML tags and attributes: <a href="" title=""> <abbr title=""> <acronym title=""> <b> <blockquote cite=""> <cite> <code> <del datetime=""> <em> <i> <q cite=""> <strike> <strong>

Subscribe to comments on this post
  • Free Online Class

    Sign up now for my free 10-day online course in the basics: Starting From Scratch

  • Buy the Recipe Cards

    Start your own recipe box, or fill up the one you've got. How To Cook Like Your Grandmother: Recipe Cards are a perfect addition to your set. They also make great gifts.

    Click here to select how many you want.

  • Buy the Books

    Whether you're just starting out, or already know your way around a kitchen, I've got you covered. How to Cook Like Your Grandmother is chock full of recipes and techniques that are based on what tastes good, not on junk science and fad diets. You won't find the words lite, low, lean, free or skim anywhere.

    Or pick Starting From Scratch to learn the difference between braising and roasting, and everything else you need to get comfortable in the kitchen.

  • Follow this blog

     Subscribe in a reader

    -- OR --
    To get recipes in your email
    Enter your email address:
    -- OR --
    Sign up for the weekly newsletter. Email address:
  • All-time Favorites

    Perfect Brownies
    Banana Cake
    French Onion Soup
    Egg Salad
    Onion Rings
    Bruschetta Pizza
    Peach Cobbler
    Cheesesteak
    Frozen Chocolate Truffle Pie
    Emily's Creamy Cheesecake


  • What Would Granny Cook?
  • No Secret Recipes
  • No Awards Please

Page optimized by WP Minify WordPress Plugin