Since I asked people for suggestions of what to make next, I’ve seen a bunch of requests for things that people remember from their childhoods. Things that nobody makes any more. Some of them sound really good, though, so I’m going to have to do some research and give it a shot.
Dave, on the other hand, went for the sure thing when he suggested meatloaf. That’s almost cheating. You just know I had to do meatloaf eventually. And here it is.
Ingredients
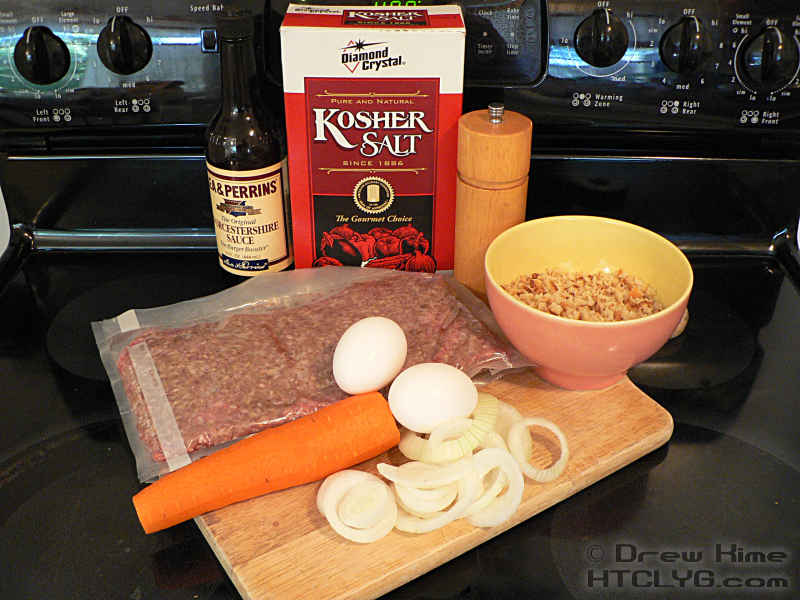
2 pounds ground meat (see below)
2 large eggs
2 cups bread crumbs
1 large carrot
1/2 medium onion (about a cup diced, use your leftovers)
1/4 cup buttermilk (not pictured)
2 tablespoons Worcestershire sauce
2 teaspoons kosher salt
1 teaspoon black pepper
Directions
The first rule of meatloaf is: don’t talk about … no wait, that’s not it. The first rule of meatloaf is: there are no rules for meatloaf. There are some guidelines, but there’s no one true perfect meatloaf. (That’s not entirely true. The perfect meatloaf is always the next one.)
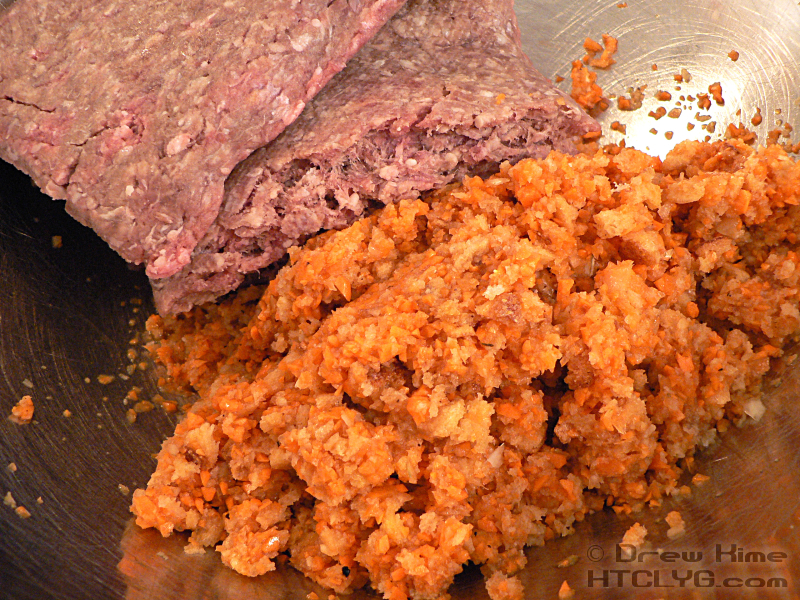
This starts from the meat. You can buy packs of “meatloaf mix” at the grocery store. It will usually be a combination of ground beef, ground pork and ground veal. But I’ll put my all-beef loaf up against anything made with the mix.
Historically, the reason meatloaf was made from multiple kinds of meat was that people tended to buy whole cuts of meat. After trimming and cooking the “good” cuts, you’d put the bits and pieces left over through the grinder and make meatloaf.
As for guidelines, one of the biggest is to not treat it like you’re just making a big hamburger. If you want hamburgers, then make those instead. Since you won’t be grilling or frying, you can’t count on the Maillard reaction for your flavor. You’ll have to add it yourself. And because it will take longer to cook, you have to do something to keep it moist.
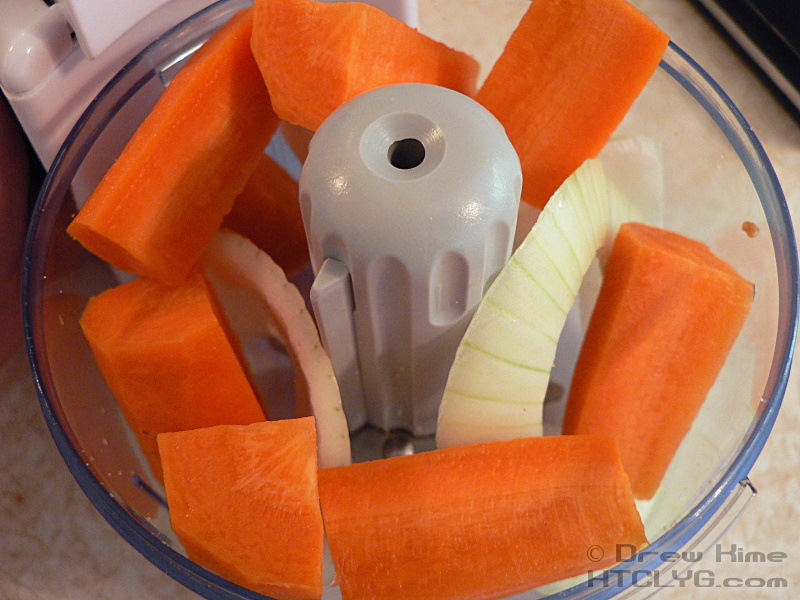
I get the flavor from onion, and the moistness from carrot. Carrots hold onto their moisture really well when you bake with them. Trim the veggies into pieces that will fit in your food processor and go to town on them.
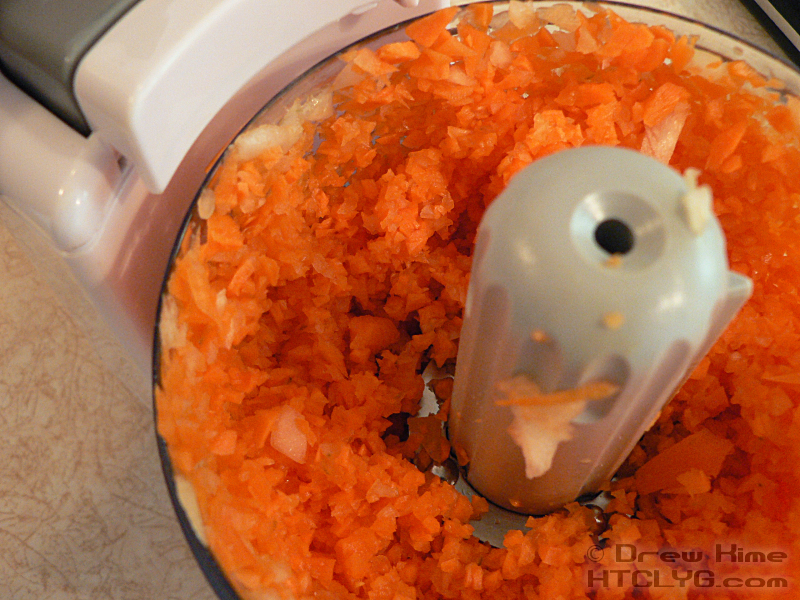
Put the chopped veggies, along with all the other ingredients except the meat, into a large bowl. Really, don’t try to do this in the smallest bowl you think it will fit in. Unless you’ve got some really oversized thing from a restaurant supply store, odds are you should use your largest bowl.
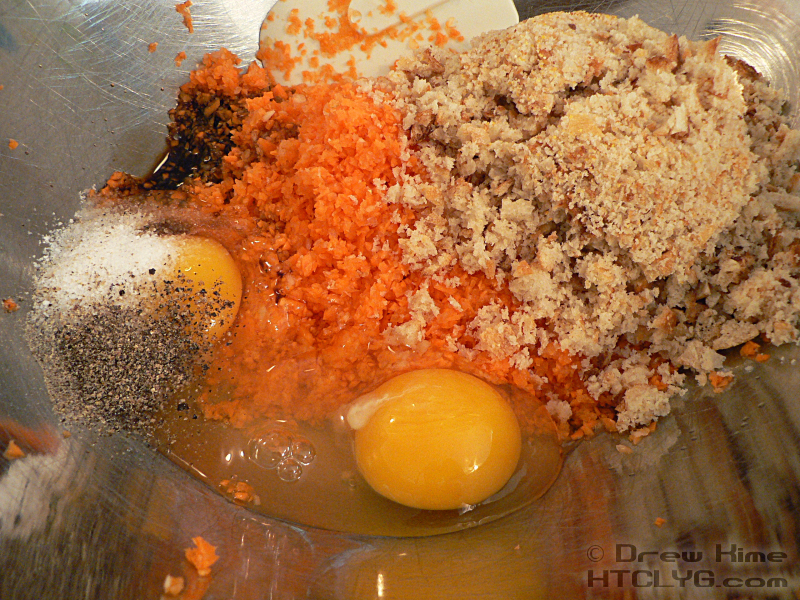
Now before you get your hands into the wet ingredients, pre-heat the oven to 350°.
Mix all the ingredients together really well. You want to do this before adding the meat, otherwise you’ll end up working the meat way longer than you want to. I’m not so worried about making the meatloaf tougher — you can make tough hamburgers if you over-work the beef. It’s just that the longer I work ground beef, the more of the fat melts and gets gummy all over my hands. (Take your rings off when working ground beef. It’s a nightmare cleaning fat out of the crevices.)
You might be wondering, “So what about the bread crumbs and eggs? What’s that about?” Good questions. The bread crumbs make the texture more crumbly than hamburgers, and also help hold in moisture. And if you make your breadcrumbs from the chewy crust of good garlic bread, it adds more flavor, too. And the egg helps hold everything together, so it doesn’t get too crumbly.
Once you’ve got the meat and other ingredients well mixed, form it into a loaf on a flat baking sheet.
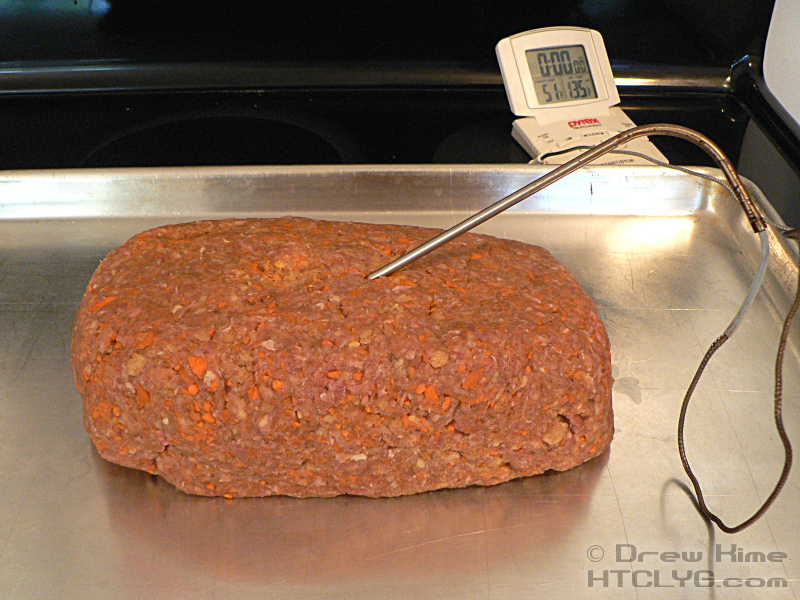
I’ve lined the pan with foil in the past, to make cleanup easier. If the meatloaf sticks at all, not only do you end up cleaning the pan anyway when you rip the foil, you end up having to dig pieces of foil out of the bottom of your meatloaf. With good stainless steel baking pans, cleanup only takes a few minutes anyway. Non-stick is evil for meat, you can’t scrub it with a Brillo™ pad.
There aren’t any pictures of the mixing and forming process, because once I get my hands into ground beef I don’t touch anything else until I’m done and I’ve washed up. Besides being unsanitary and completely gross, you’ll make everything you touch all slippery. Eww.
Stick the probe from your digital thermometer into the loaf at an angle. You want the tip as close to the center as possible. Set it for 135° so you get a heads-up when it’s nearly done. When it goes off, re-set the alarm for 140° and start on your side dishes. You’ll have about 5-10 more minutes until the it’s done cooking, and 5-10 minutes that it should rest before you slice it.
When the second alarm goes off, remove the pan from the oven, but leave the thermometer probe in. If you pull it out, a whole lot of juice will come out with it. When you let it rest, you give the juice time to redistribute throughout the loaf.
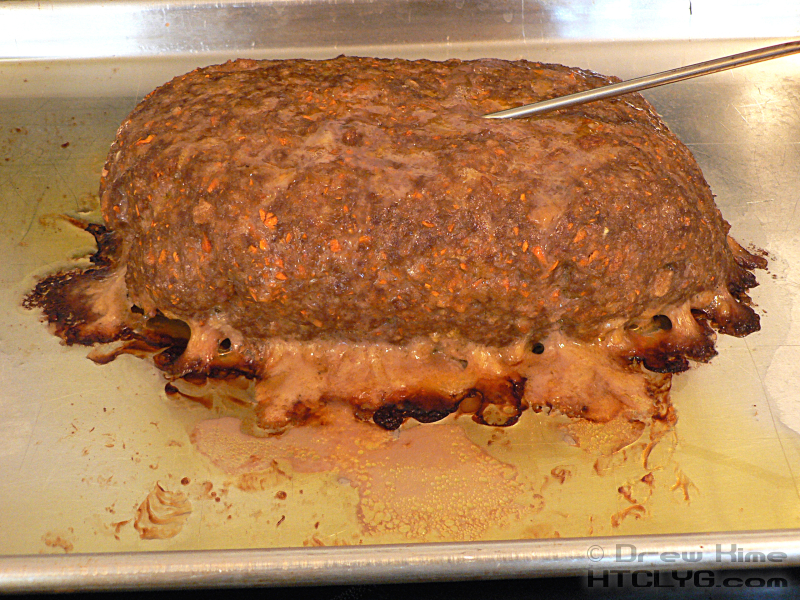
Instead of timing how long it rests, I like to leave the thermometer in after turning off the alarm. You’ll be amazed how much the internal temperature will keep going up after taking a large piece of meat out of the oven. If you wait until the temperature peaks and starts coming back down, it’s ready to carve.
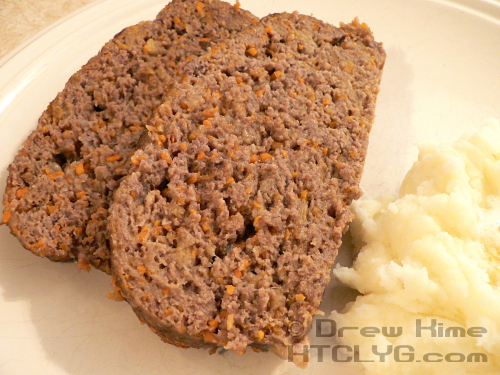
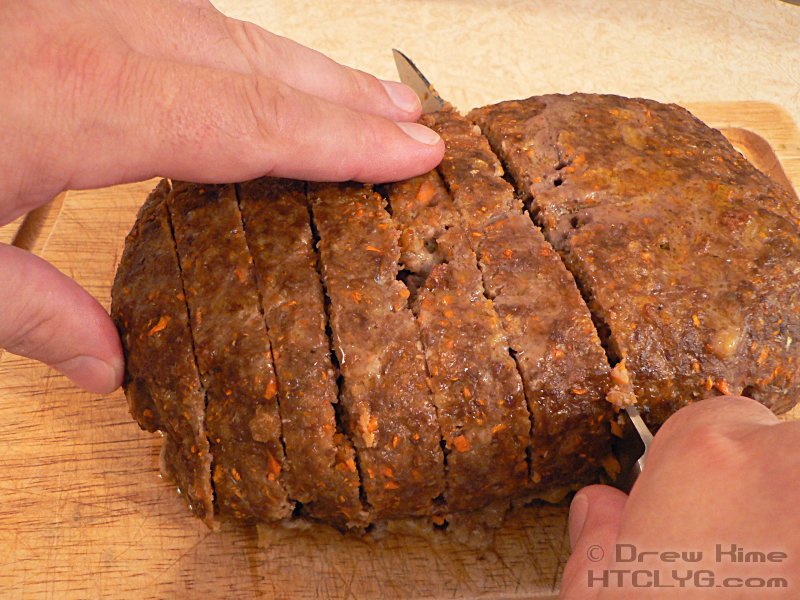
Transfer the meatloaf to a cutting board and slice 3/4-inch pieces, as many as you think you’ll need for the first meal. The leftovers keep better if the loaf hasn’t been sliced yet.
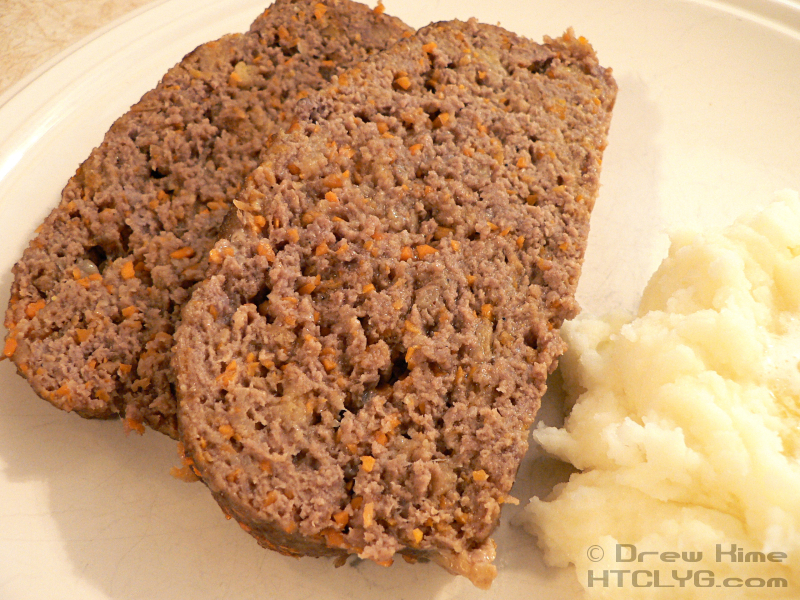
Serve with potatoes (mashed, baked, au gratin, whatever) and/or green beans or peas. Let your kids put ketchup on it, but if you’re a grown-up, please at least taste your food before covering it with ketchup and salt.
And that’s it.
I’ve always though of meatloaf as a cold-weather meal. Turns out I was very wrong. Thanks to Dave for prompting me to give it a try. He will have his copy of the cookbook in his email tonight.
If you want a free eBook copy of the cookbook, email me a suggestion. If I make it you’ll get your copy when I post the recipe.


