After making the Carolina style pulled pork, I decided to try the same technique on some spareribs. Did it work? Let me put it this way: I did two slabs with the long, slow braising, then two days later did another slab with my normal technique. Bad idea.
Normally the whole family loves my ribs. After doing them the new way? The old-style ribs were a disappointment. Still tasty, but the fall-off-the-bone tenderness of this new method just can’t be beat.
Ingredients
Cider / onion sauce
4 pounds Vidalia onions
3-4 tablespoons bacon fat
2 tablespoons each kosher salt and coarse ground black pepper
(Not shown)
6 cups apple cider vinegar
3 cups brown sugar — plus ½ cup per rack of ribs
Directions
The sauce
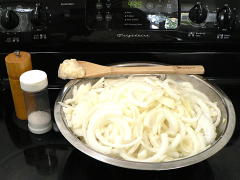
This was supposed to be a big batch of grilled onions. They had 5-pound sacks of Vidalias on sale at the grocery store, so I thought I’d make a bunch and freeze them to use through the summer on steaks and sausages from the grill. That way when I cook out I don’t need to do a pan of onions inside on the stove and heat up the kitchen.
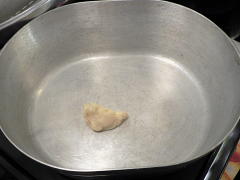
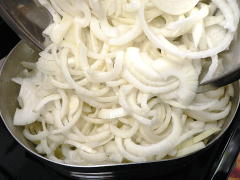
Well, it didn’t work out that way. I tried to go high-volume and do them all at once. So into the dutch oven went the bacon fat, until it was melted, then all the shredded onions.
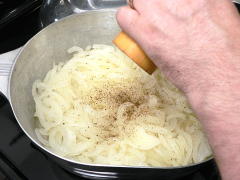
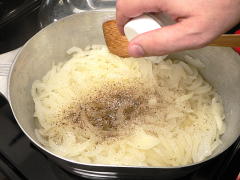
Once they had cooked down enough that I could stir them without flinging hot veg all over the stove, I added the salt and pepper. (Which I did not measure.)
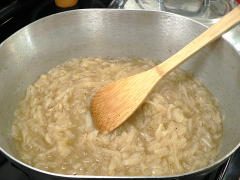
Instead of browning, like I wanted, the onions gave up so much liquid that I was almost making French onion soup. Which is good, but not what I was going for.
I didn’t have any beef broth, and wasn’t really in the mood for soup anyway. Then I remembered the three racks of ribs I had just bought so I could test my new knife.
Okay, change of plans. I’ll recreate the apple cider sweet onion sauce I made before. But a whole bunch of it this time.
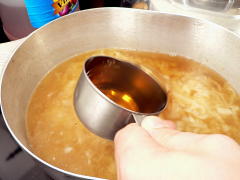
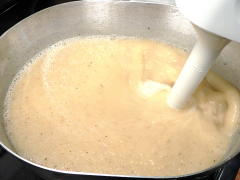
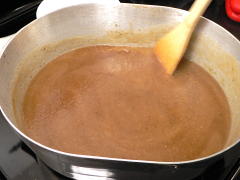
In went the cider vinegar, which I processed with the immersion blender.
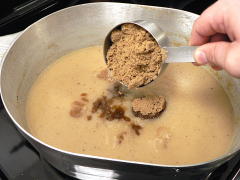
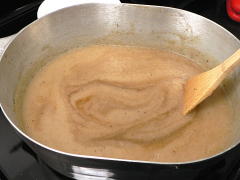
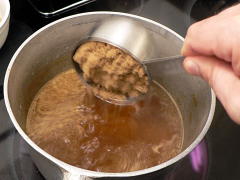
Then stir in the brown sugar.
The ribs
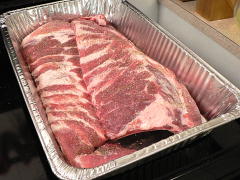
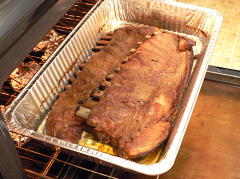
Now the ribs went into a large foil pan, with a generous coating of salt and pepper.
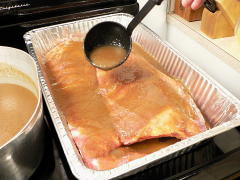
Then enough onion sauce to cover them.
Look at how much sauce is in there — just enough to coat the ribs and a tiny bit in the bottom of the pan. This is important in two more pictures.
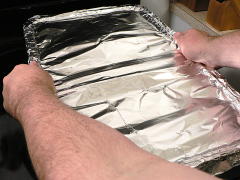
Wrap tightly with foil, and put in a 250° F oven for 8 hours.
Seriously. Eight hours. I told you this was the pulled pork technique, didn’t I?
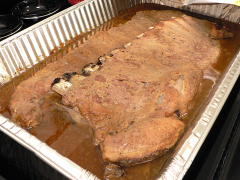
Uncover the pan and take a look at how much liquid is in there now.
Some of that is fat, but a whole lot more is water and melted connective tissue. That’s the stuff that makes pulled pork so lip-smacking good. It’s also why I’m using so much vinegar to cut through it, because otherwise it will feel like you’re sucking on a stick of butter. Moist is good. Greasy? Not so much.
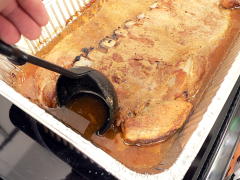
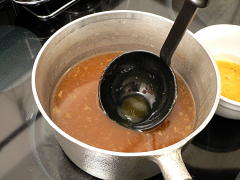
So now that you’ve saved all that liquid instead of letting it drip into the coals and flare up, imparting smoky flavor, you need to get it back onto the ribs. I used a ladle but if you’ve got someone helping, you can just pour it out of the pan.
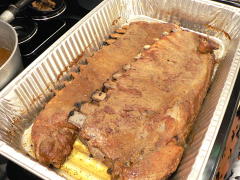
And you’ll be left with some sort-of-ugly ribs.
I knew this was going to be good, because bones were already falling out of the meat without me even touching them.
The sauce, part 2 — AKA the mop
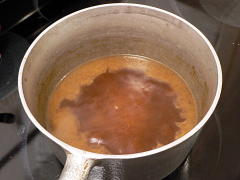
After letting the liquid settle for a few minutes, I skimmed out the grease from the top, then added another cup of brown sugar.
Bring to a boil and let it start reducing.
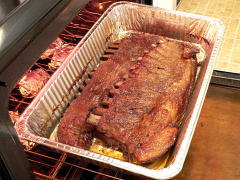
Put the ribs under the broiler until the top just starts to bubble. (You can click on any of the pictures to see larger versions.)
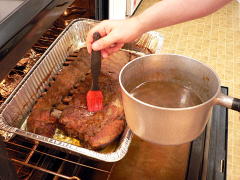
Brush a little sauce on, and put back under the broiler until it’s bubbling again.
Return the sauce to the burner every time you put the ribs back under the broiler. And for God’s sake, don’t walk away. You can go from just-starting to bubbling-a-little to hey-why-is-the-smoke-detector-going-off in about 30 seconds once things are really going.
Do this several times, until you’re almost out of sauce, and the ribs are a deep brown.
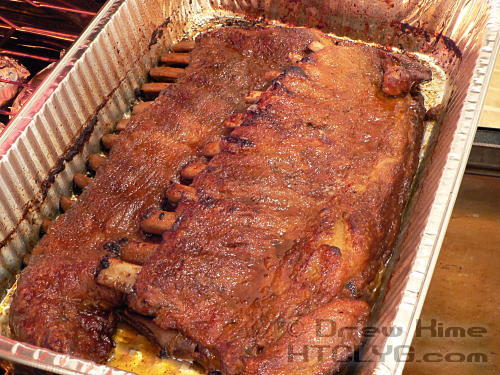
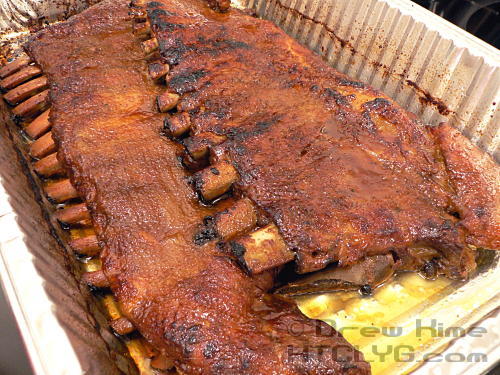
Pull them out and admire your handiwork. Make your significant other come in and tell you how much they love you, and they’re lucky to have you.
The big finish
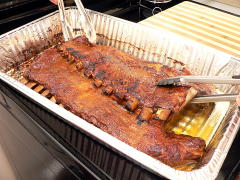
This is the part where you realize how amazing these are going to be. Don’t try to lift the slab from one end, like you normally do, or they’ll completely fall apart. Get two sets of tongs and reach as far under as you can.
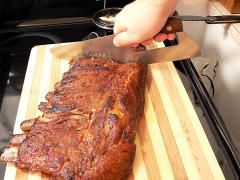
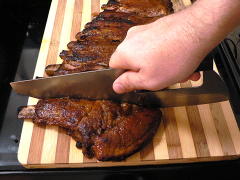
Take a big knife and cut the slab into two- and three-bone sections.
Remember when I reviewed that knife, and I showed that bone you have to cut through?
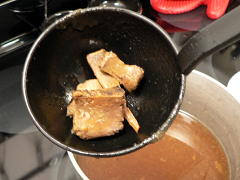
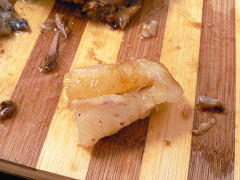
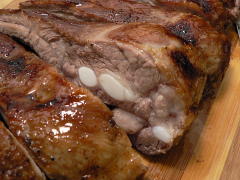
This time it went through like there was no bone. I dug through the pieces of pork and found this.
That’s all that was left of the bone. And you could pull it apart with your fingers.
For comparison, here’s the back bones in that other rack I told you I did two days later. These were only cooked for 3 hours.
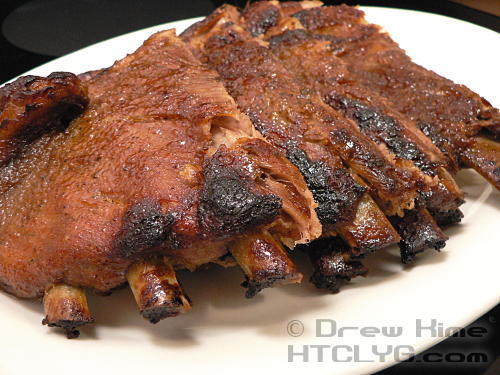
You’ve heard the phrase “falls off the bone”? With these, the bones fell out on their own.
I’m not kidding.
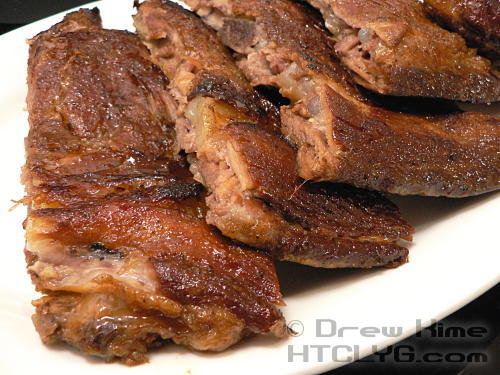
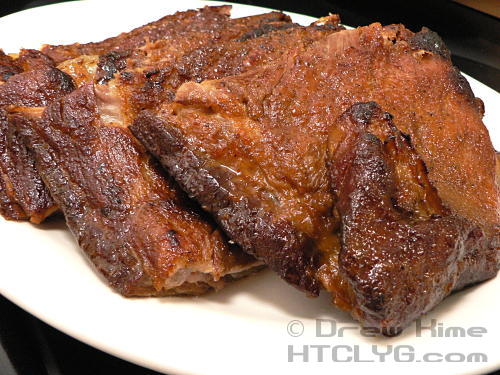
That’s some tender meat. And pretty, too.
And did I mention absolutely delicious? Yes, I think I did.
And that’s it.
