This recipe can easily be done in a pie plate, which is what most recipes call for. But the cast iron skillet evens out the temperature, so all the rolls are evenly cooked without any hot spots. If your pan is seasoned at all well, the rolls will also release easier than from any pie plate I’ve ever seen. That includes “non-stick” pie plates.
And did I mention, they’re absolutely delicious? Yeah, I probably should have started with that: They’re delicious. The kids made us promise not to eat the rest after they went to bed so they could have them for breakfast the next morning. Smart kids.
Ingredients
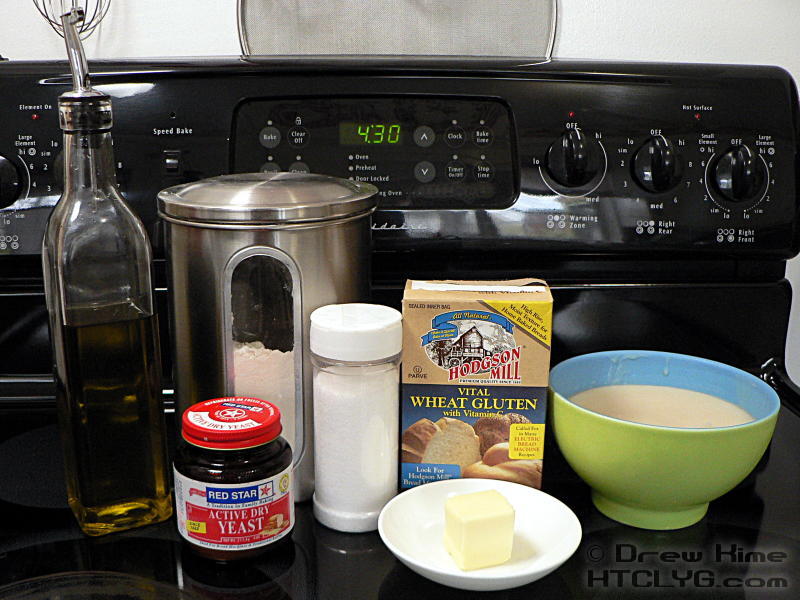 2 cups all-purpose flour (see note)
1 teaspoon active dry yeast
1 teaspoon sugar
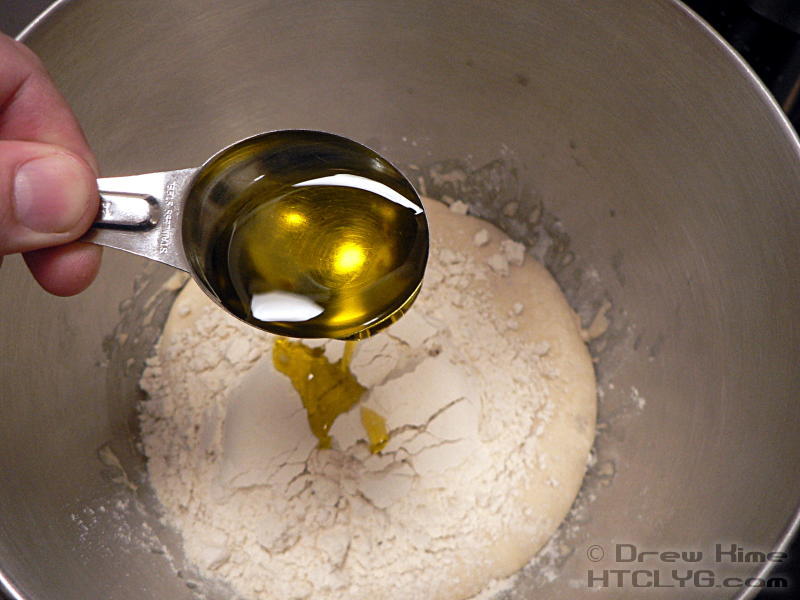
1 tablespoon olive oil
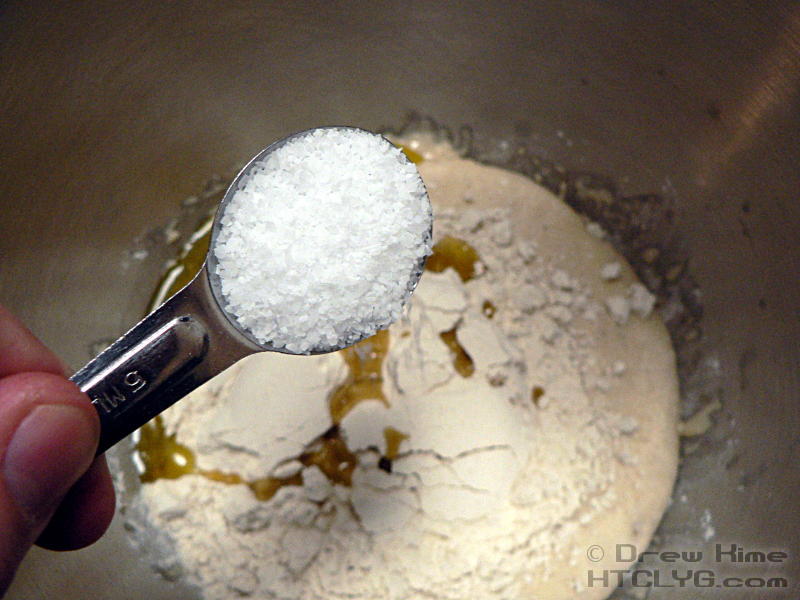
1 teaspoon salt
2 tablespoons butter, melted
oil
bacon fat
— Optional —
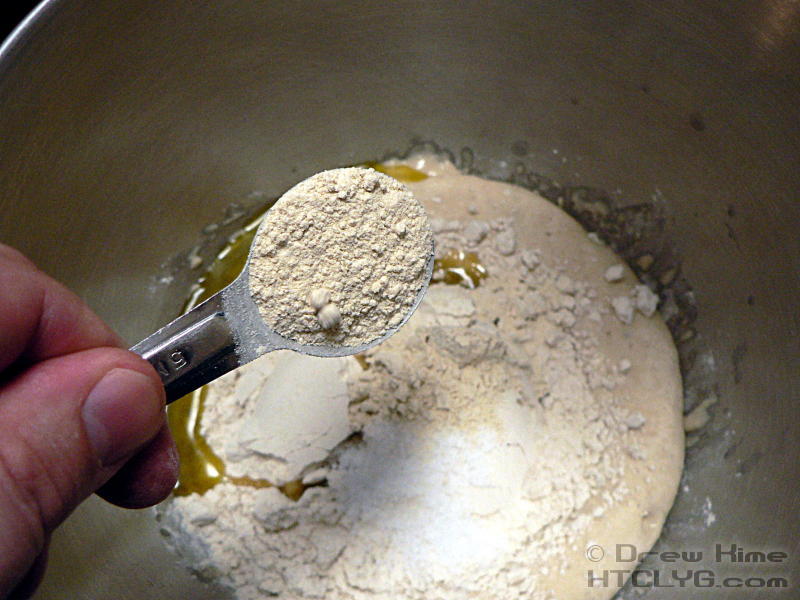
2 teaspoons wheat gluten
NOTE: gluten not needed if you use bread flour
Directions
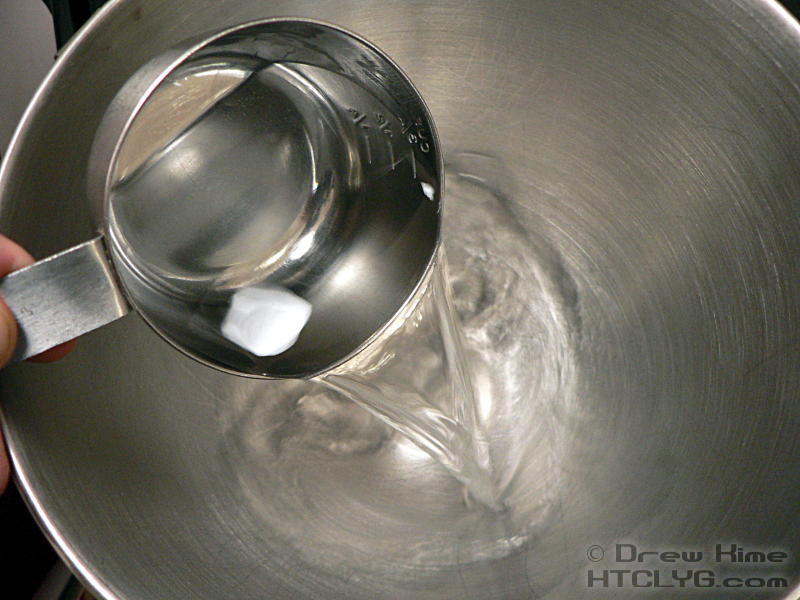
Like all breads, this one starts with proofing the yeast — literally proving that the yeast is active. The one time I got cocky and skipped this step I got the temperature of the water wrong and the yeast didn’t take off. Unless you do a lot of bread and can get this right in your sleep, take the extra ten minutes.
Start with ¾ cup warm water, between 105° and 115° F. Don’t be too proud to use a thermometer to check. Too cold and you won’t wake up the yeast, too hot and you’ll kill it.
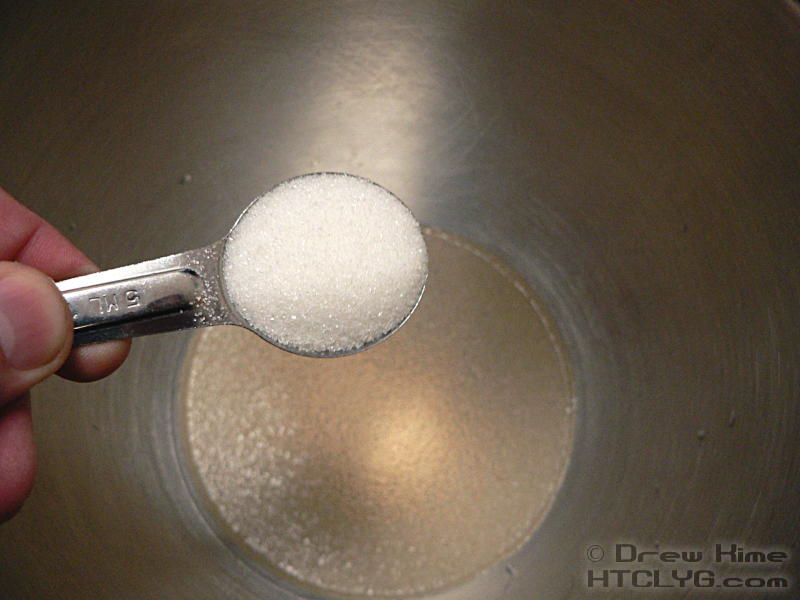
Stir in the yeast and the sugar, so the yeast has something to eat.

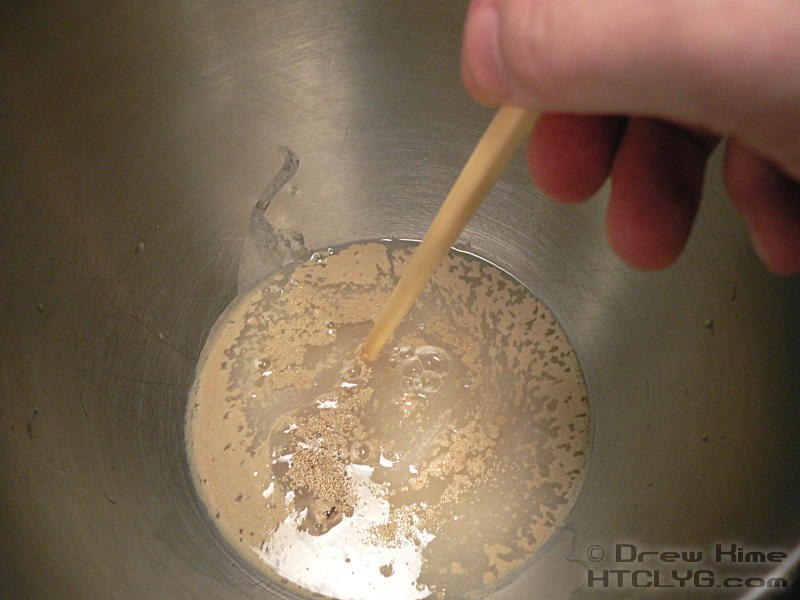
That’s a chopstick I use for stirring. Yeast gets very sticky when it dissolves in warm water. With the chopstick, there’s less for it to stick to.
Stir in one cup of the flour, and set the bowl aside for ten minutes while the yeast starts multiplying.
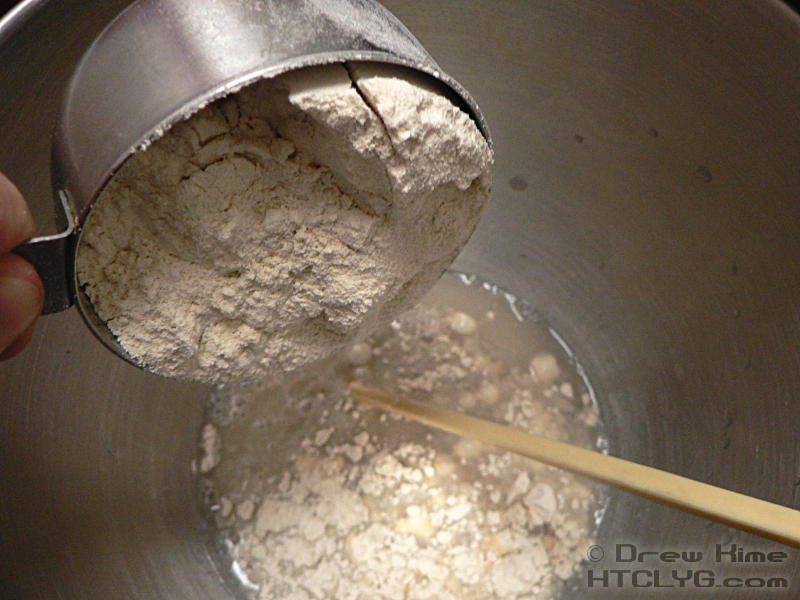
You don’t strictly need the flour to proof the yeast, but I think it’s a lot easier to see that it’s going when the dough starts to puff up.
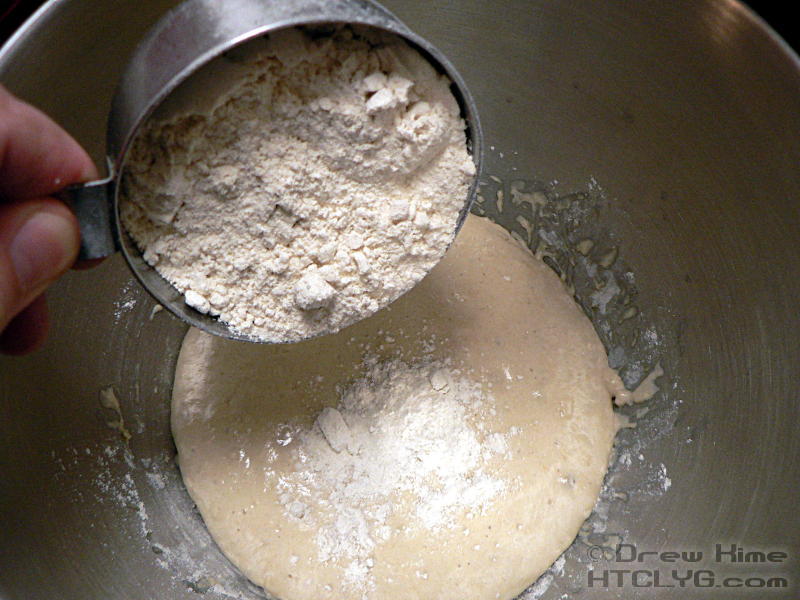
Once you’ve confirmed the yeast is going, add the rest of the flour, the olive oil, the salt and — if you’re not using bread flour — the gluten.
Most bread recipes you find in cookbooks are based on 4 cups of flour instead of 2, and they yield two loaves of bread. That’s because the recipes are based on 1 standard size packet of yeast. If you buy the jars not only is it cheaper, but you can cut recipes in half.
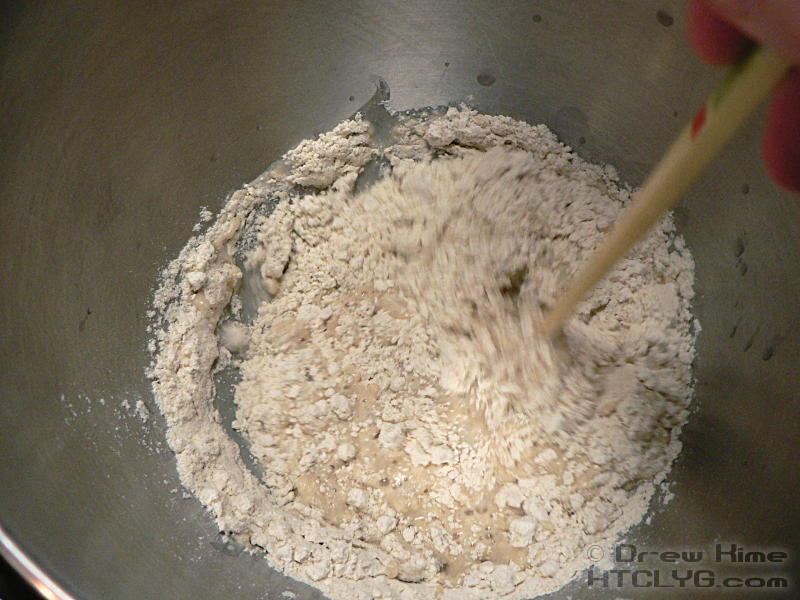
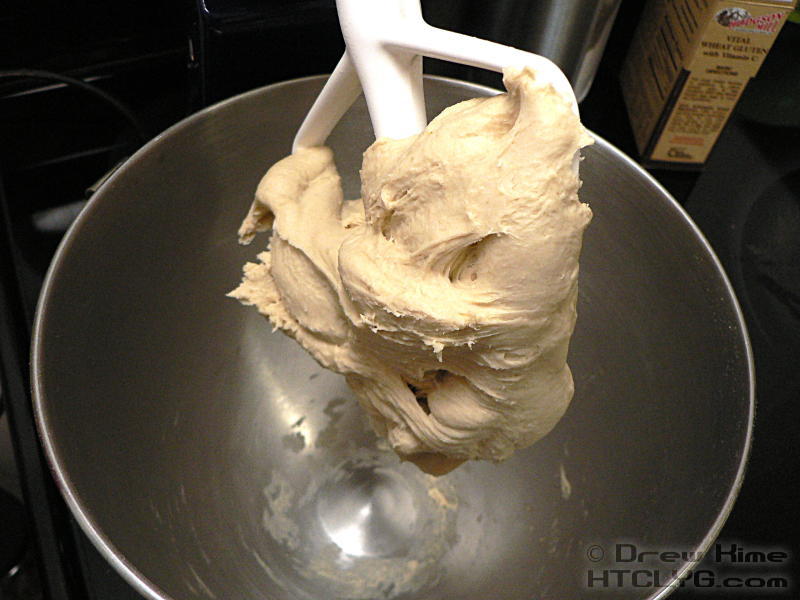
Because I’m doing the “half” recipe, the dough hook doesn’t really work. So I use the beater attachment.
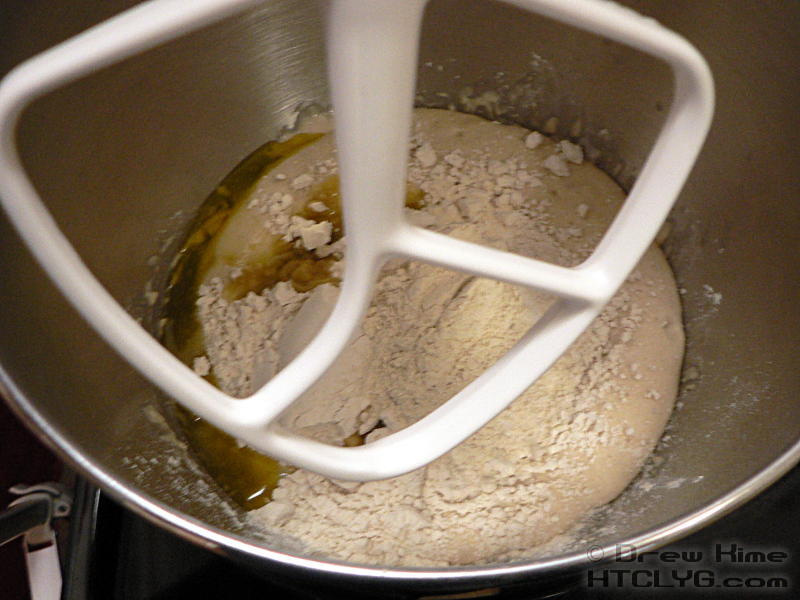
Start out on low speed until all the flour is incorporated, then move up to high speed for 3-4 minutes until the dough pulls away from the bowl and wraps around the beater.
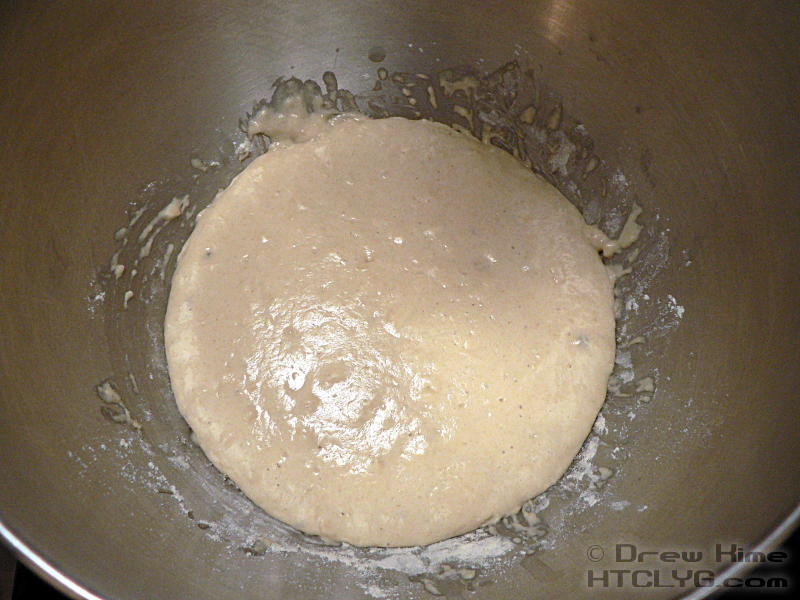
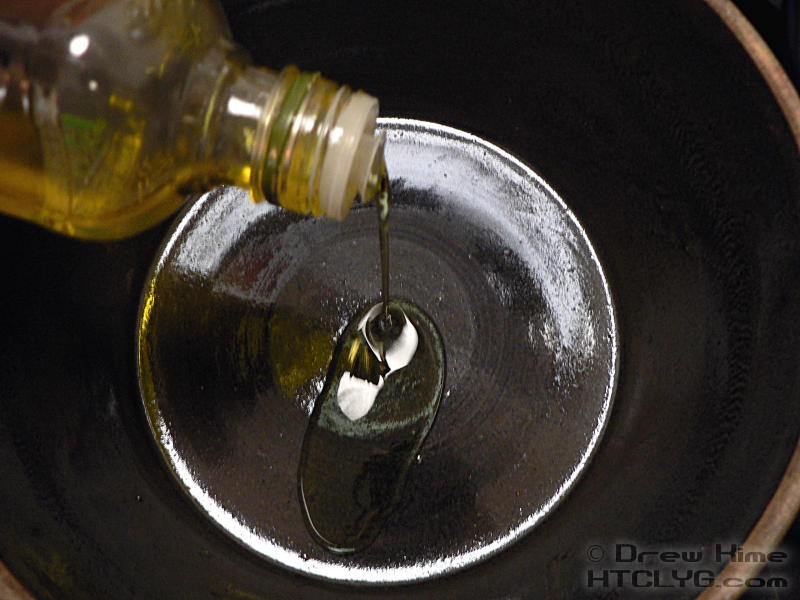
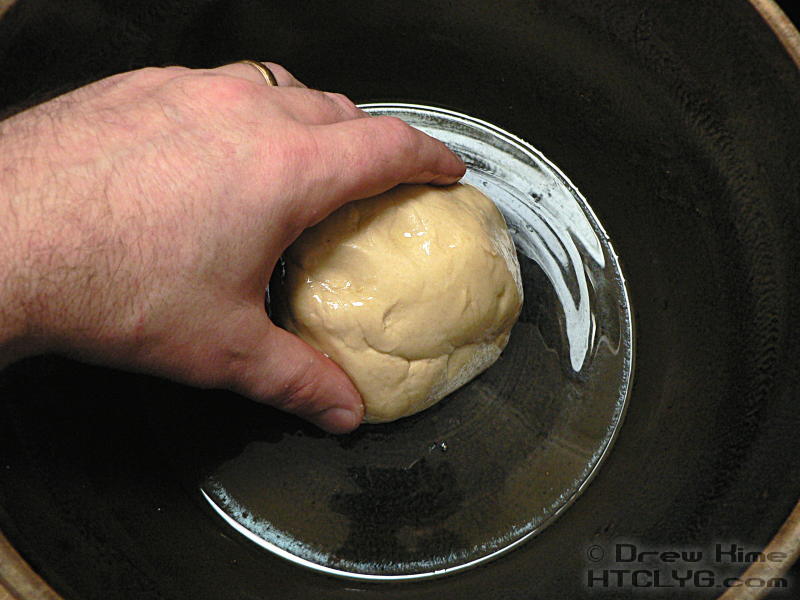
Put a few tablespoons of oil in a clean bowl, and roll the dough in it to coat all sides so it doesn’t stick.
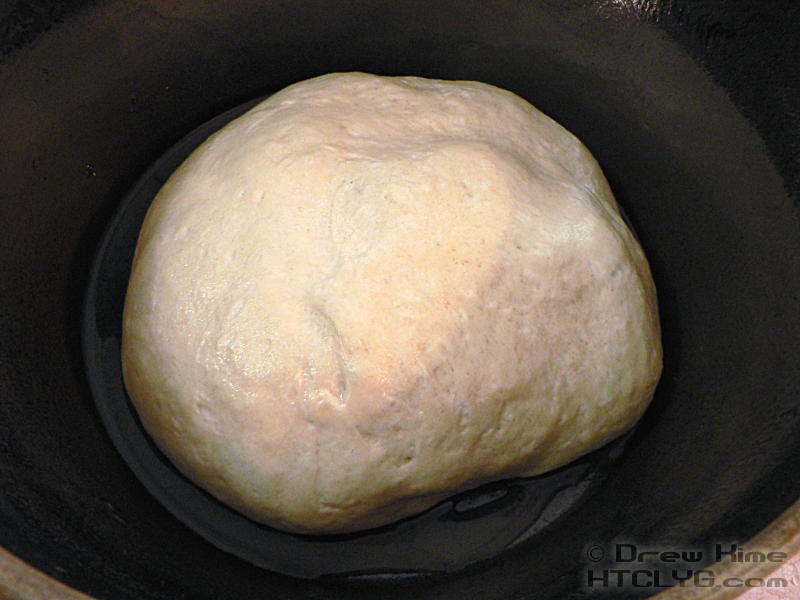
Cover the bowl with plastic wrap or a wet tea towel to keep the dough from drying out and forming a skin. Place the bowl in a warm place — ideal is in the stove, turned off but with the light on, the light generates just enough warmth to help the yeast along.
Leave the dough until it has doubled in volume, about a half-hour to an hour, depending on how warm it is.
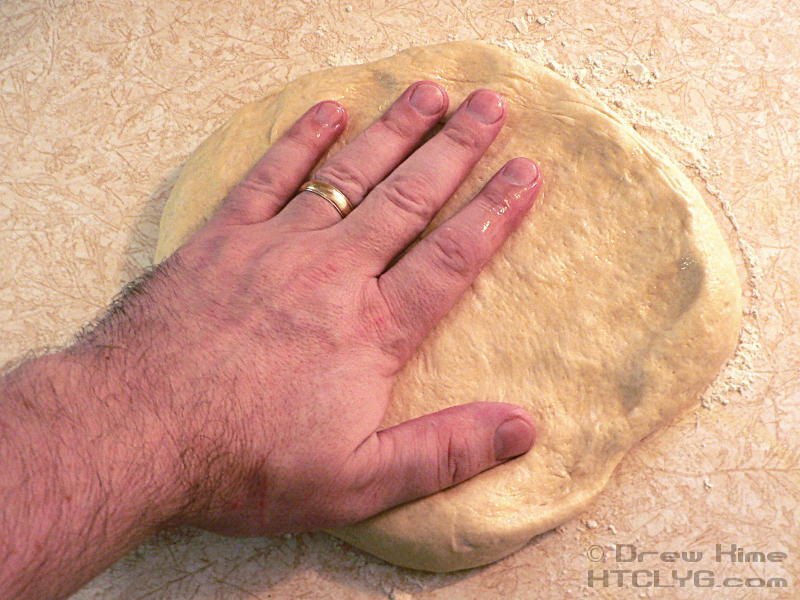
Turn the dough out to a floured surface and press most of the air out of it, but don’t mash it flat or roll it out.
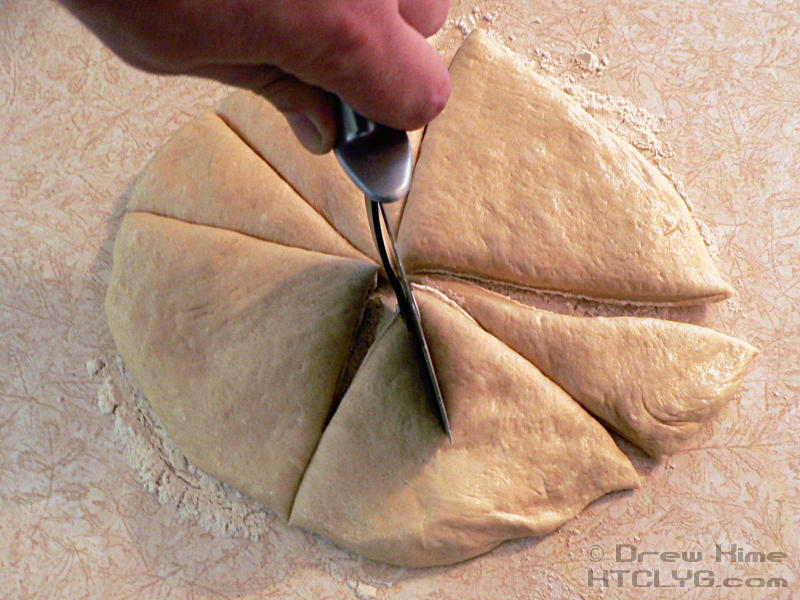
Using a pizza cutter or sharp knife, divide the dough into 12 even pieces.
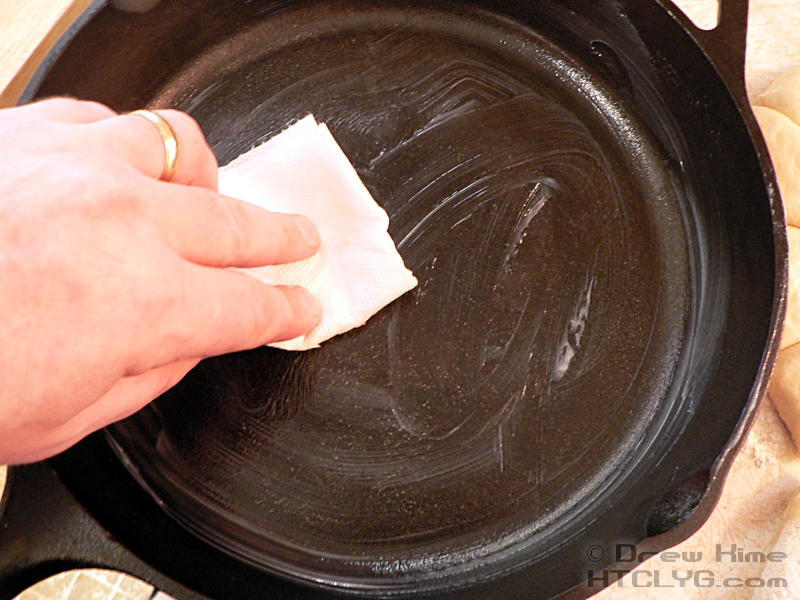
Grease a cast iron skillet with bacon fat.
Roll each piece of dough into a ball and arrange them in the pan, leaving a little room between them.
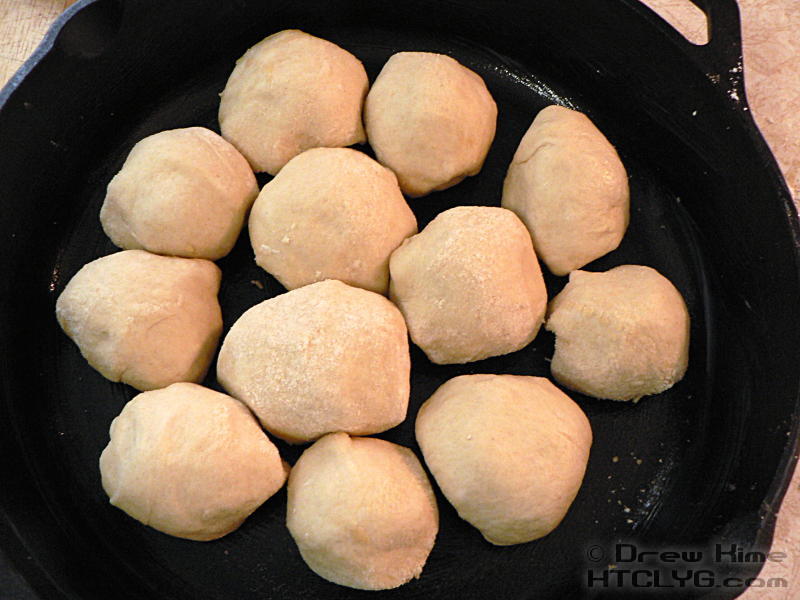
Return the skillet to the oven — still turned off — until the dough has doubled in size again.

I could have let those go a little longer, but it was nearly dinner time.
Brush the tops with half the melted butter.
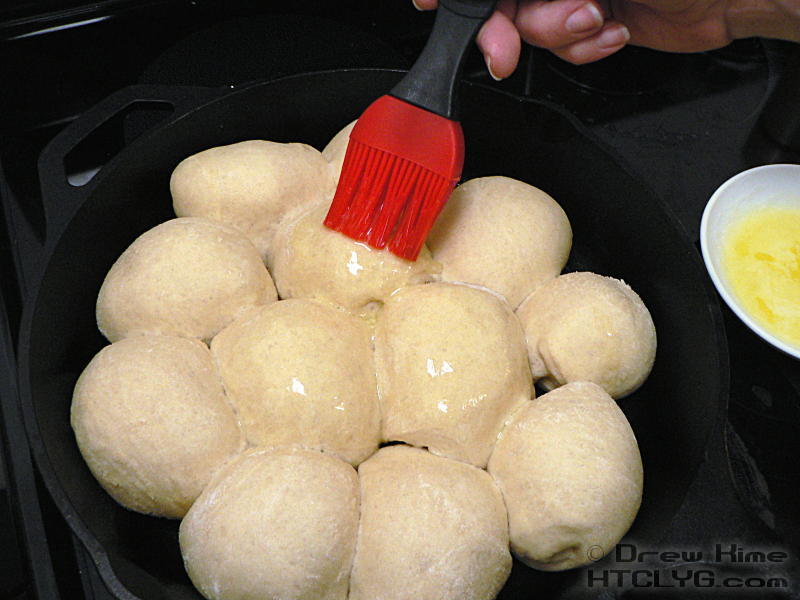
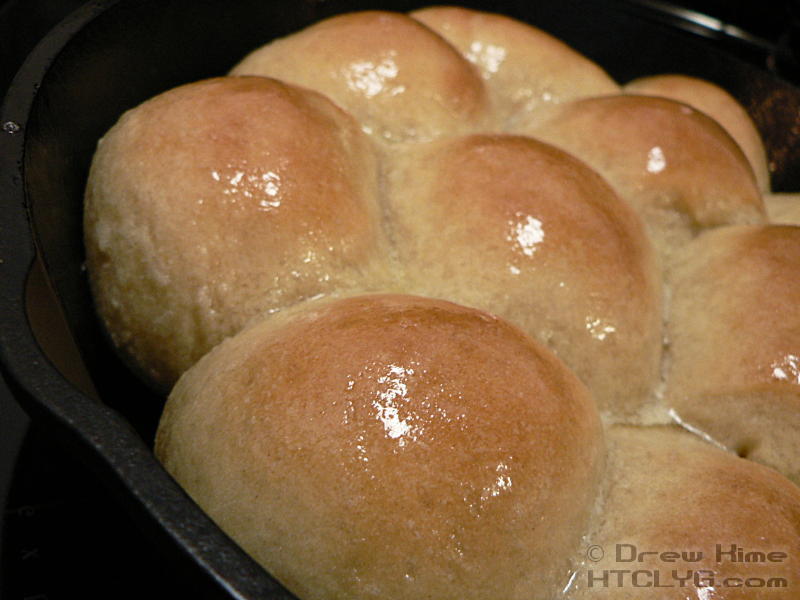
Bake at 400° for 10-15 minutes, until the tops are golden brown.

Brush with the remaining butter and serve still hot from the oven.
And that’s it.

Ingredients
- 2 cups all-purpose flour (see note)
- 1 teaspoon active dry yeast
- 1 teaspoon sugar
- 1 tablespoon olive oil
- 1 teaspoon salt
- 2 tablespoons butter, melted
- oil
- bacon fat
- -- Optional --
- 2 teaspoons wheat gluten
- NOTE: gluten not needed if you use bread flour
Instructions
Mix the yeast, sugar and half the flour with ¾ cup warm water, between 105° and 115° F. Allow to set for 10 minutes until the yeast activates.
Add the remaining flour, salt, olive oil and gluten (if using all-purpose flour) and knead until smooth and satiny. Punch down and divide into 12 equal pieces.
Grease the skillet with bacon fat. Roll the dough into balls and arrange in the skillet. Brush with melted butter, and bake at 400° for 10-15 minutes, until the tops are golden brown.


