I knew I was only going to have a couple of hours to make dinner, so I wanted to try a single-rise bread. Something I could do start-to-finish in about two hours instead of the usual three or four. I went looking for recipes and came across this page of general tips for making bread. Lots of good stuff there, but one thing I halfway disagree with.
Each rise you give bread dough increases the flavor. So let it rise, punch it down, let it rise again, and you’ll have more flavor than in a single rise. When that page says “A good loaf results from a single rise,” that’s technically true. But a much better loaf can come from two or three — or even more — cycles of rising and punching down.
Today, though, I wanted something to make a sandwich on. So I didn’t need a bread with enough flavor on its own. This version still has more flavor than most store-bought breads, but for a bread that I want to eat on its own, I’d still go for the second rise. If you’re in a hurry (relatively speaking) and want something quicker, this works great.
Ingredients
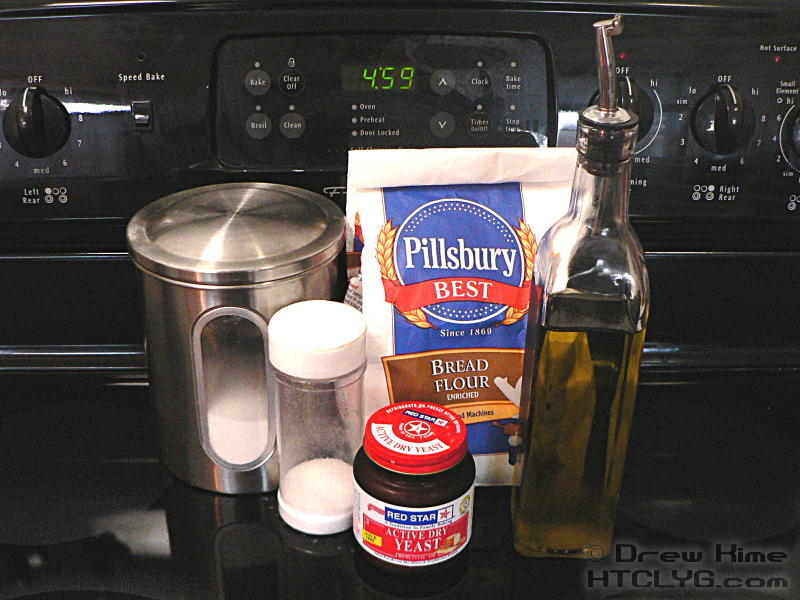 1½ – 2 cups bread flour
1 teaspoon active dry yeast
1 teaspoon sugar
1 teaspoon salt
1 tablespoon extra virgin olive oil
cornmeal and olive oil to prevent sticking
Directions
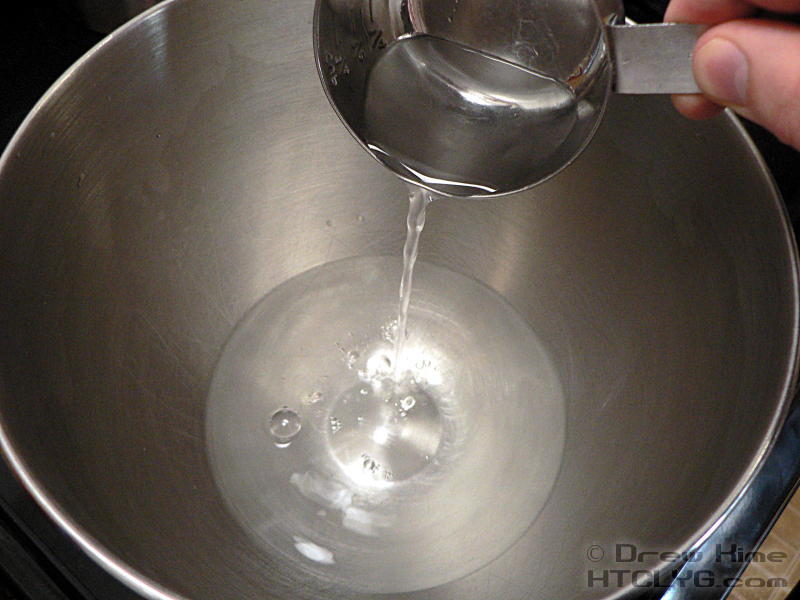
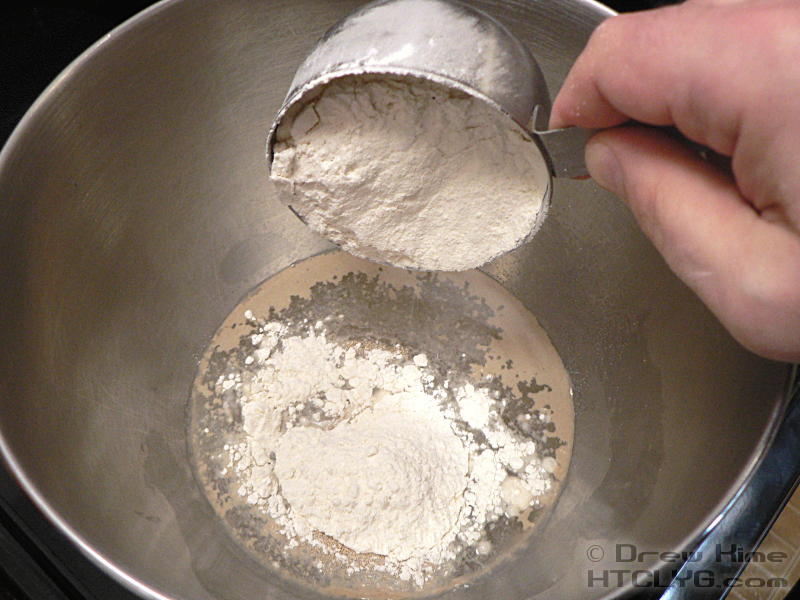
In a large mixing bowl, combine 1 cup of warm water (105° – 115° — warm enough to activate the yeast, not hot enough to kill it) with the yeast, sugar, and one cup of the flour.
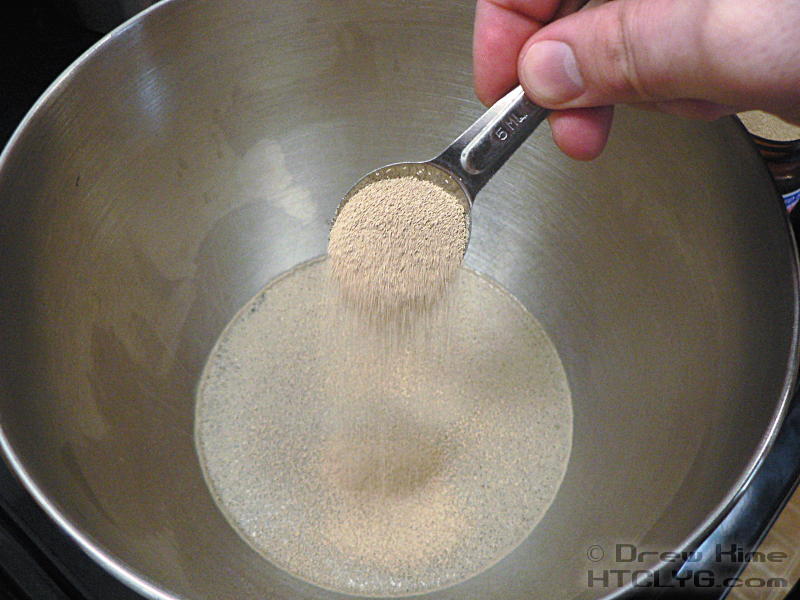
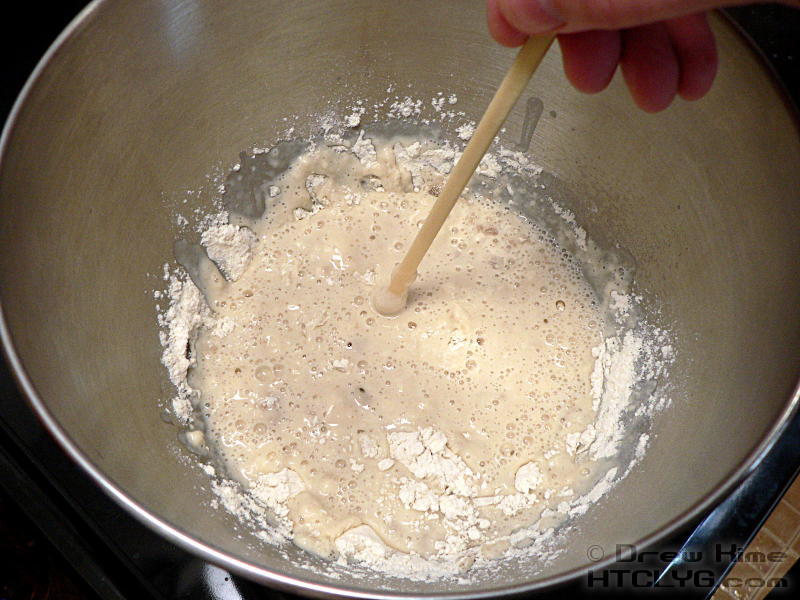
Stir together quickly. Yeast gets very sticky, so I mix with a chopstick or the handle of a mixing spoon. This gives less surface for the yeast to stick to.
Let the mixture sit for about 10 minutes, until you see bubbles starting to break the surface. This means the yeast is active and eating the sugar.
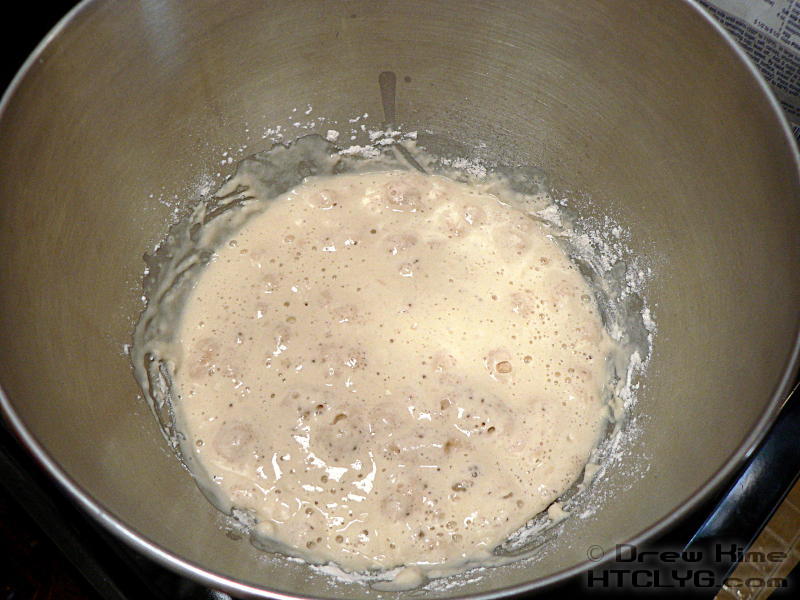
If you ever see a recipe that says to “proof the yeast”, that’s what you just did. All it does is “prove” the yeast is still active, and hasn’t expired.
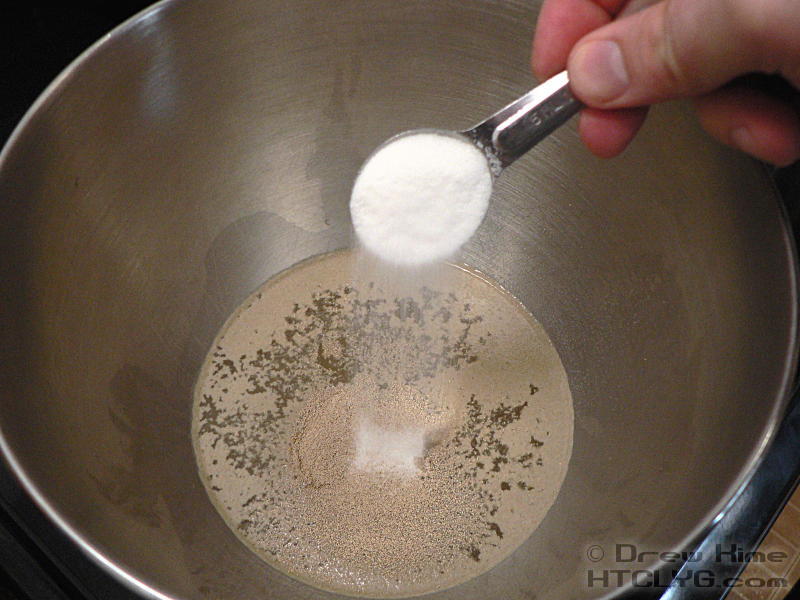
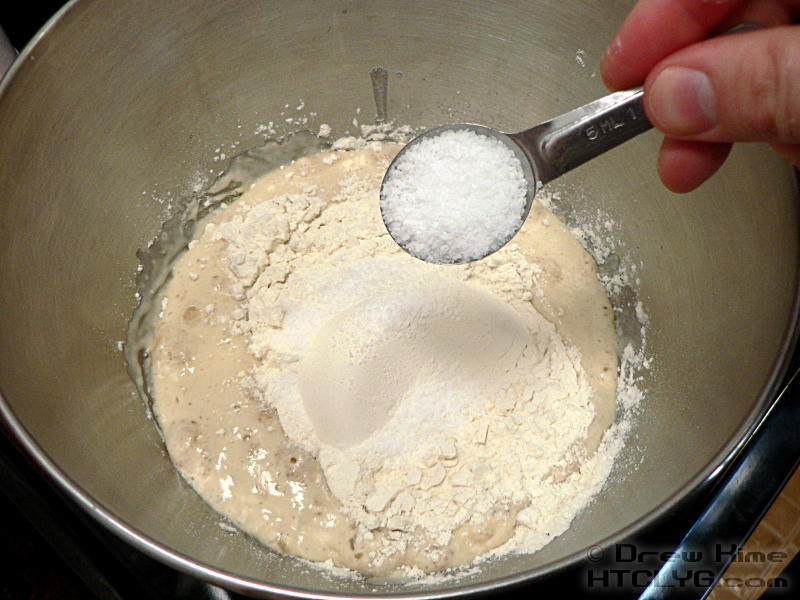
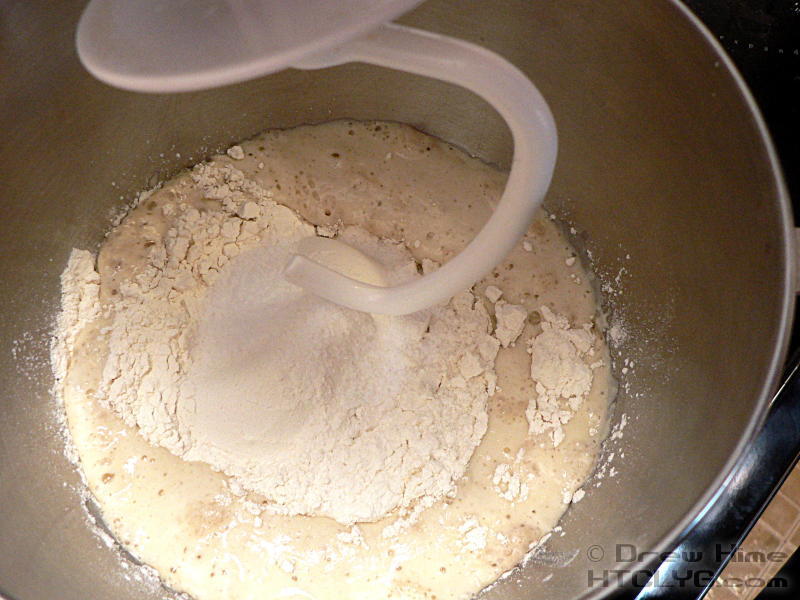
Once the yeast is going, add another half-cup of flour and the salt, and mix on low speed until all the flour is incorporated.

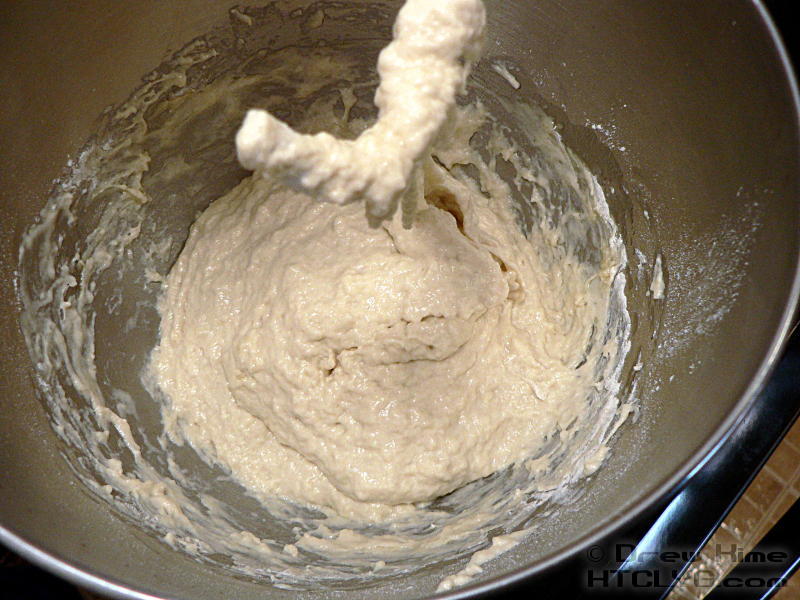
Add the olive oil and mix on low again until the oil is incorporated.

You can’t add the oil in the beginning, because it will coat the flour and keep it from absorbing the water.
Check the consistency at this point. If it is still too runny and doesn’t stick to the beater, add more flour a quarter-cup at a time until the dough pulls away from the sides.
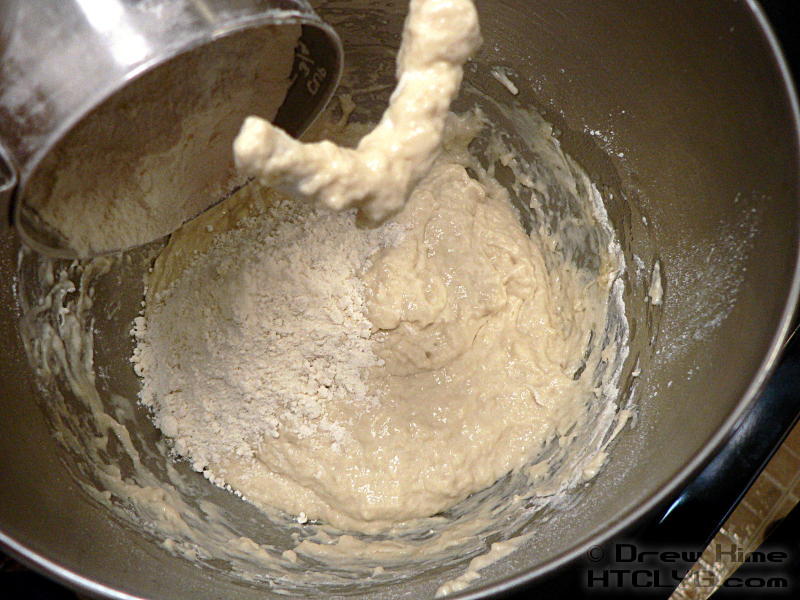
The wetter the dough is the faster it will rise, so go easy on the flour.
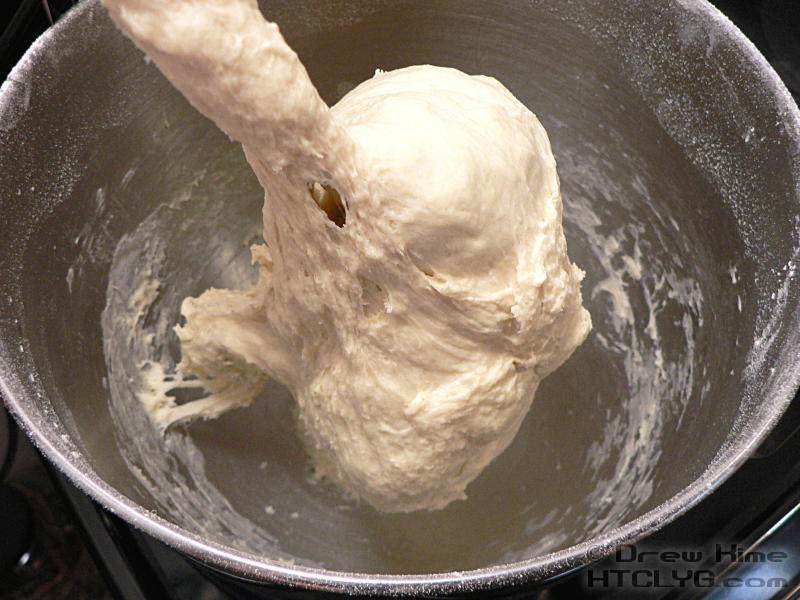
Beat on medium for about 8 minutes. You want the dough to completely pull away from the sides of the bowl and stick to the hook.
Put a few tablespoons of oil in a clean bowl to coat the bottom and put the dough in.

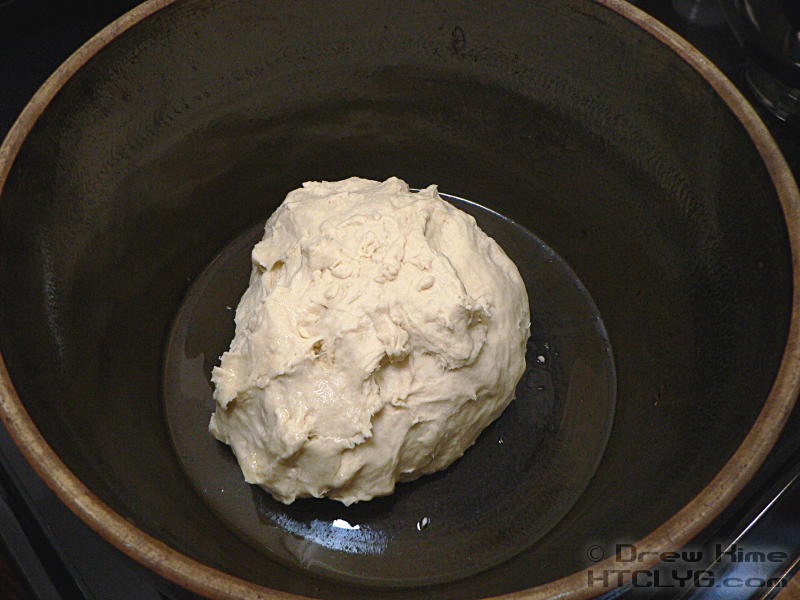
Cover the bowl with plastic wrap or a wet tea towel to keep the dough from drying out. Place the bowl in a warm spot to rise. Inside your oven, turned off but with the light on, should be just right.
Leave it to double in size, about a half-hour.
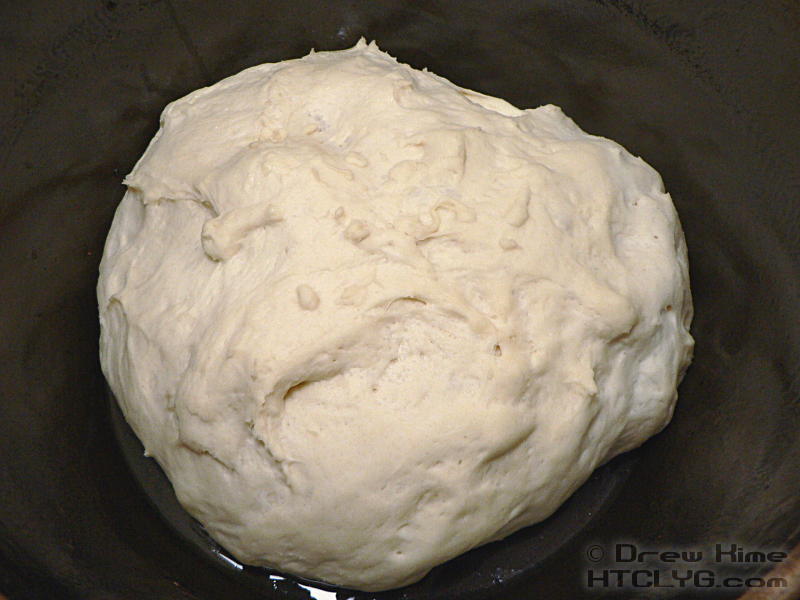
Turn the dough out onto a floured surface, but try not to deflate it.
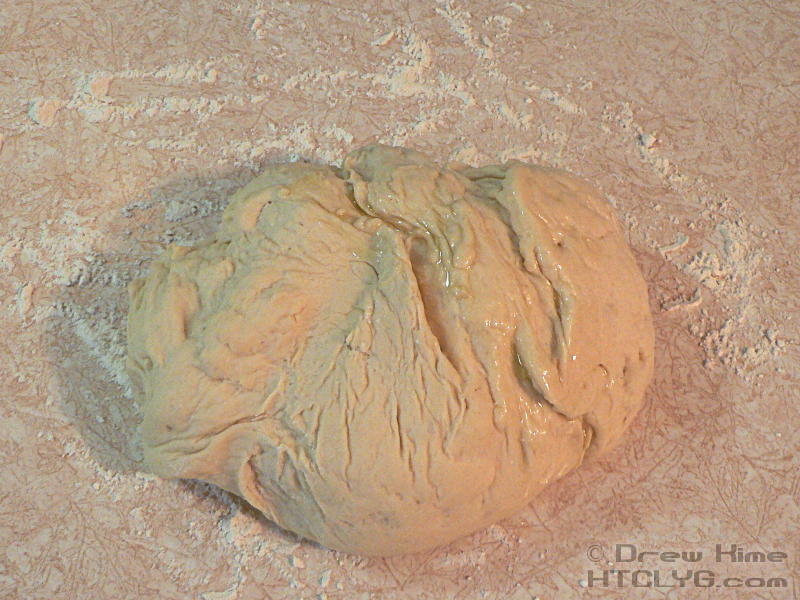
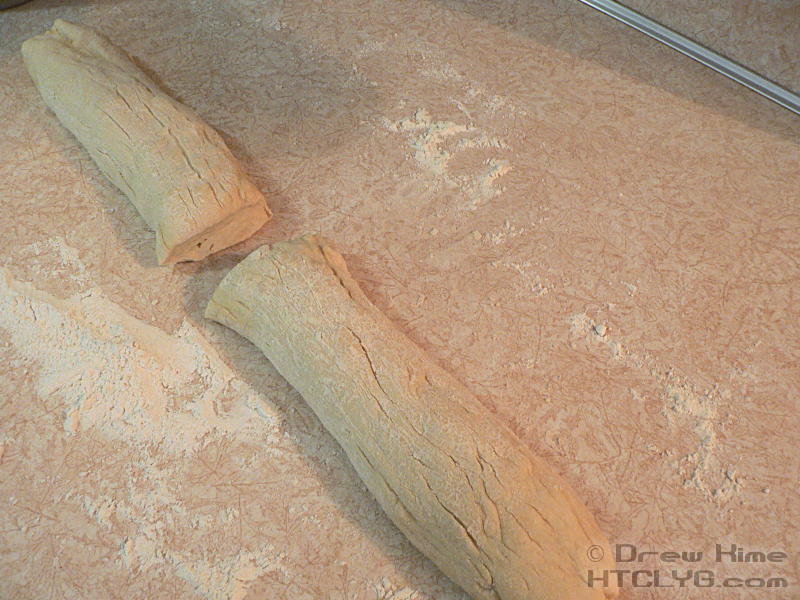
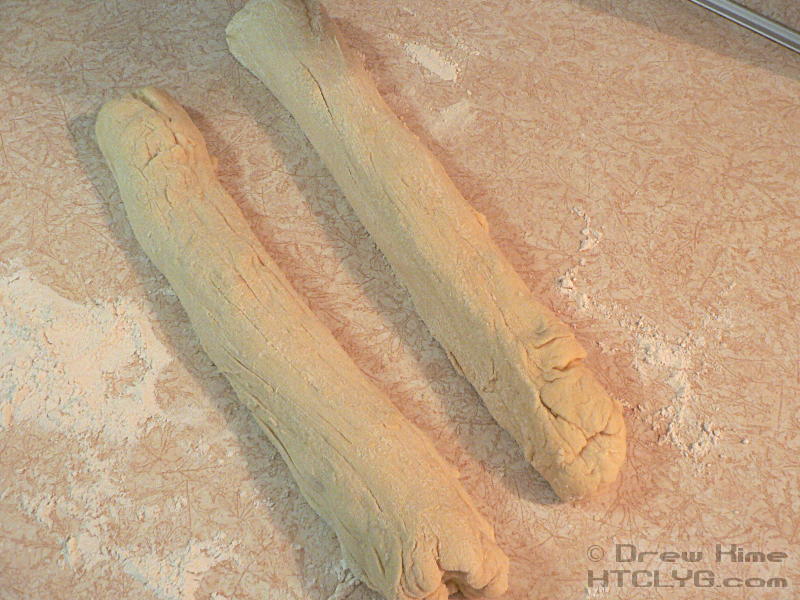
Gently stretch the dough out into a long roll.
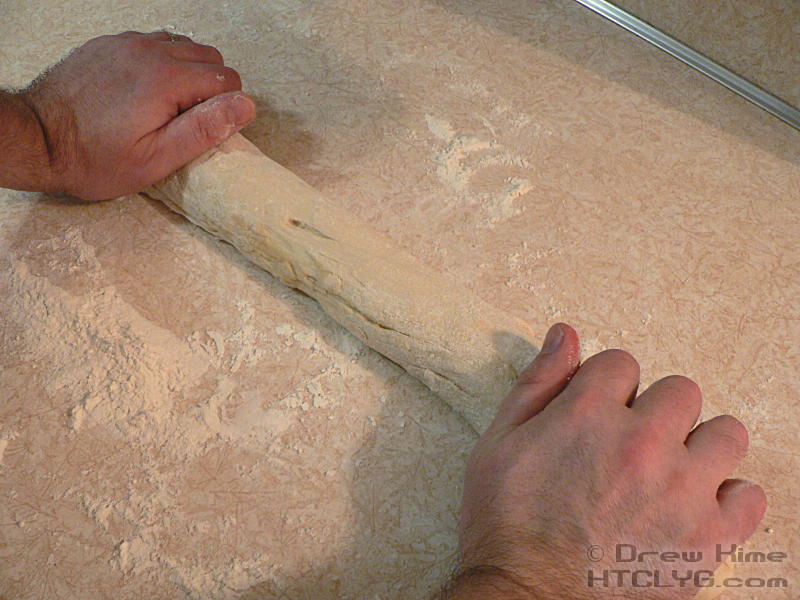
Cut it in half, so you have two rolls as long as your largest baking sheet.
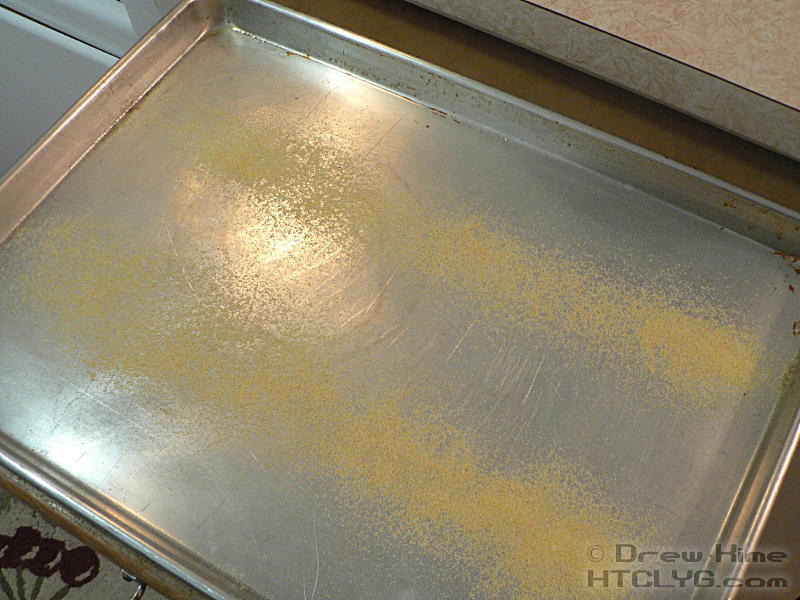
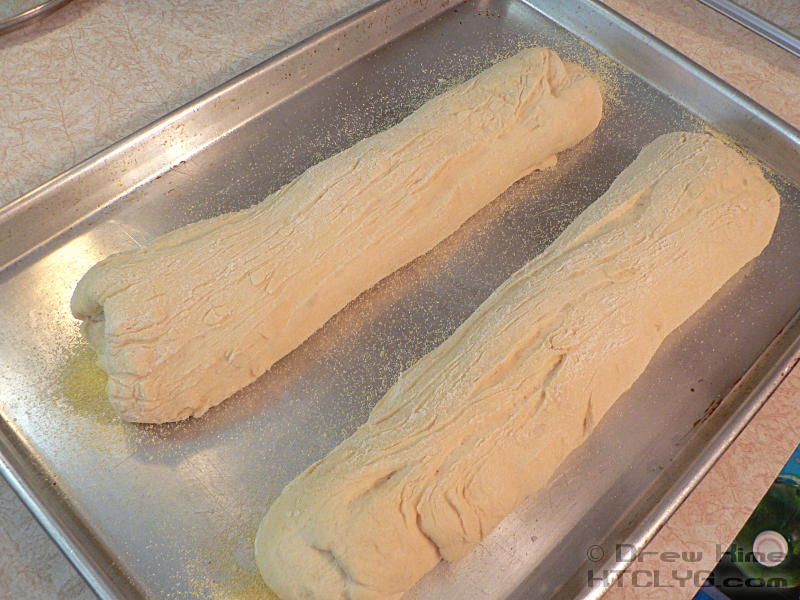
Dust the baking sheet with cornmeal and place the rolls on it.
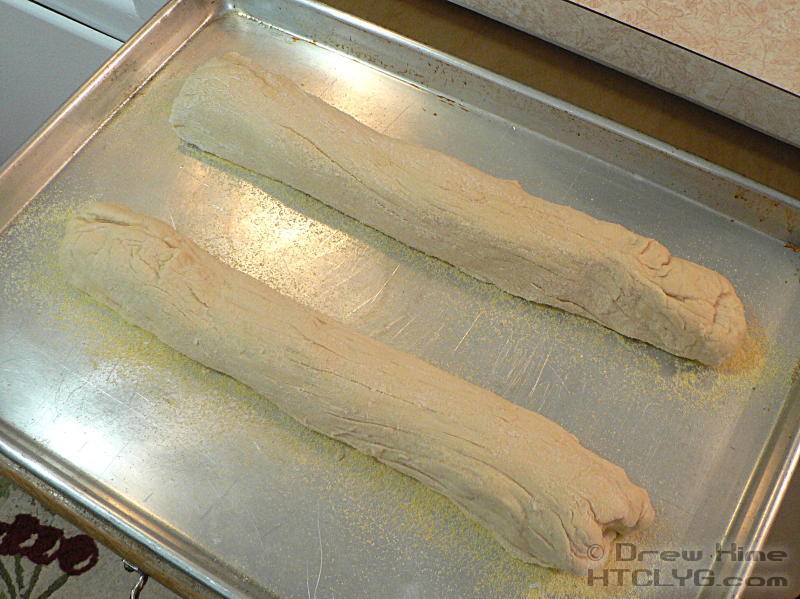
Pre-heat the oven to 400°. In the time it took to heat up, my rolls kept rising, gaining back the volume they lost while I was shaping them.
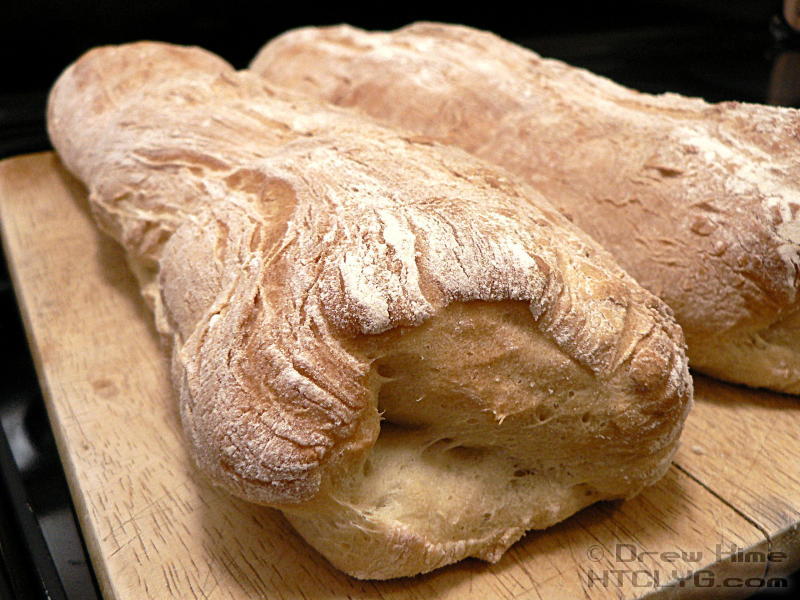
Bake at 400° for 20 minutes, until golden brown and it sounds hollow when you tap on it.
And that’s it.

Ingredients
- 1½ - 2 cups bread flour
- 1 teaspoon active dry yeast
- 1 teaspoon sugar
- 1 teaspoon salt
- 1 tablespoon extra virgin olive oil
- cornmeal and olive oil to prevent sticking
Instructions
In a large mixing bowl, combine a cup of warm water (105-115°), the yeast, sugar, and one cup of flour. Mix quickly and allow to sit for 10 minutes so the yeast can activate.
Once you see bubbles reaching the surface, add another half-cup of flour and the salt. Beat on low speed until the flour is incorporated. Add the olive oil and beat on low again. If the dough is still too wet, add flour a quarter-cup at a time and mix on low. You have enough flour when the dough starts to pull away from the edges of the bowl instead of flowing back down. Beat on medium speed for 8 minutes, until the dough all comes together and sticks to the dough hook.
Put a few tablespoons of oil in a clean bowl to coat the bottom, and add the dough. Cover with plastic wrap or a wet towel and place in a warm spot to rise until doubled in volume. (About a half-hour)
Turn the dough out onto a floured surface, being careful not to deflate it. Stretch into a long roll, and cut into two pieces. Dust a baking sheet with cornmeal and put the two rolls on it.
Bake at 400° for 20 minutes, until golden brown and hollow-sounding when you tap on it.


