There aren’t many complex activities humans have been doing for longer than they’ve been making bread. But since the invention of sliced bread, most of us have gotten out of the habit.
It’s so bad that when I asked people who took my introductory cooking class — you can still sign up using the form on the right side of the blog, by the way — when I asked them what they wanted to know more about, making yeast breads was in the top three along with canning and knife skills.
I didn’t have much experience with yeast either, having made my first yeast bread just a year-and-a-half ago. That’s why I reached out to Jenni, the Online Pastry Chef, and to The Reluctant Gourmet, for help on my second book, Starting From Scratch, the Owner’s Manual for Your Kitchen.
Well, I’ve been practicing. So when I needed to bring appetizers to a party recently, I looked into the fridge and the pantry to see what I had. The fridge had asiago and cheddar cheese. The pantry had flour and yeast. (Okay, actually the yeast was in the freezer. Grant me a little artistic license here, okay? Thanks.) That sounds like asiago cheddar rolls to me.
Ingredients
 1½-2 cups all-purpose flour (or bread flour)
1 teaspoon active dry yeast
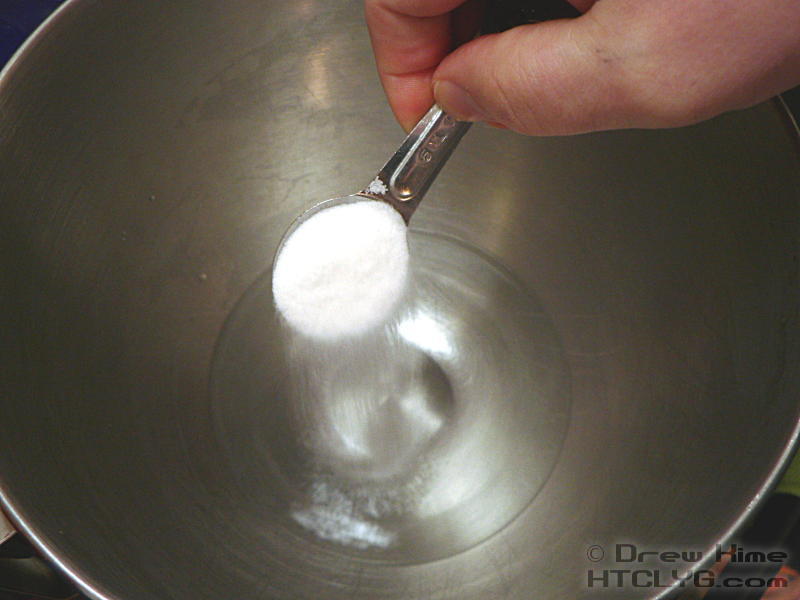
1 teaspoon sugar
1 teaspoon salt
1 cup each shredded asiago and cheddar cheese
Directions
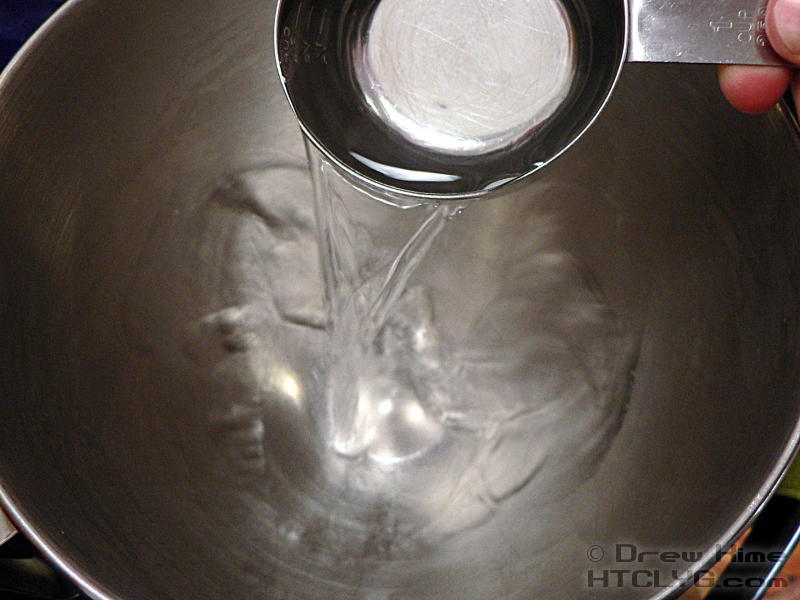
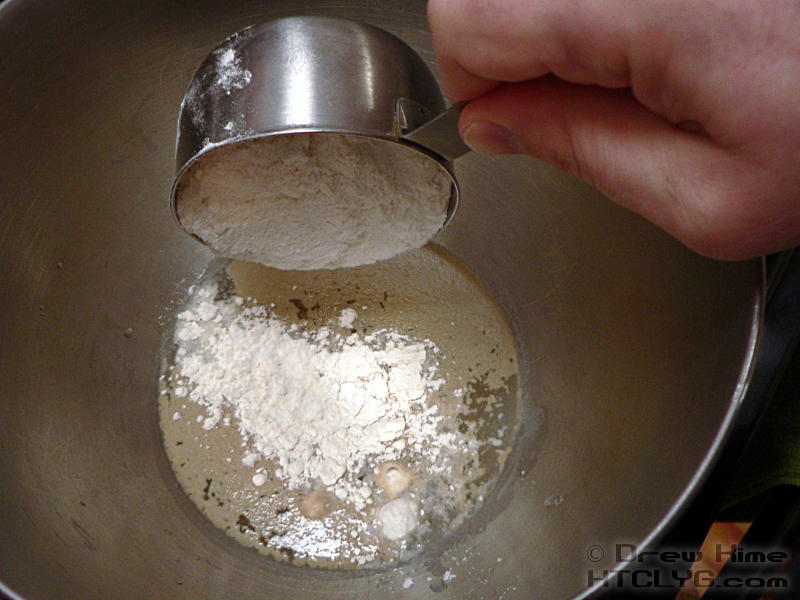
I always start my yeast breads by “proofing” the yeast. That means mixing it with 1 cup of warm water (105°-115°), 1 teaspoon sugar, and 1 cup flour to “prove” the yeast is active before mixing in the rest of the ingredients.

Yeast gets sticky when it dissolves, so I mix with a chopstick instead of a spoon. There’s less surface for the yeast to stick to.
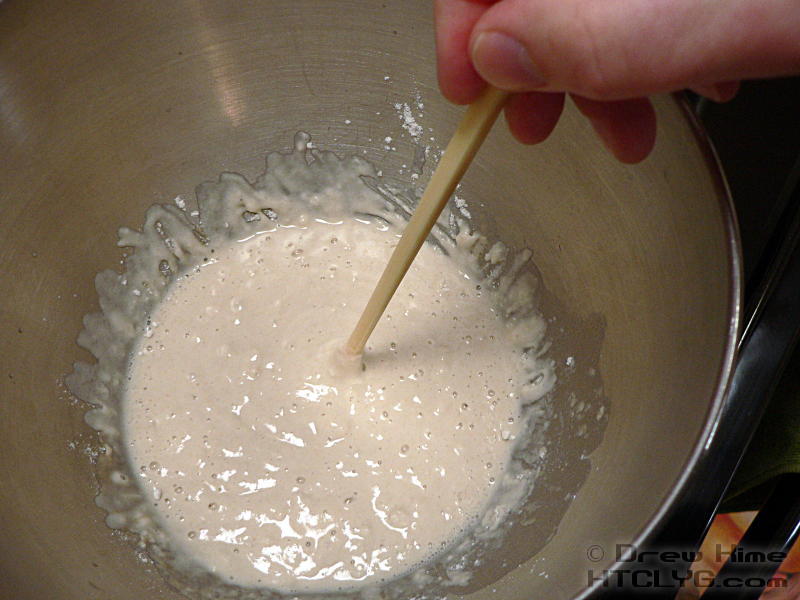
After about 10 minutes you should see bubbles coming to the surface.
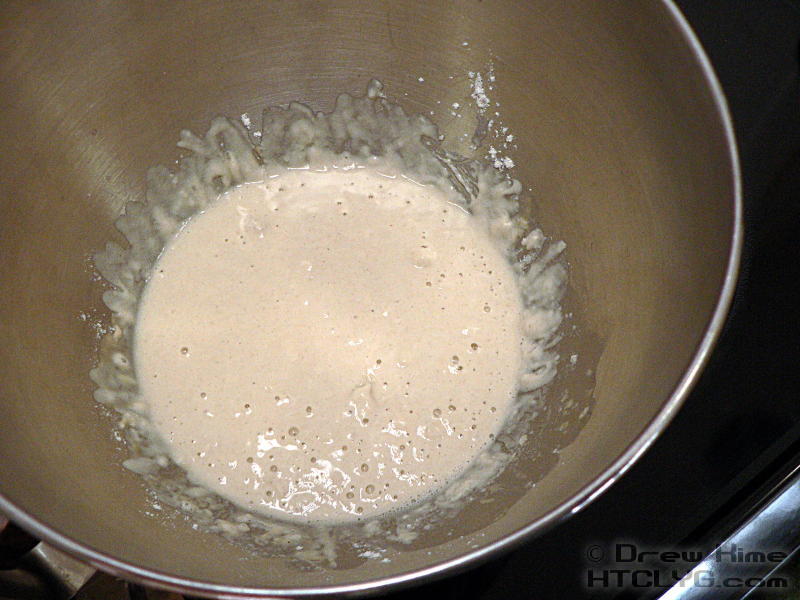
This is why I add a cup of flour when proofing the yeast. It makes it easier to see the bubbles coming up.
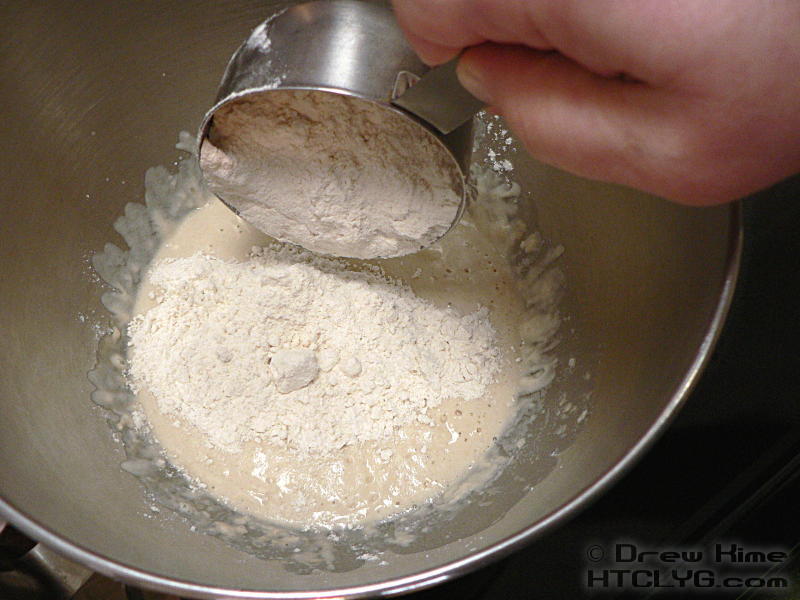
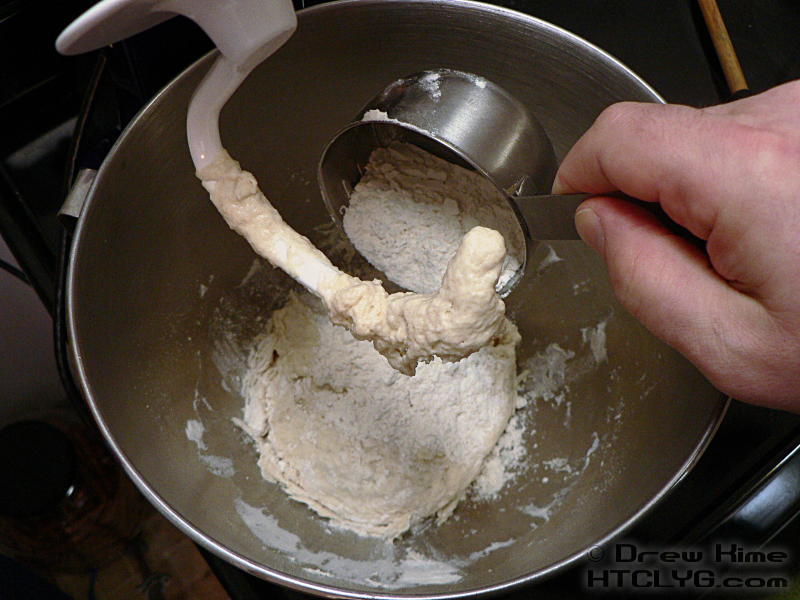
Once you’re sure the yeast is going strong, add another half-cup of flour and stir on low speed until the flour is all incorporated.
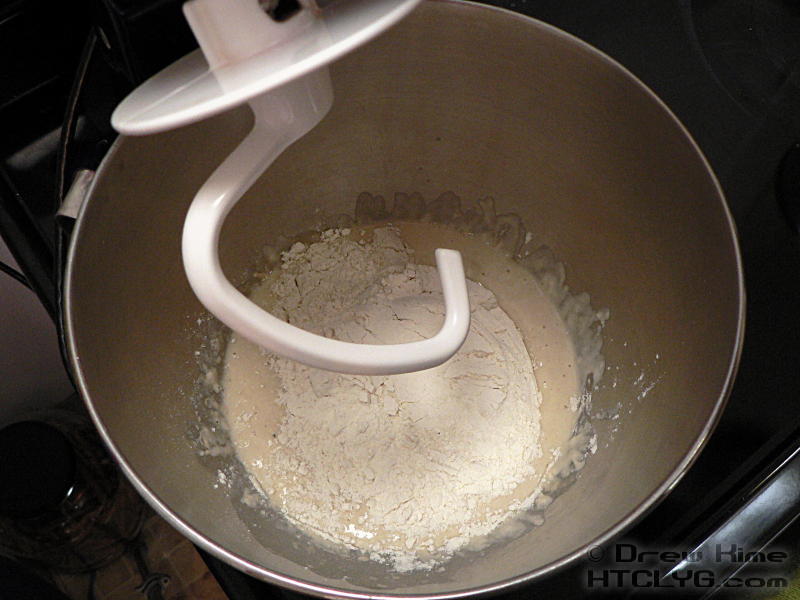
Scrape down the sides with a rubber spatula to make sure you get all the flour.
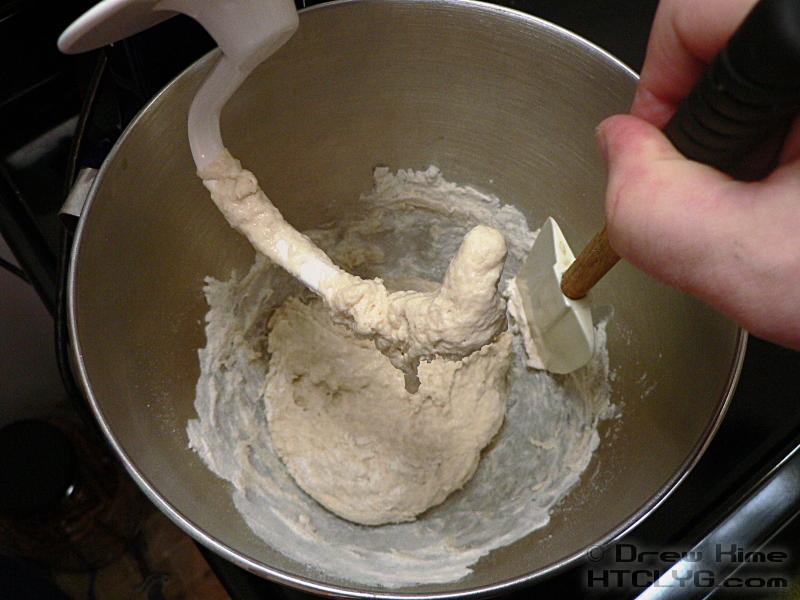
You can see that the dough is still pretty drippy in that picture, so I added another quarter-cup of flour.
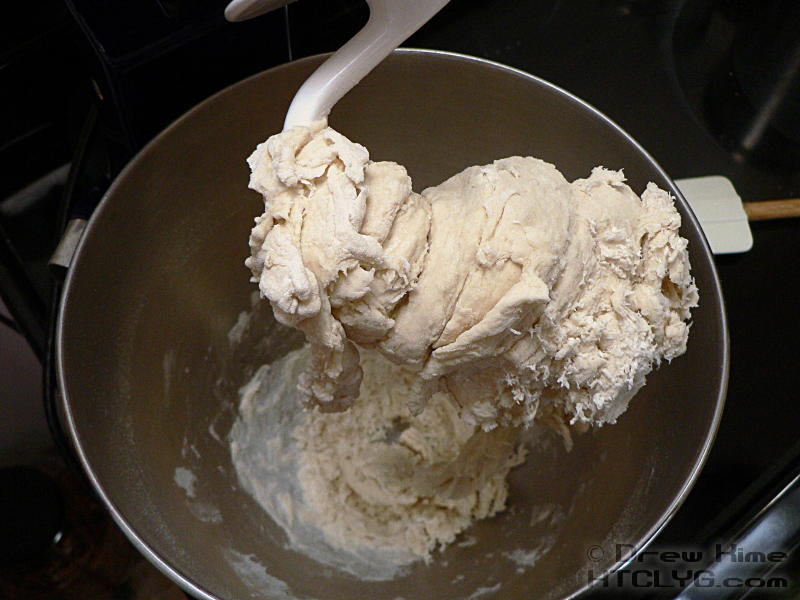
For a quicker-rising bread, you want just enough flour for the dough to pull away from the sides and start sticking to the dough hook. Add flour a little bit at a time until it starts holding together.
Once you’ve got enough flour, and it’s absorbed all the water, add the salt.
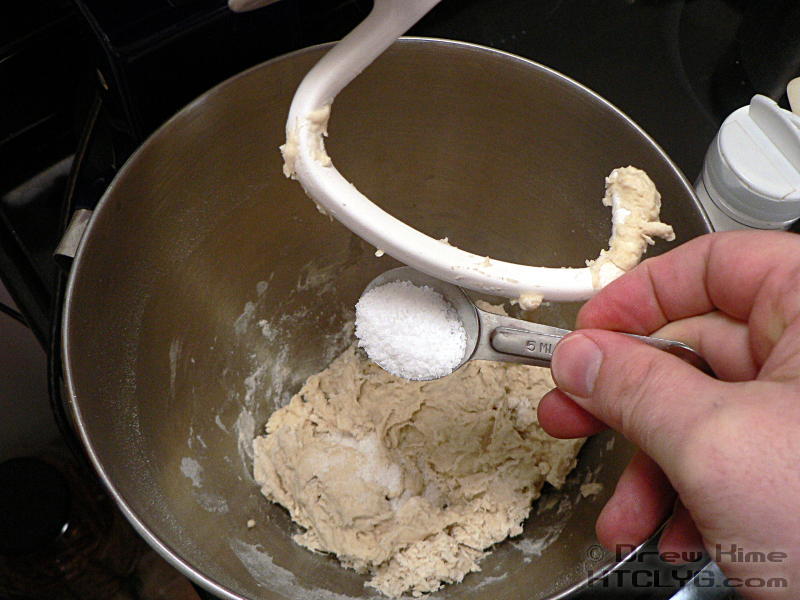
The salt will slow down the action of the yeast, so you don’t want to add it before the yeast is working and evenly distributed.
In some recipes you would add a tablespoon of olive oil at this point. It keeps a skin from forming when the dough is rising if you have a very dry dough. Since I was making this a very wet dough I skipped the oil.
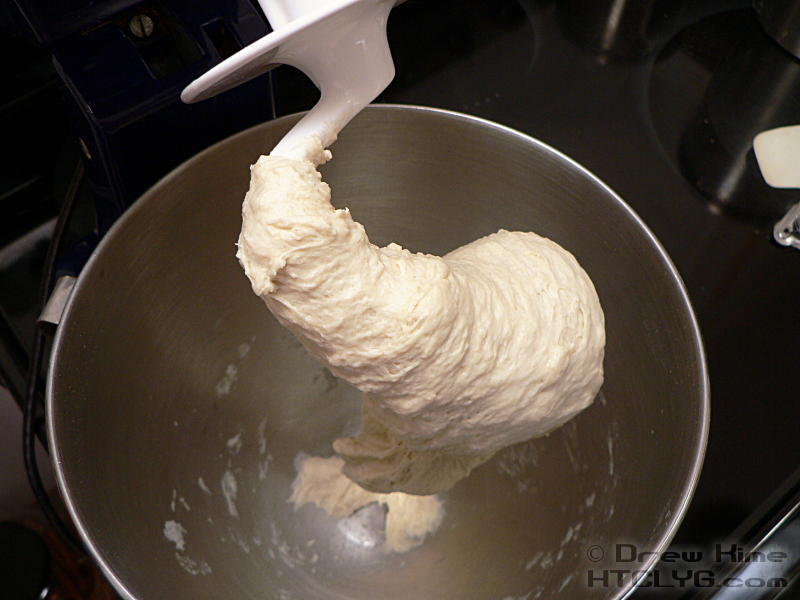
Knead on medium speed for another 4-5 minutes until the dough is a uniform consistency and completely pulls away from the sides of the bowl.
Grease a clean bowl with a few tablespoons of oil and turn the dough out into it.

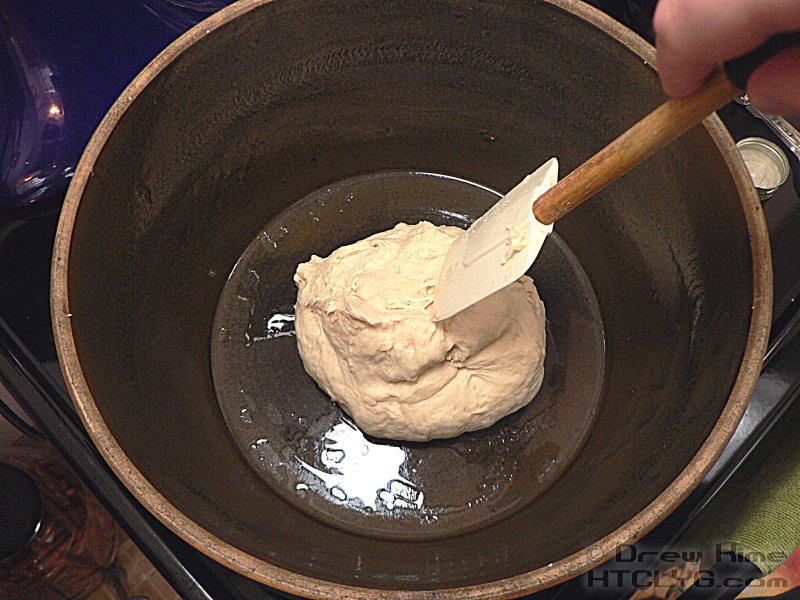
Cover with plastic wrap (to keep it from drying out) and place in a warm spot to rise until doubled in size.

(Yes, that’s already doubled.)
If you don’t have a warm spot, inside the oven, turned off but with the light on, is good. Or if you have an old-fashioned gas stove with a pilot light inside, you won’t need the light.
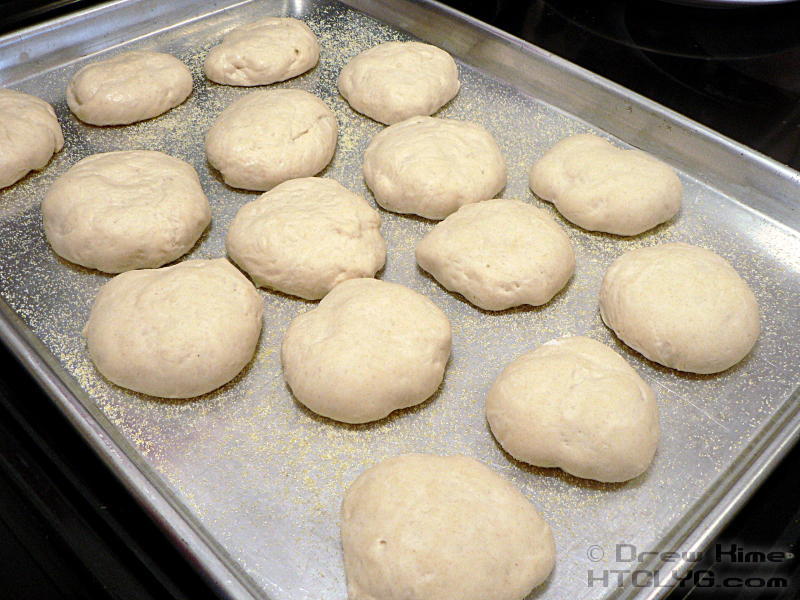
Dust a baking sheet with cornmeal to prevent sticking.

Pull off pieces of dough, roll them out like meatballs, then press flat.
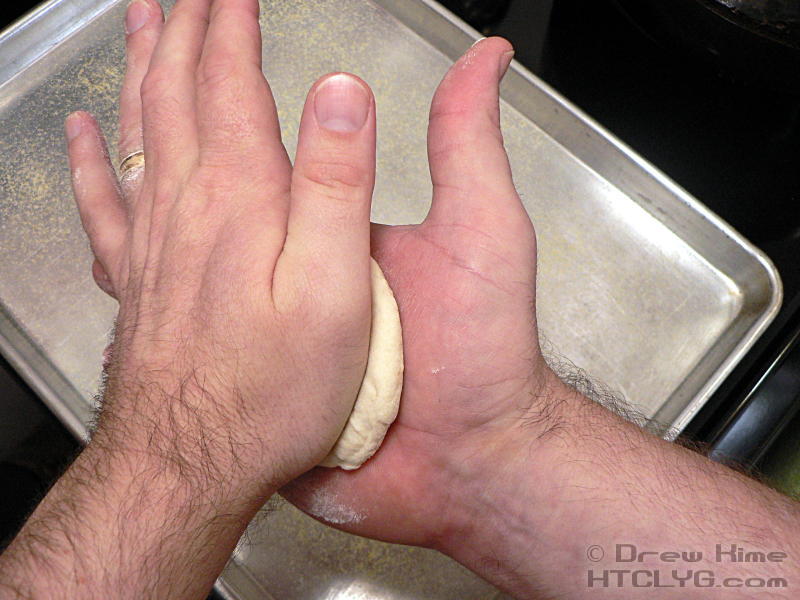
I got 12 disks from this recipe. You can easily go up or down in size.

Return the tray to your warm spot while you shred the asiago and cheddar.
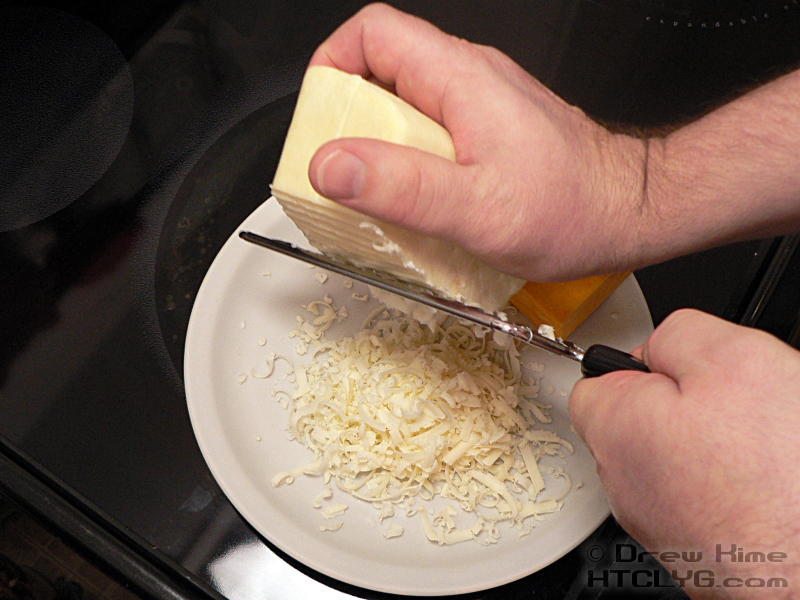
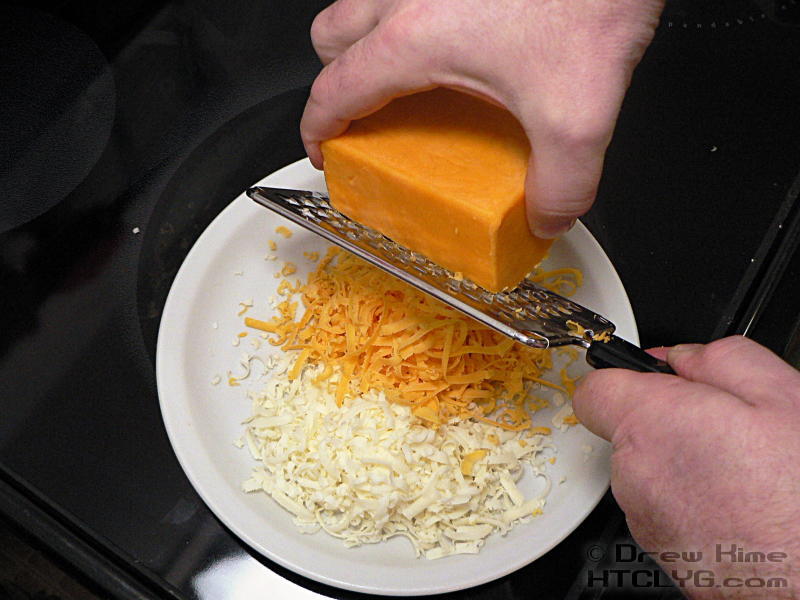
They go easier without breaking up so much if you put them in the freezer for about 15 minutes before shredding.
The dough disks should have doubled in size again.
Make an indentation in the center of each with your thumb.
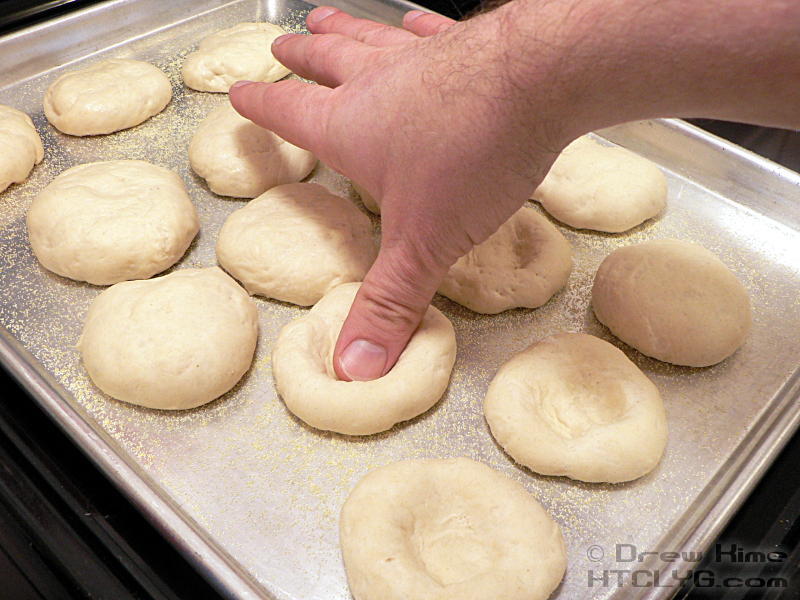
Fill the depression with cheese. I did some just cheddar, some just asiago, and some mixed.

Bake at 400° for 20-30 minutes, until the bread is golden brown and the cheese is bubbling.
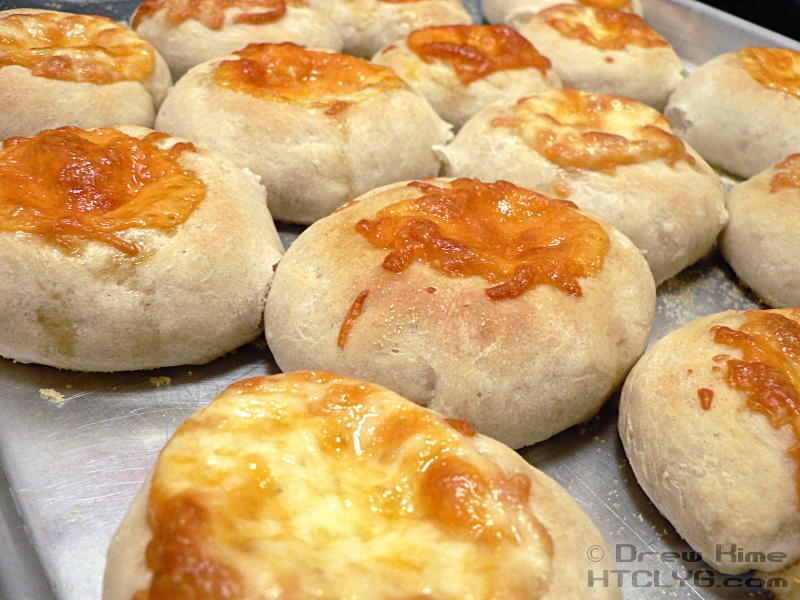
Serve warm from the oven.
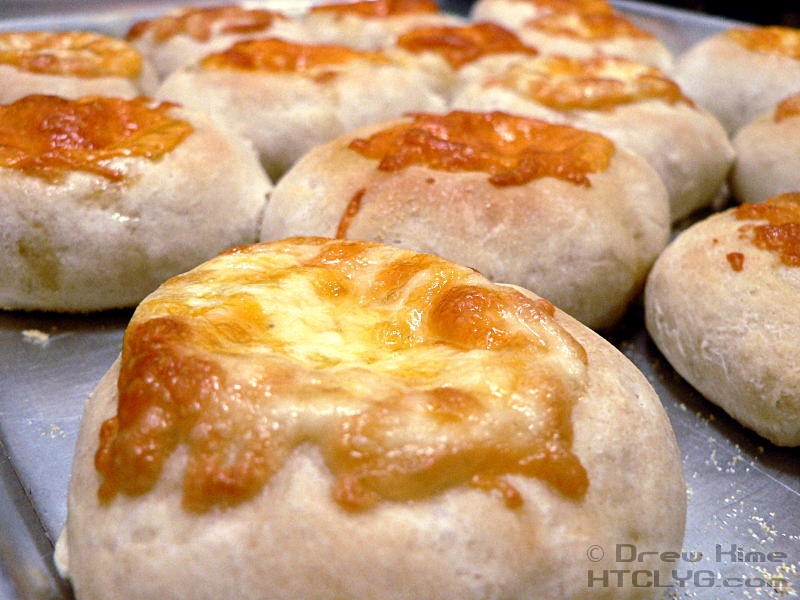
And that’s it.

Ingredients
- 1½-2 cups all-purpose flour (or bread flour)
- 1 teaspoon active dry yeast
- 1 teaspoon sugar
- 1 teaspoon salt
- 1 cup each shredded asiago and cheddar cheese
Instructions
Proof the yeast by dissolving the yeast and sugar in a cup of warm water (105°-115°), and mix in one cup of flour. After 10 minutes you should see bubbles coming to the surface. Add another half-cup of flour and mix on low speed until the flour is all incorporated.
If the dough is still too wet, add more flour a few tablespoons at a time and mix on low speed until it is incorporated. Stop adding when the dough starts to pull away from the sides of the bowl. Add the salt and knead on medium for 4-5 minutes, until the dough is a uniform consistency and completely pulls away from the sides.
Turn out into a greased bowl and cover with plastic wrap. Place in a warm spot to rise until doubled in volume.
Pull off pieces and roll like meatballs, then press flat. Set on a baking sheet dusted with cornmeal and allow to double in size again.
Make an indentation in the center of each disk and fill with shredded cheese. Bake at 400° until the bread is golden brown and the cheese is bubbling, 20-30 minutes.


