
I won’t lie to you, doing these will take a little practice. If you’ve never rolled dough out into a rectangle before, it probably won’t be really even. The good news is, even if they come out all kinds of different shapes they’re still going to taste great. So practice on yourself a few times before doing these for guests. Go ahead, no need to wait for a special occasion.
Ingredients
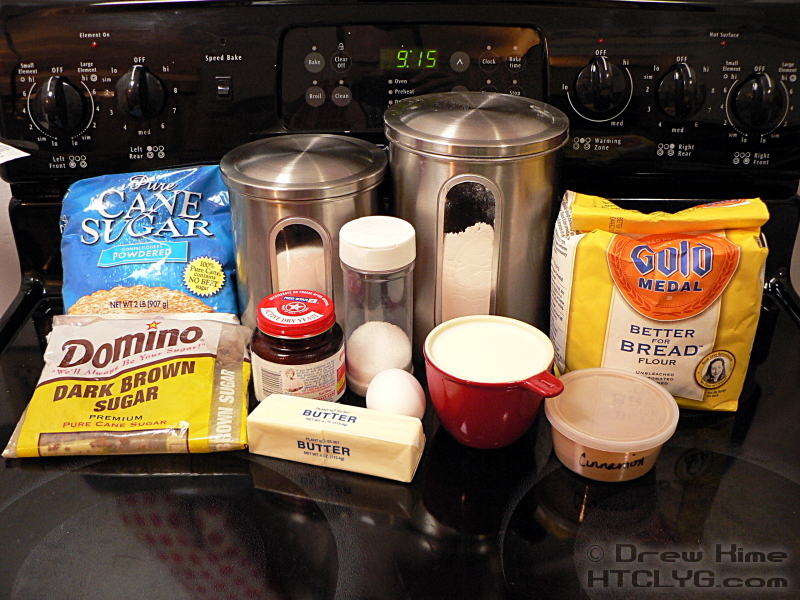
1 cup milk
1/4 cup butter (4 tablespoons, half stick)
1/4 cup sugar
2 teaspoons yeast (one package)
1/4 cup warm water (105°-115°)
1 egg
1 teaspoon salt
3-1/2 cups flour
Filling
1/4 cup butter (4 tablespoons, half stick)
4 tablespoons brown sugar
1-1/2 teaspoons cinnamon
(optional) raisins
Glaze
1 cup powdered sugar
juice of 1/2 small lemon
Directions
Prep
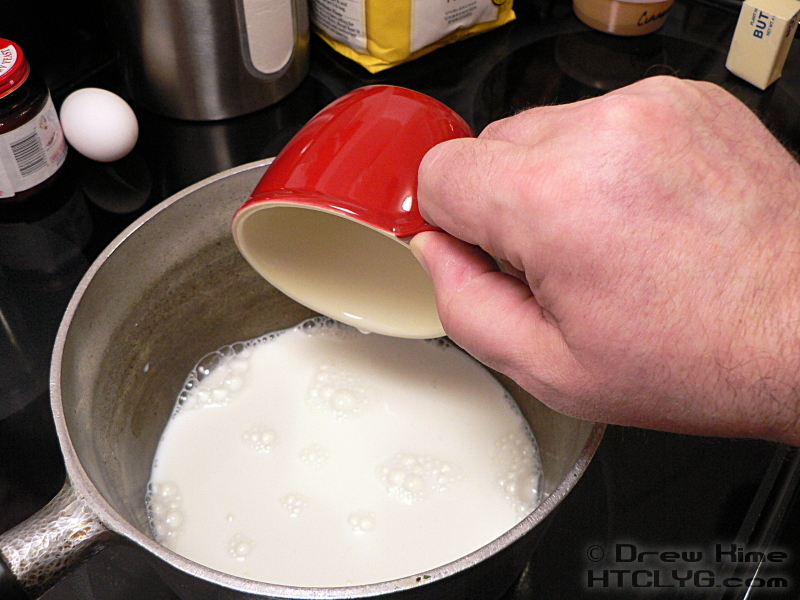
Start by scalding the milk. This is probably not strictly necessary if you’re using pasteurized milk. (For way more on the “should I or shouldn’t I” than I feel like putting here, take a look at what the internet has to say about scalding.) Scalding breaks down a protein in the whey that can keep the dough from rising as much. (Maybe, unless it doesn’t … Seriously, go see what the internet has to say.)
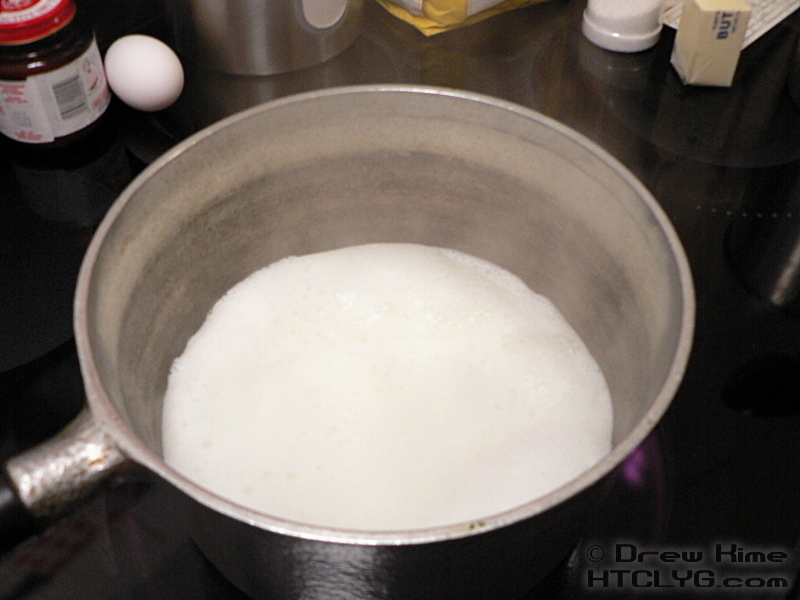
In a heavy-bottomed pan over medium heat, bring the milk nearly to a boil.
When a film starts to form on the top, turn off the heat and skim it off with a spoon.


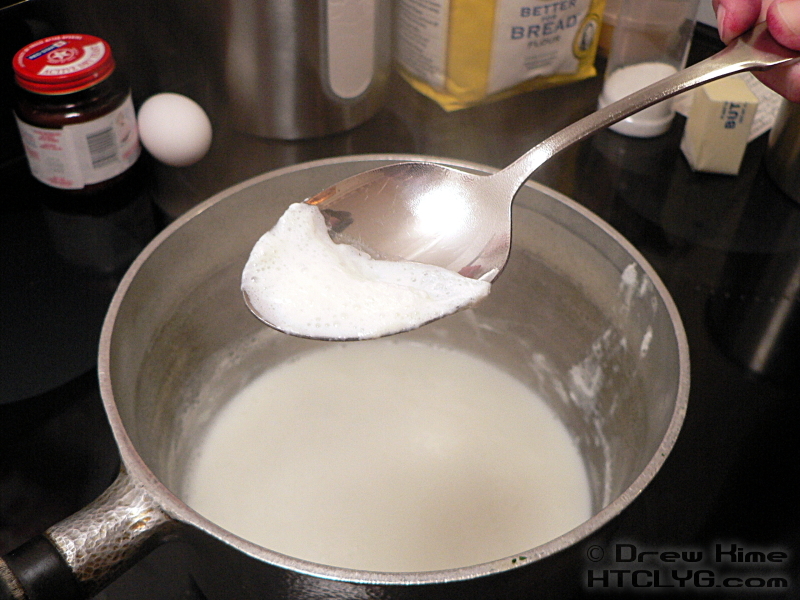
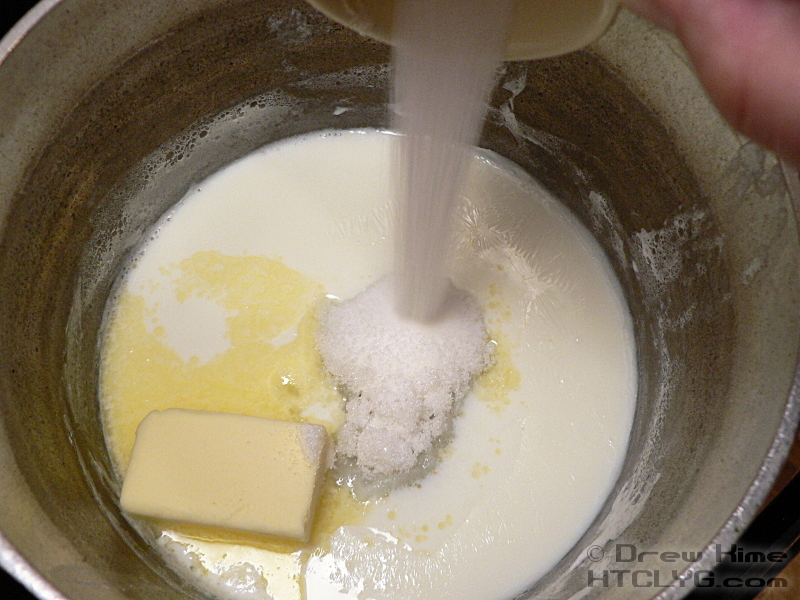
Add the sugar, salt, and the first half-stick of butter and stir until the sugar and butter are both melted.

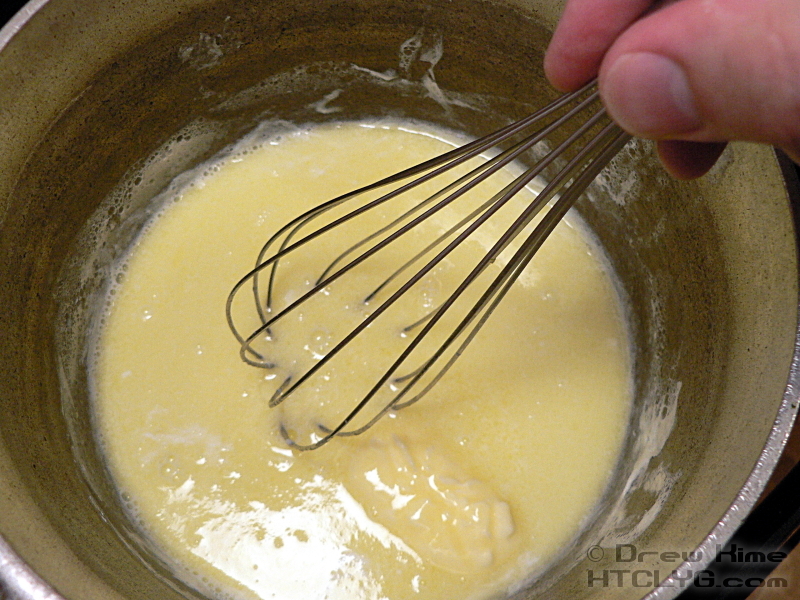
Set the milk/butter mixture aside to cool to room temperature.
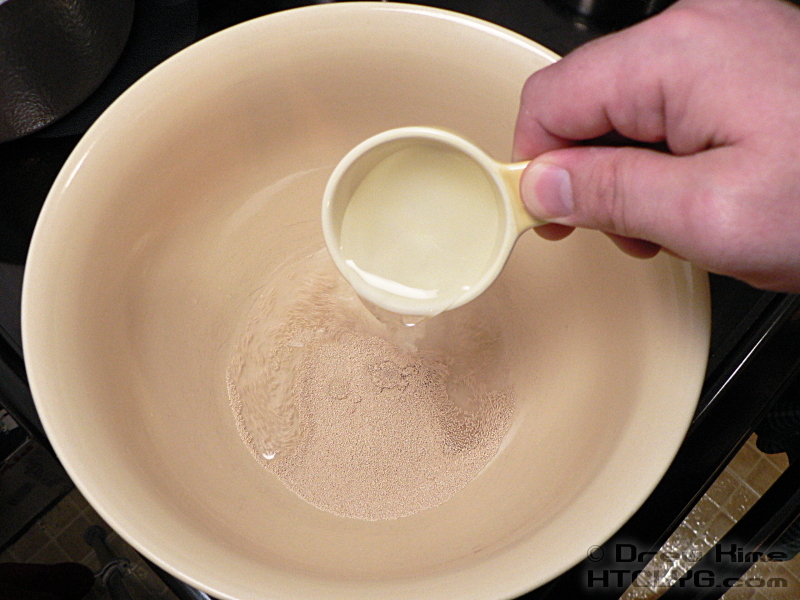
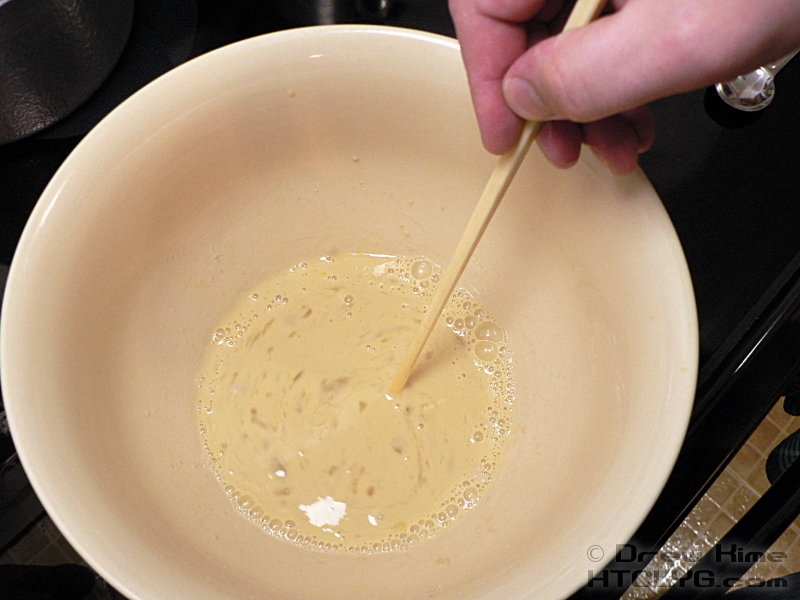
In a separate bowl, combine the yeast and warm water and stir quickly.


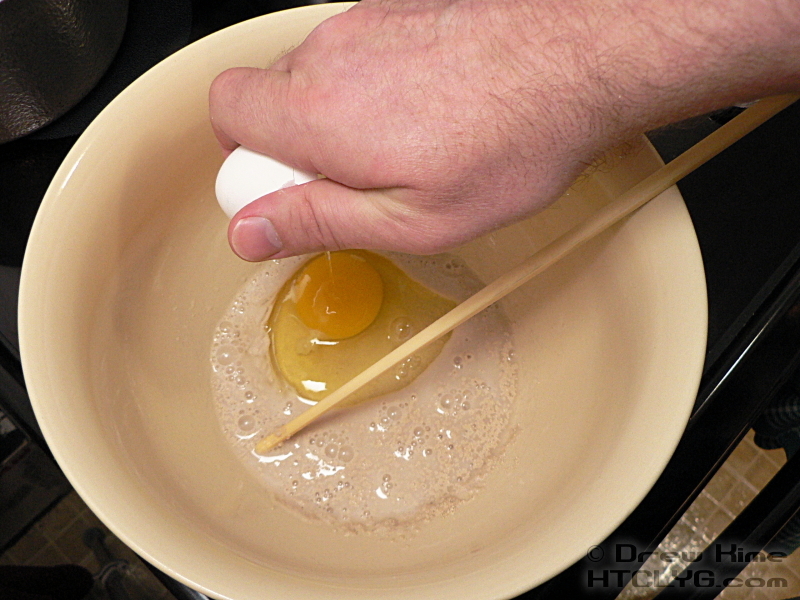
Stir in the egg.
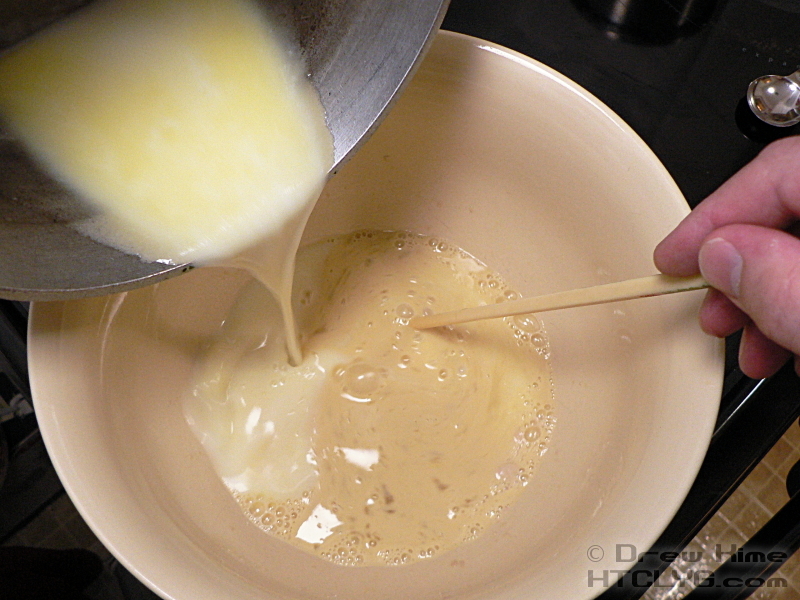
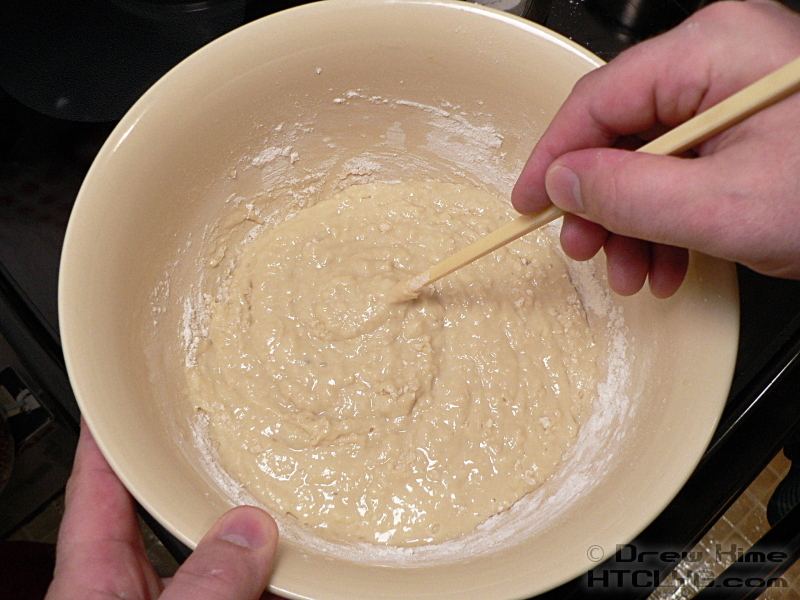
Add the milk/butter mixture. (Make sure it’s cooled down to room temperature or you’ll kill the yeast.) Add the flour and stir until the flour is all incorporated and the dough comes together in a soft, loose ball.

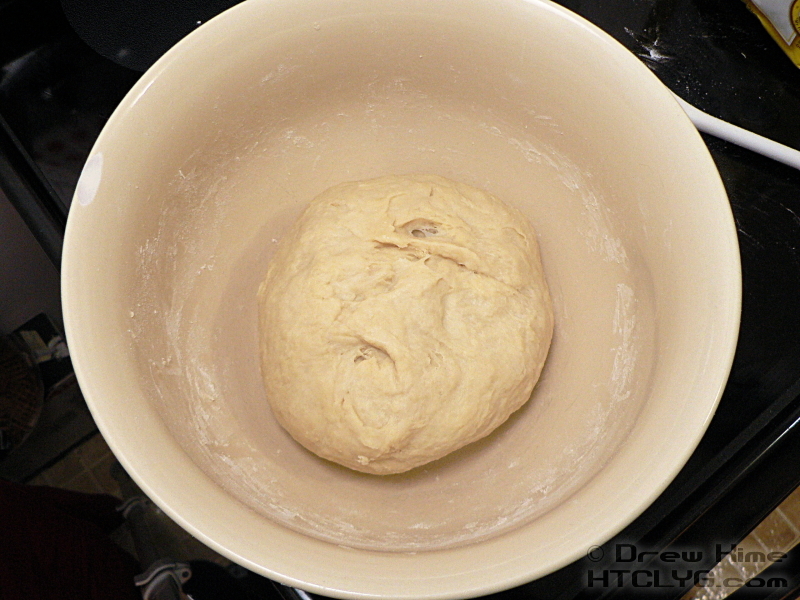
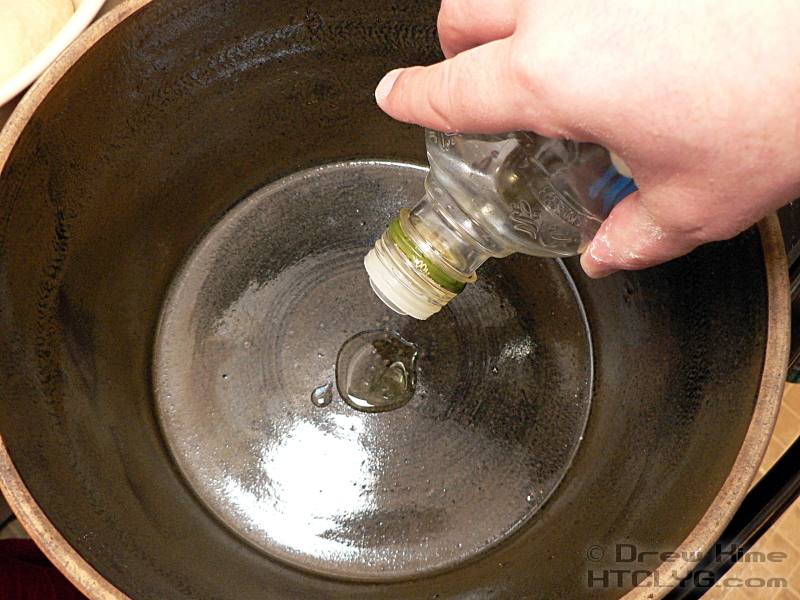
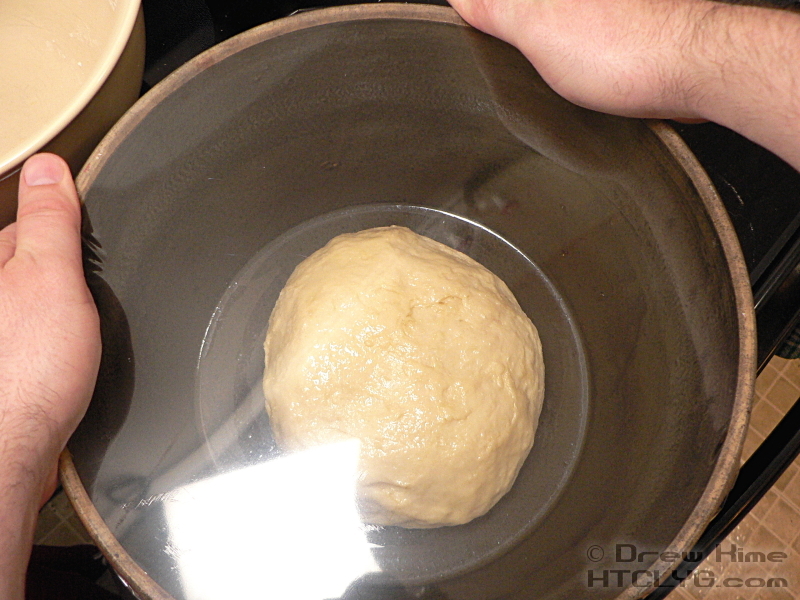
Add a couple of tablespoons of oil (I always use extra virgin olive or olive pomace oil) to a clean bowl. Roll the dough around until it is oiled all over, then cover the bowl with plastic wrap or a wet dish towel. This will keep the dough from drying out and forming a skin, which would keep it from rising.

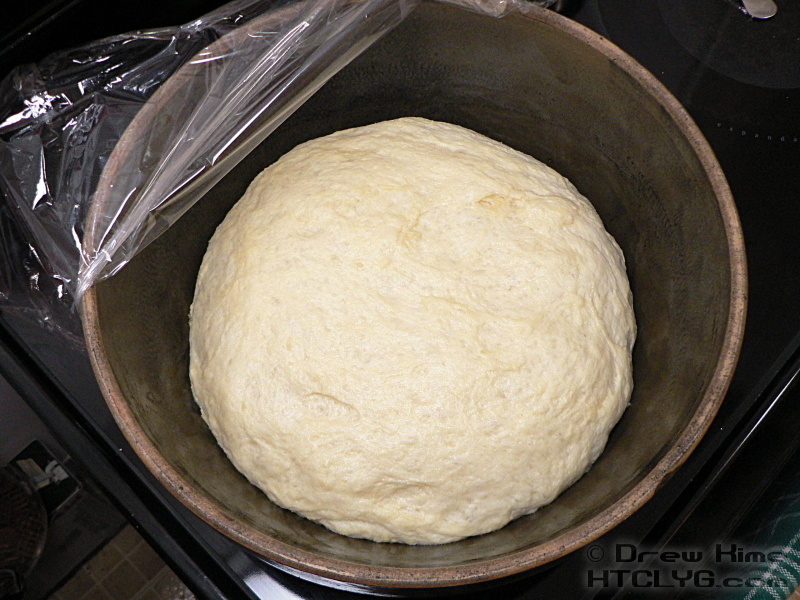
Put the bowl someplace warm, not hot — inside the stove, turned off but with the light turned on is about perfect — until the dough has doubled in volume, about an hour-and-a-half.
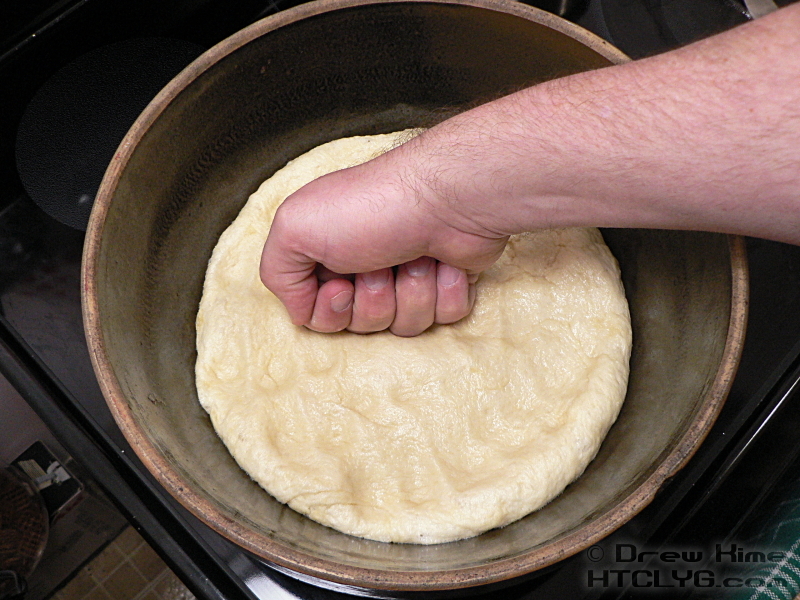
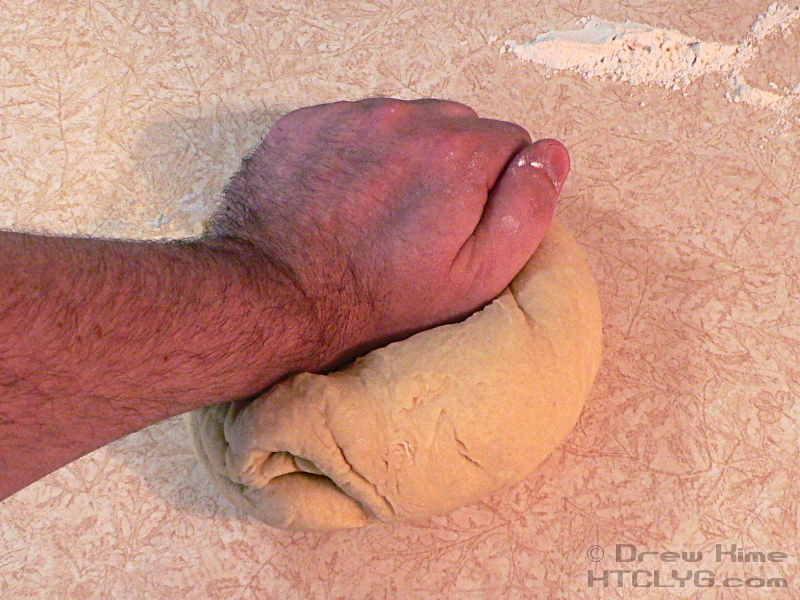
Once the dough has risen, punch it down to deflate it.
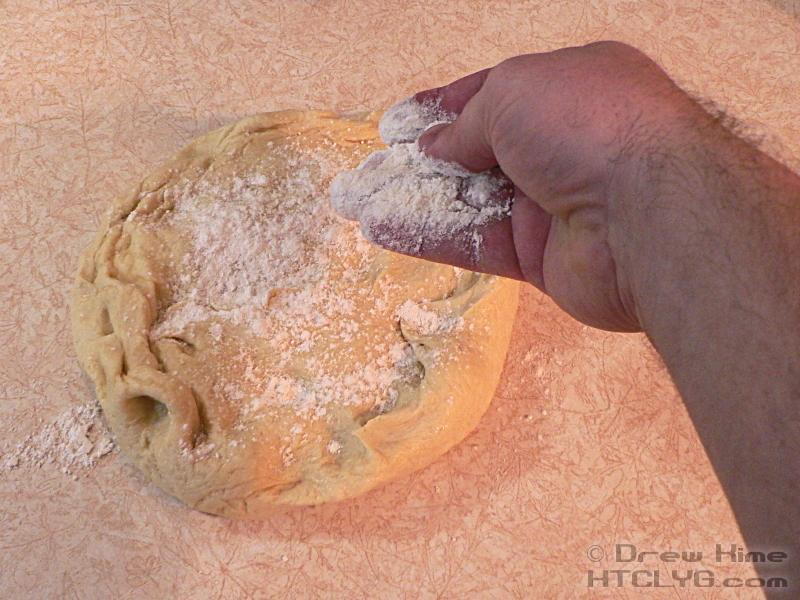
Turn the dough out onto a floured surface and knead for a few minutes, until the dough is smooth and satiny.
Assembly
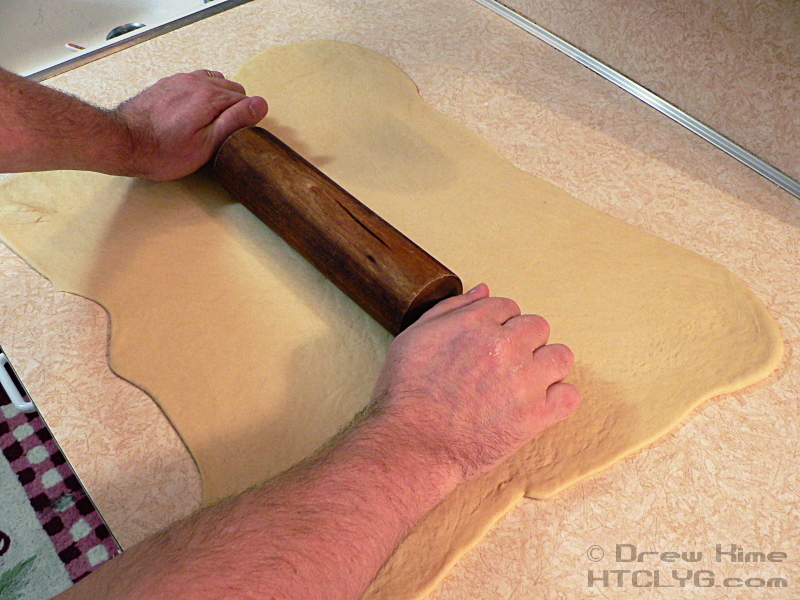
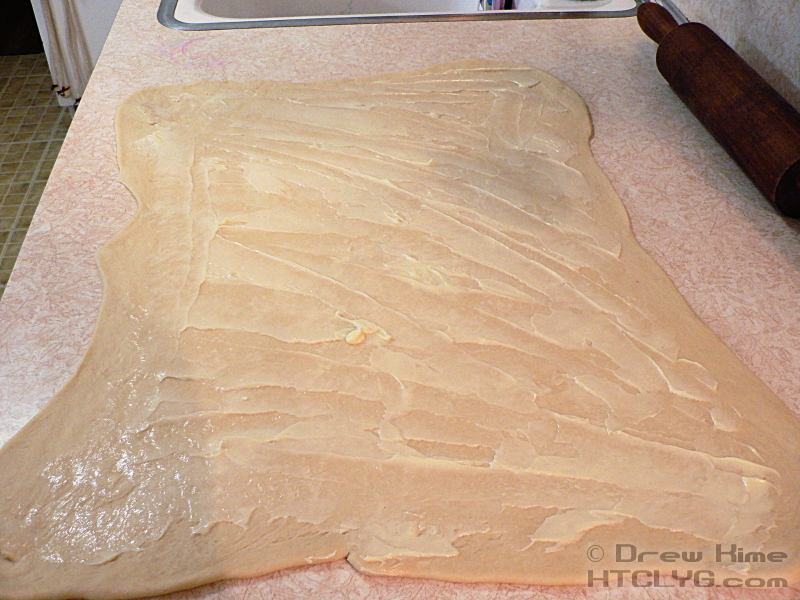
Here’s the only part of this that takes some practice. Roll the dough out into a rectangle about an eighth-inch thick. All the reading and watching in the world won’t help you with this. You’re just going to have to do it a few times to get the hang of it.
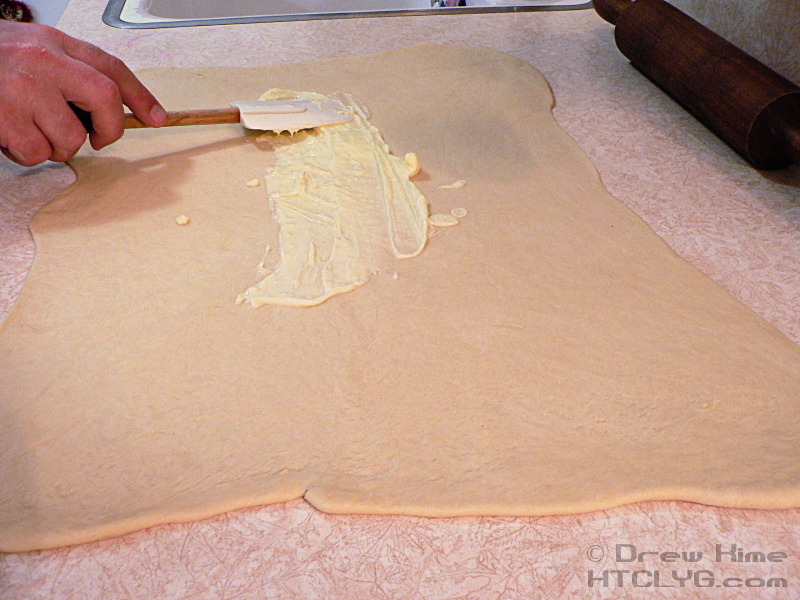
Soften the butter, but don’t melt it. Spread it evenly onto the dough.

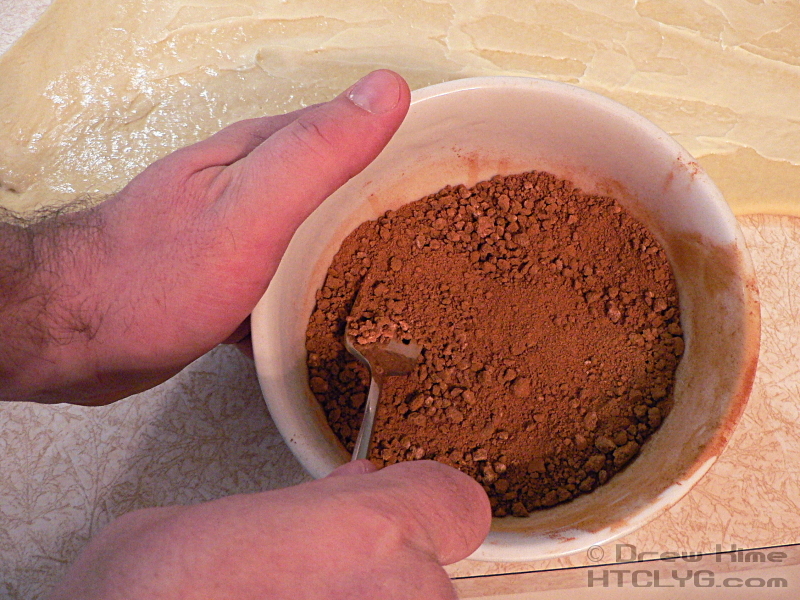
Combine the brown sugar and cinnamon.

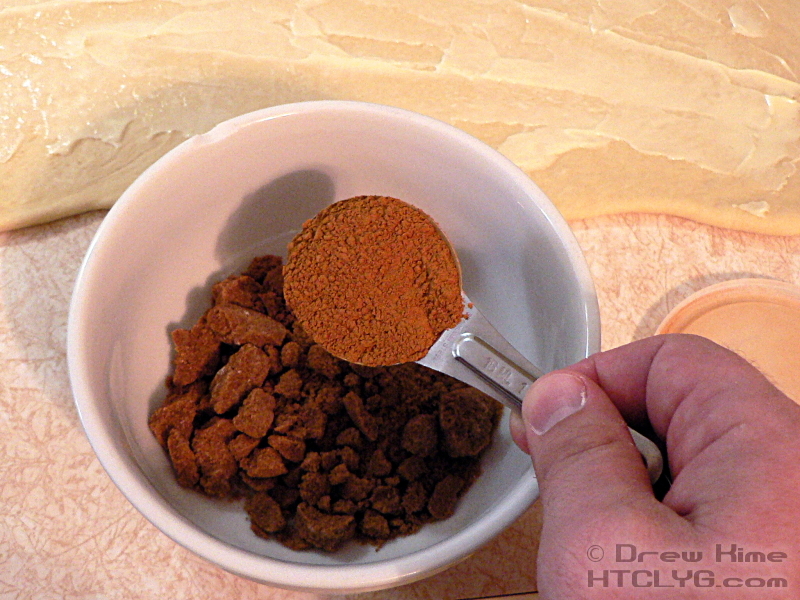
My sugar was a little clumpy, so I had to break it up a bit with a fork.
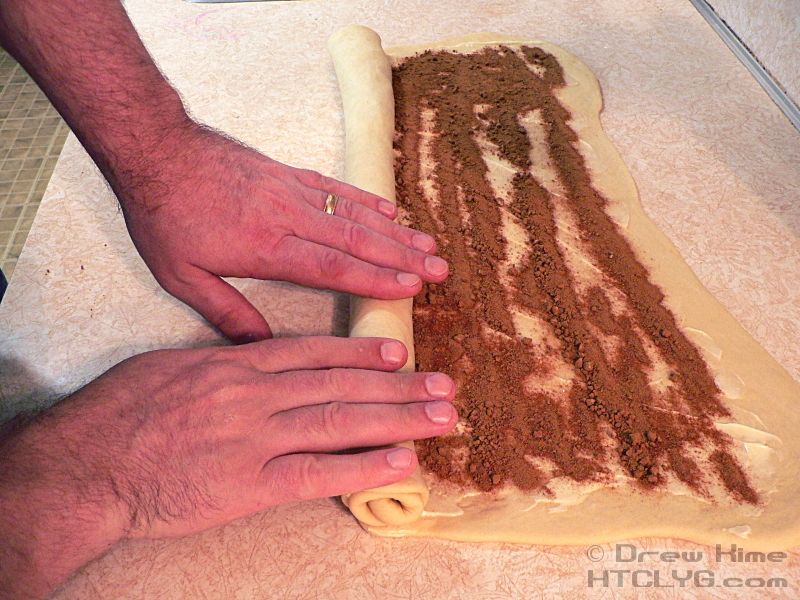
Spread the cinnamon evenly over the dough and roll it up.

Make-ahead option
I was preparing these the night before, so I could bake them fresh for Easter brunch. You still have to take them out a couple of hours before baking, so this won’t actually save you much time. But it’s one less thing to worry about when you have a lot of other things going for a party.
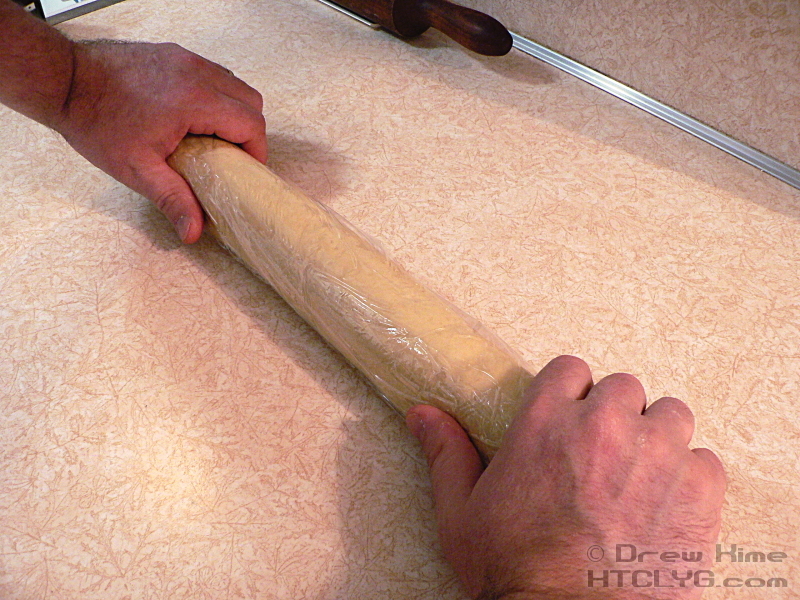
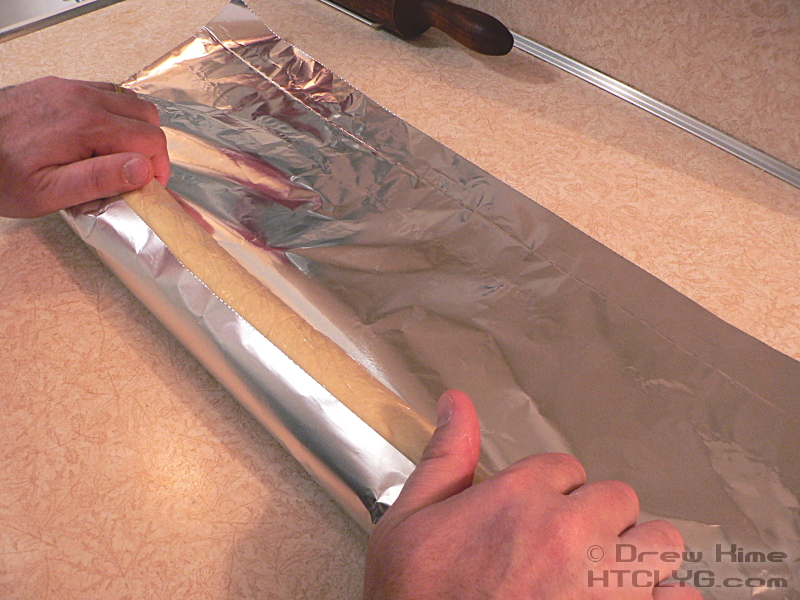
So, wrap the roll in plastic wrap, to keep it from drying out, and aluminum foil, to help keep the shape.
Put the wrapped roll in the fridge overnight. The next morning, the cold dough will be firmer and much easier to cut.

Slicing and baking
I had heard you could cut these really easily using dental floss. It tried it.
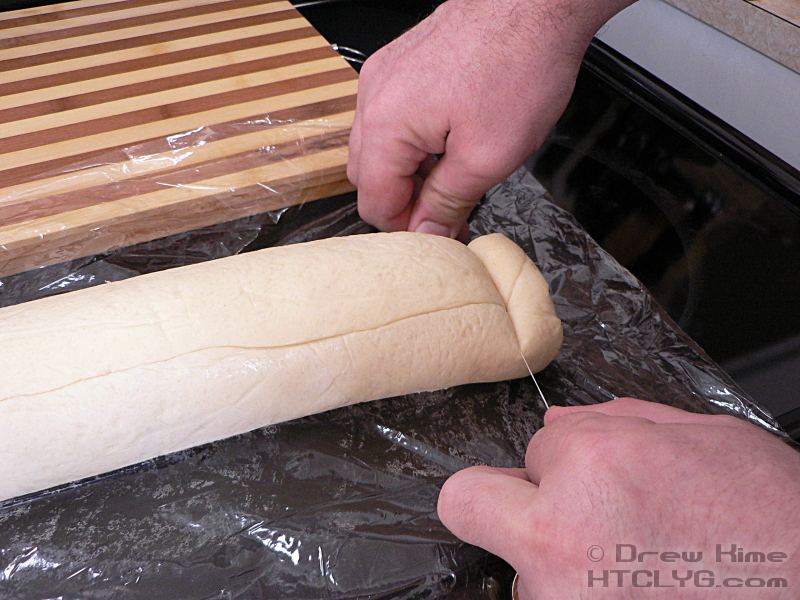
FAIL!
After doing this wrong, I learned the trick is to slide the floss under the roll, cross the ends on top so you have the floss wrapped around, and pull the ends. Okay, now I know.
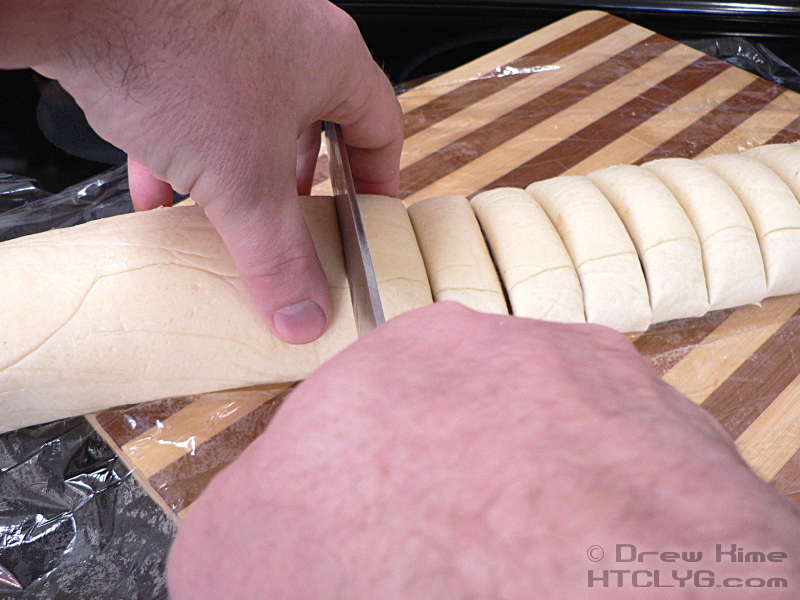
But I didn’t see that when I was making them, so I just used the knife. Because the roll was cold from the fridge the slices mostly kept their shape. Even so, I squeezed them a little to round them out after cutting.
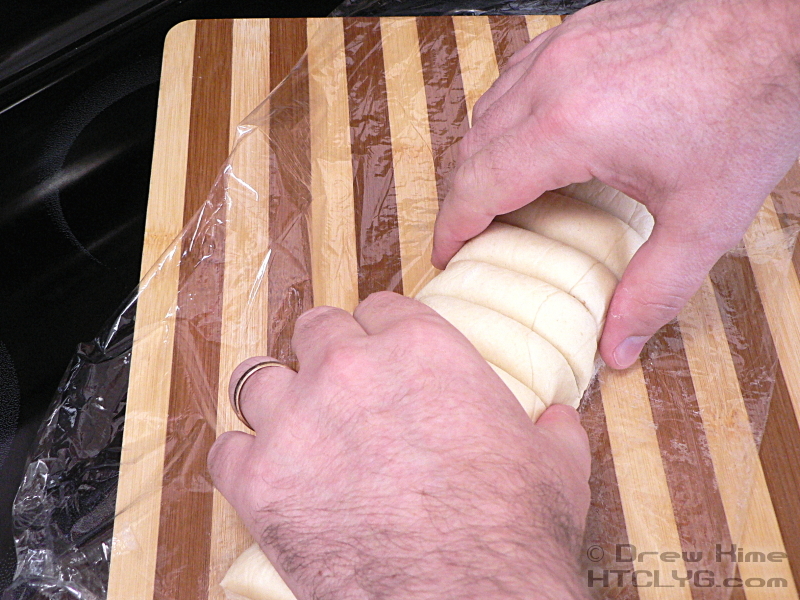
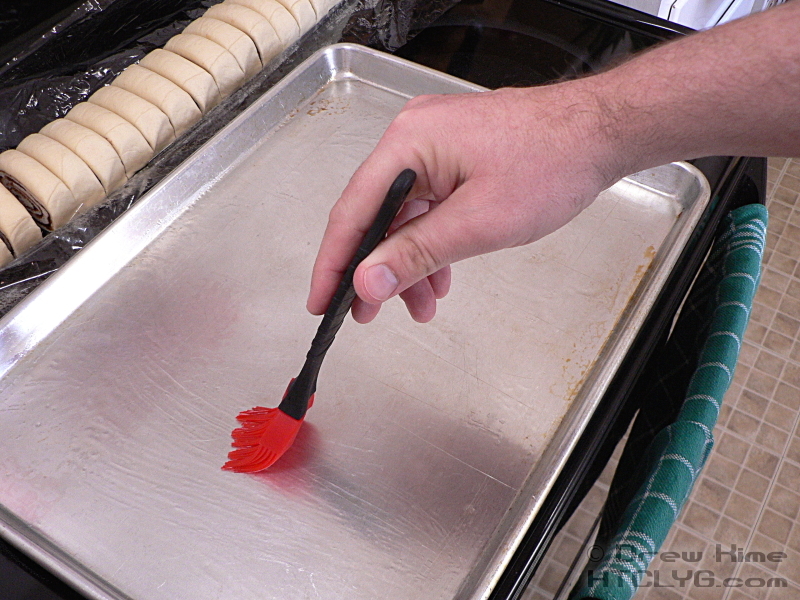
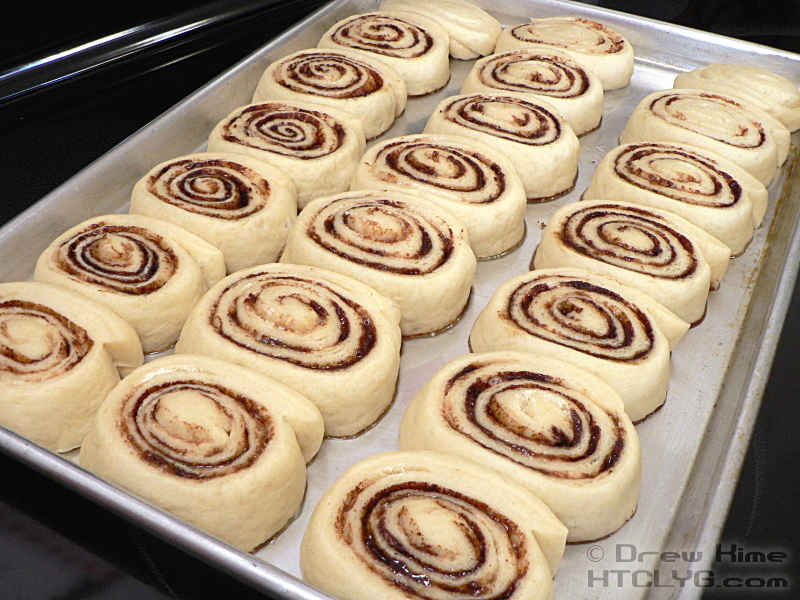
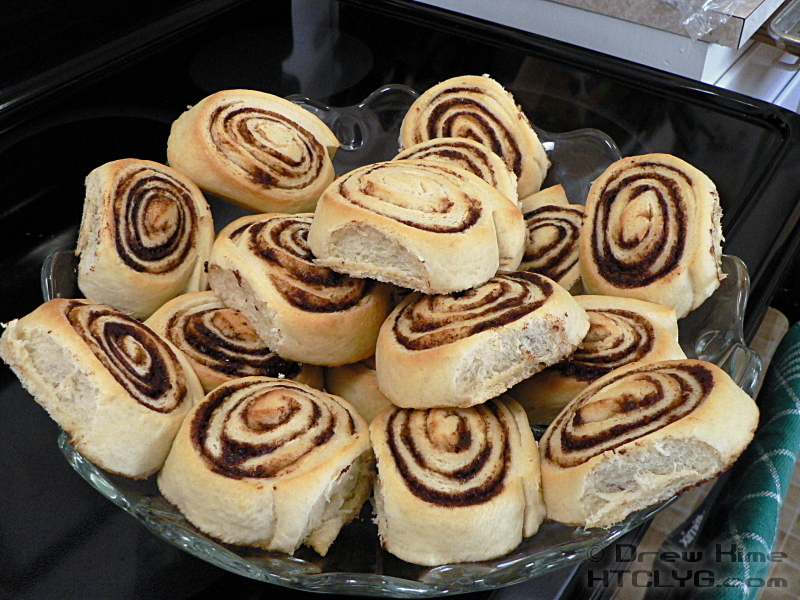
Once they’re all cut, oil a baking sheet and arrange the rolls with room in between.

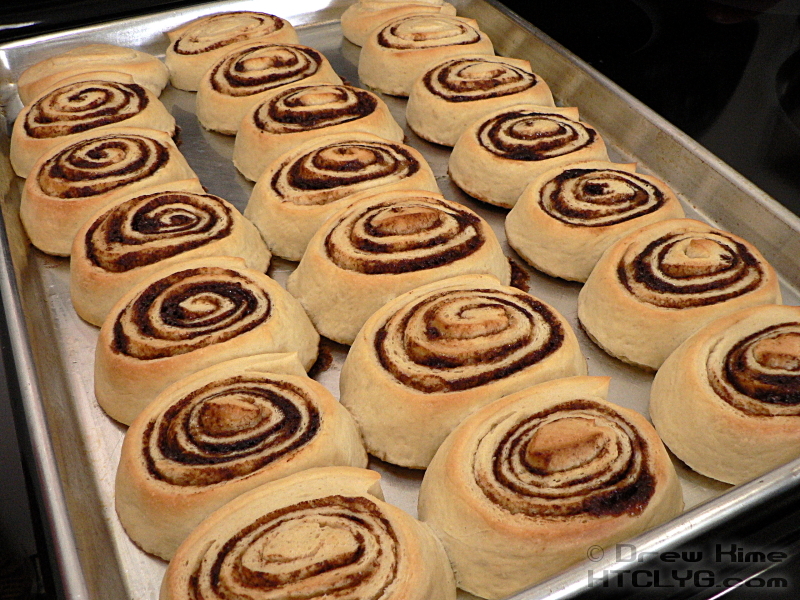
Place the baking sheet in the oven — turned off but with the light on again — until the dough warms up and the rolls double in size. (If you did these the night before and they’re cold from the fridge, this could take three hours.) Then bake at 400° for 10-15 minutes, until they are golden brown on top.
Glaze
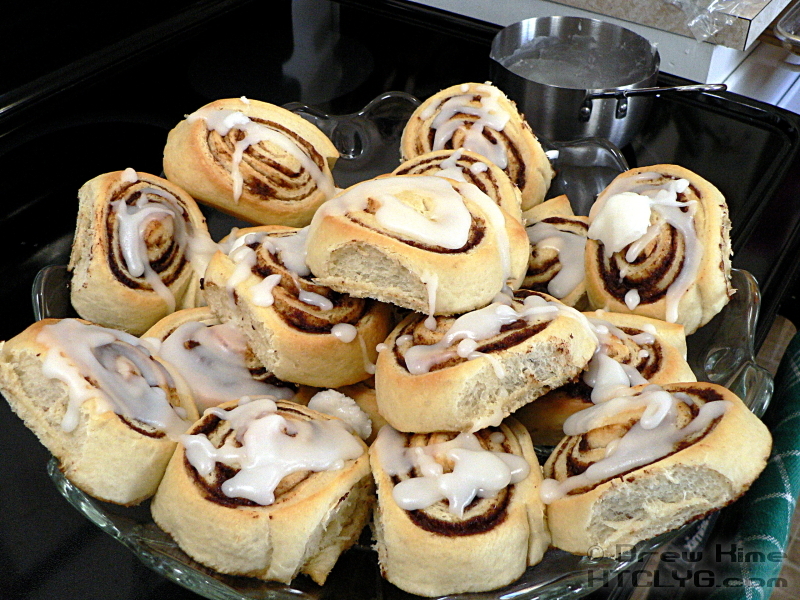
Arrange the rolls on your serving dish, and prepare the lemon glaze. Pour it over the rolls.

Serve with ham, eggs strata, pineapple stuffing and fruit salad.
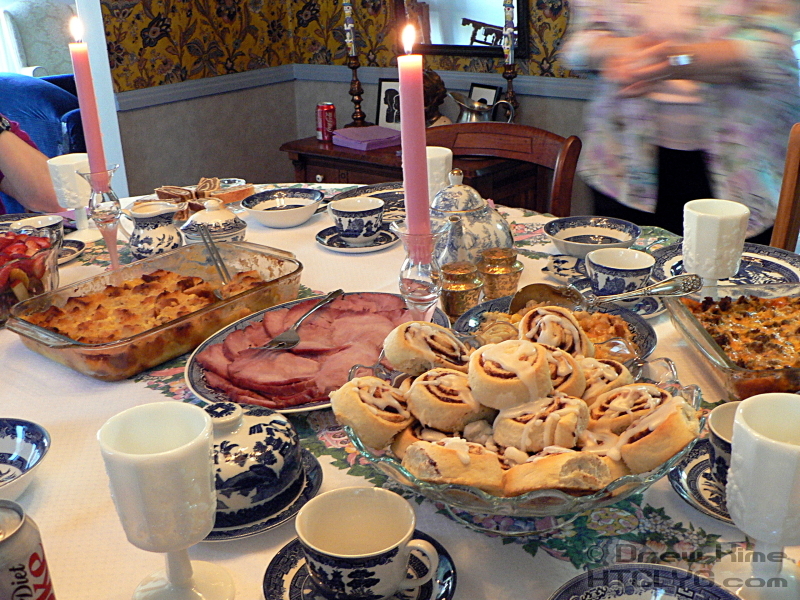
Or, you know, like … just by themselves. That works pretty good.

And that’s it.
Radio interview available
The interview I did on Darla Shine’s show is available here. (Warning: It’s over 7MB)


