The right bread can be the difference between a cheesesteak and a “genuine Philly style steak and cheese sandwich.”
Philadelphians understand that line. The rest of you might be scratching your heads wondering what I’m talking about. In a word: Amoroso’s. Okay, that’s not helping you yet, is it?
Okay, put it this way. When you’re in Italy, you wouldn’t describe a restaurant as “Italian”. Kind of obvious, right? Well, when you’re in Philly you wouldn’t ask for a “Philly style steak sandwich”. You’d ask for a cheesesteak. Unless you want people to look at you like you just stepped in a pile of dog poo.
And if you’re somewhere else? “Philly style” on the sign is a dead giveaway that it’s not. It’s either a cheesesteak or it’s not, no qualifiers needed.
All of which is a really long way of getting to the point: I miss Amoroso’s so bad. Since I can’t get it here, I’m going to make my own. I may not get it perfect on the first try, but I’ll keep tweaking it until it’s as close as I can get.
Ingredients
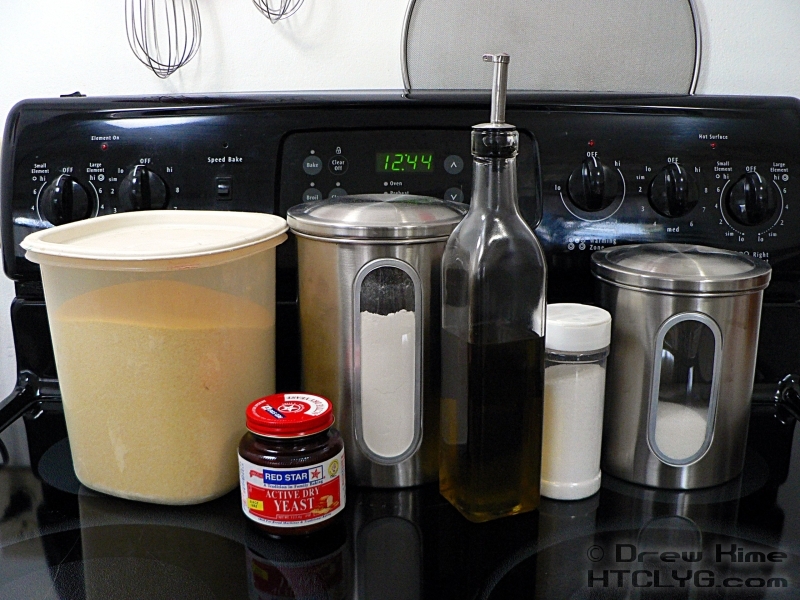 1 package (1/4 ounce, 2-1/2 teaspoons) active dry yeast
1-1/4 cups warm water (105°-115°)
3 cups unbleached flour or all-purpose flour
2 teaspoons sugar
1 teaspoon salt
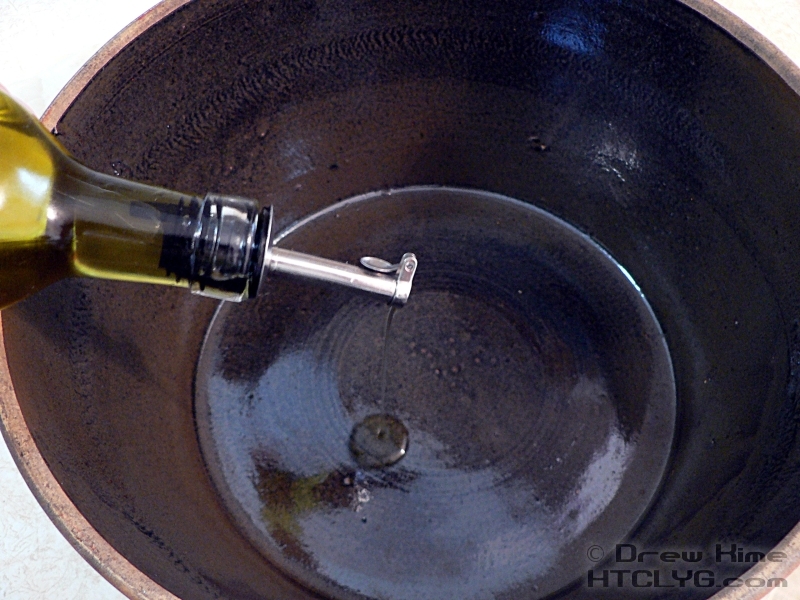
1 tablespoon olive oil
cornmeal for dusting
Directions
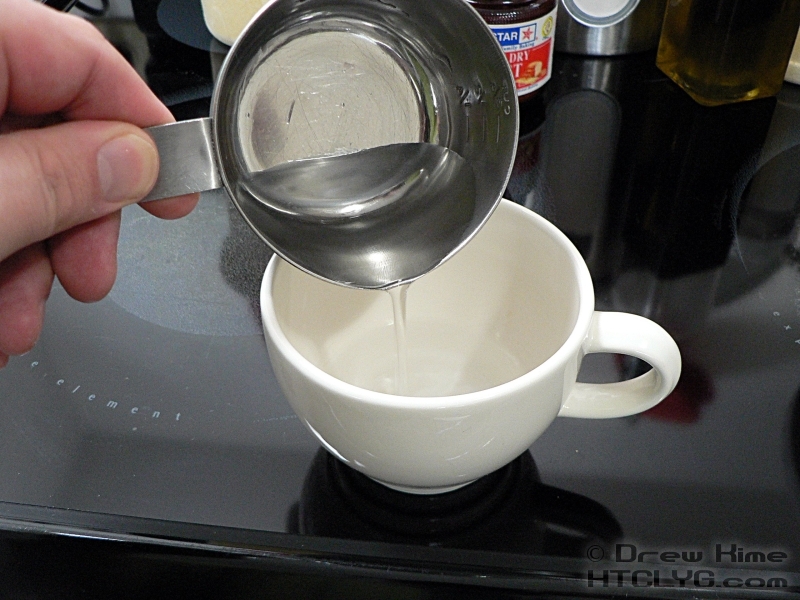
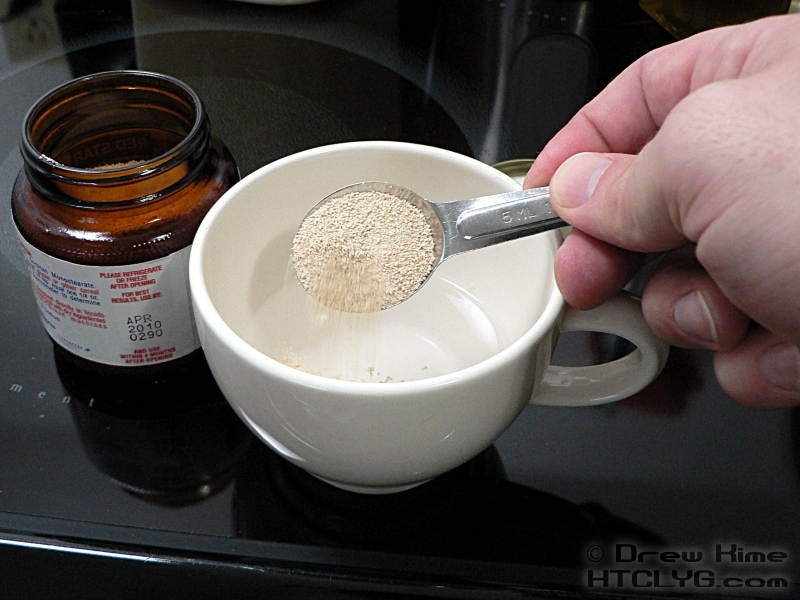
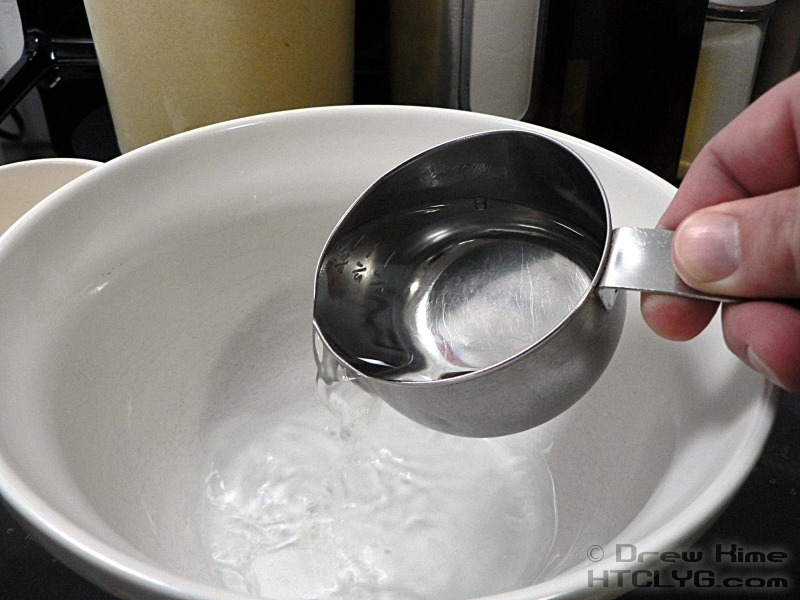
Dissolve the yeast in a quarter-cup of warm water. You should actually check the temperature of the water. Too cold and it won’t activate, too hot and you can kill the yeast.
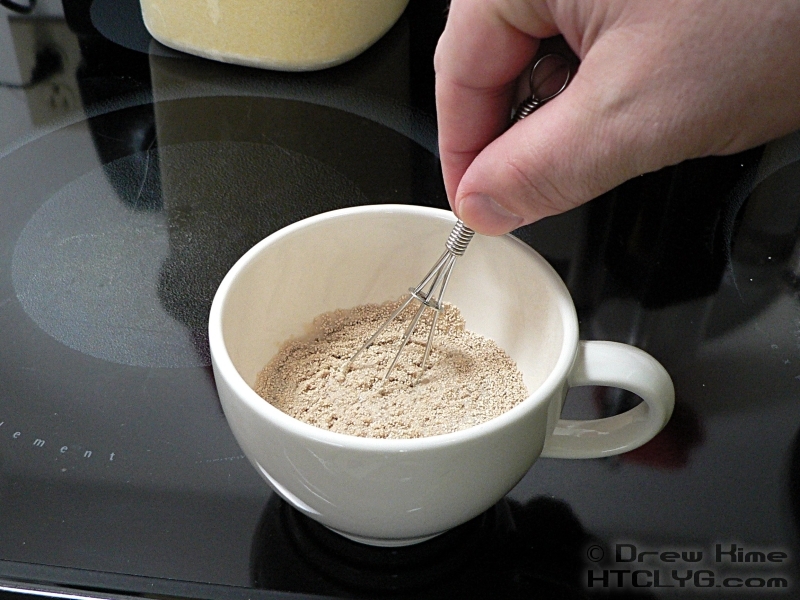
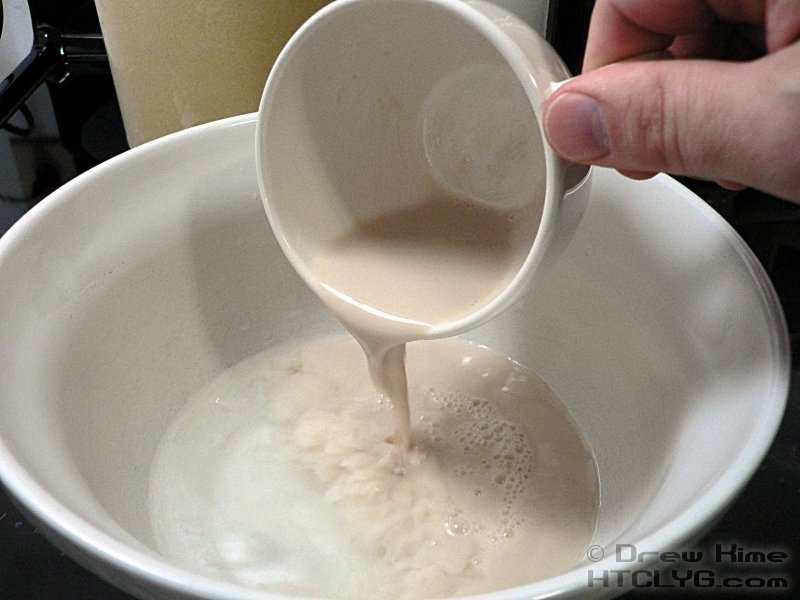
Give the yeast a few minutes, until it starts bubbling, then mix it in with the rest of the warm water.
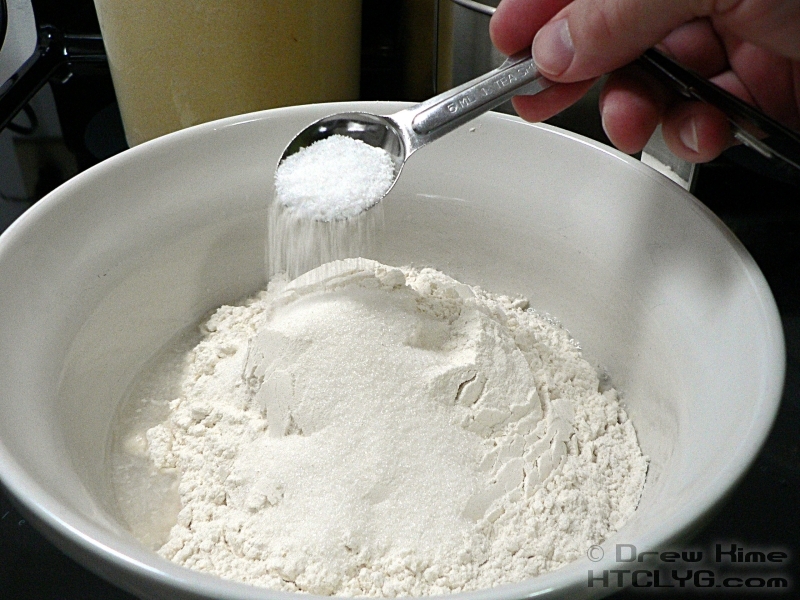
Add the flour, sugar and salt and stir.


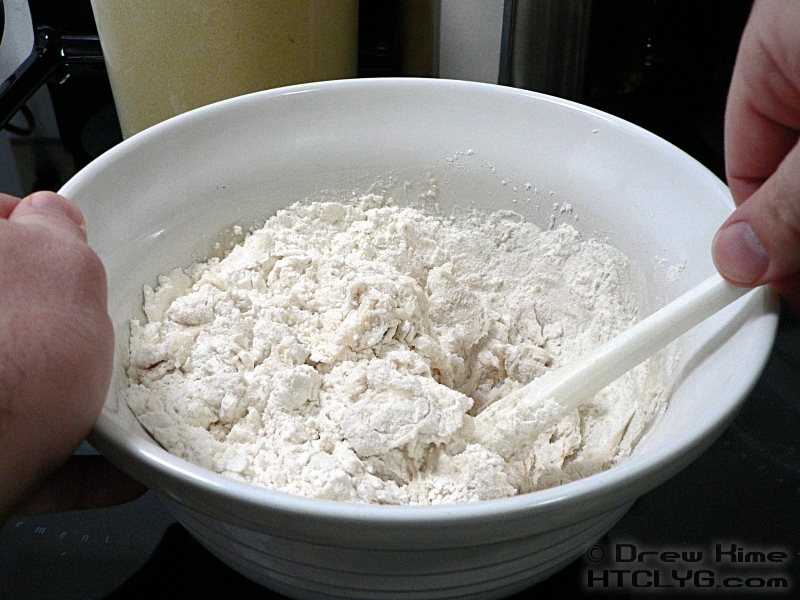
Don’t add the oil until after you’ve worked the water and flour together. Otherwise the oil will coat the proteins and prevent gluten formation. Gluten lets the dough stretch when it rises, making it light and chewy instead of crumbling like cake.

After mixing the oil in, turn the dough out onto a clean, floured surface to knead.

Stretch the dough away from you, fold it back, turn a quarter turn and repeat. Once the dough is well incorporated, slap it on the surface a few times. This will encourage more gluten production leading to a lighter, airier bread.
When the dough is smooth and silky, continue kneading for another several minutes. You can work it with both hands and keep turning the dough, or just hit it from opposite angles with each hand.
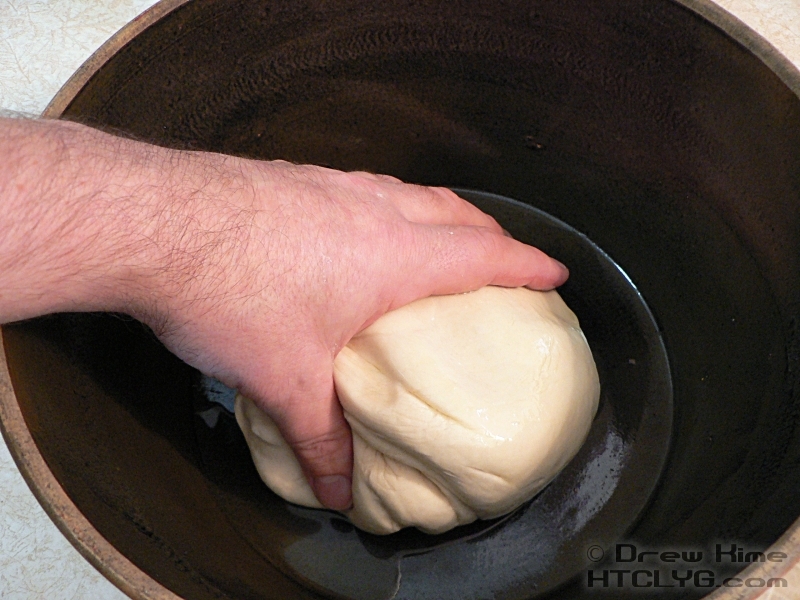
Once the dough is thoroughly kneaded, place it in an oiled bowl. Toss the dough around so it is coated with oil all the way around.
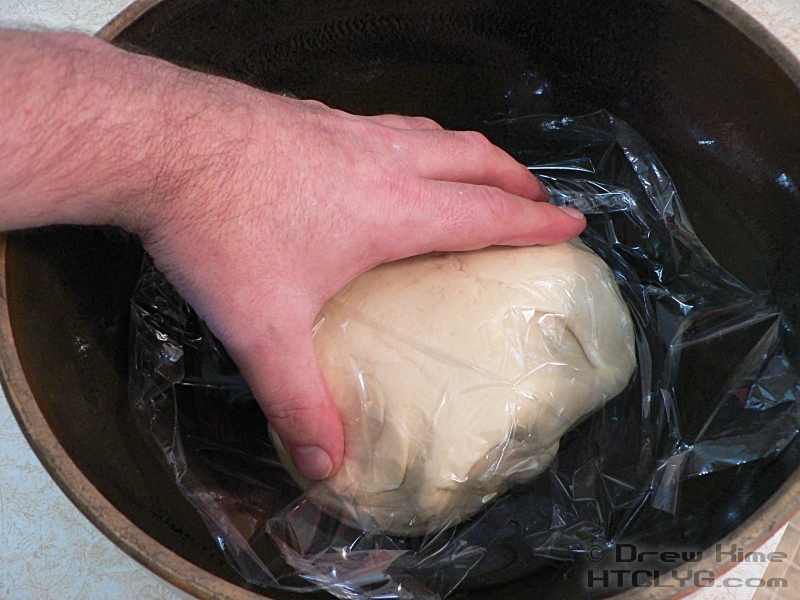
Cover the dough with plastic wrap, pressed right up against the dough. This will prevent a skin from forming on the dough, allowing it to rise more.
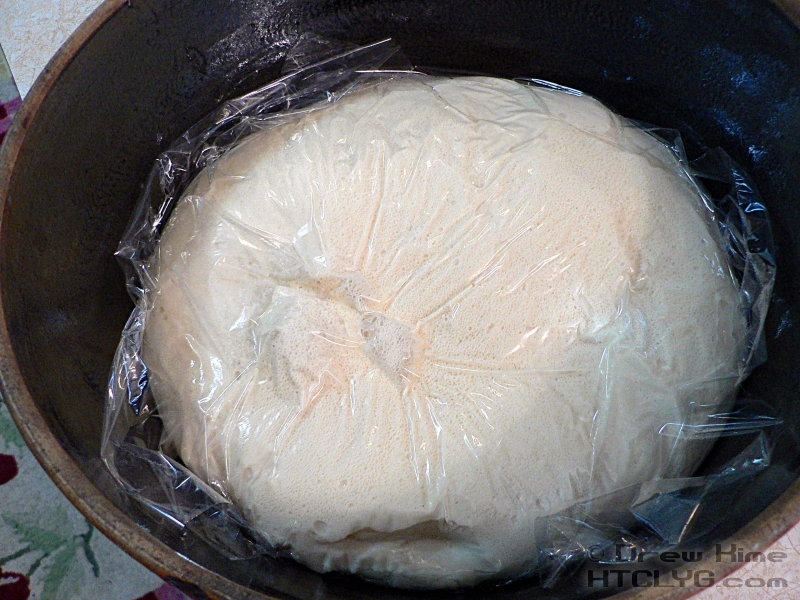
Put the bowl someplace warm until the dough has doubled in size, about 1-1/2 to 2 hours.
Pre-heat the oven to 425°. If you have a pizza stone, put it on the bottom rack. Otherwise, place a baking sheet upside-down on the bottom rack.
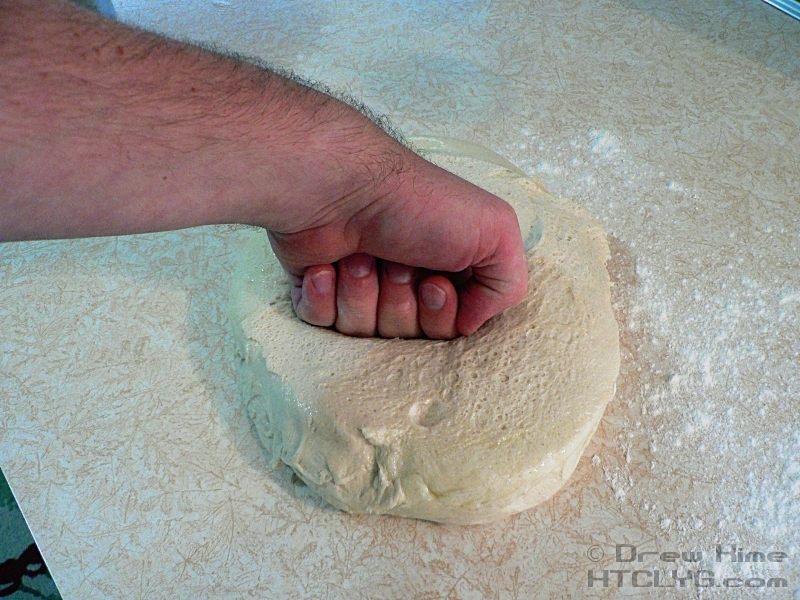
Turn the dough out onto a floured surface and punch down to knock out most of the air out. Don’t go crazy and try to turn it into a pancake. Just give it a quick couple of hits.
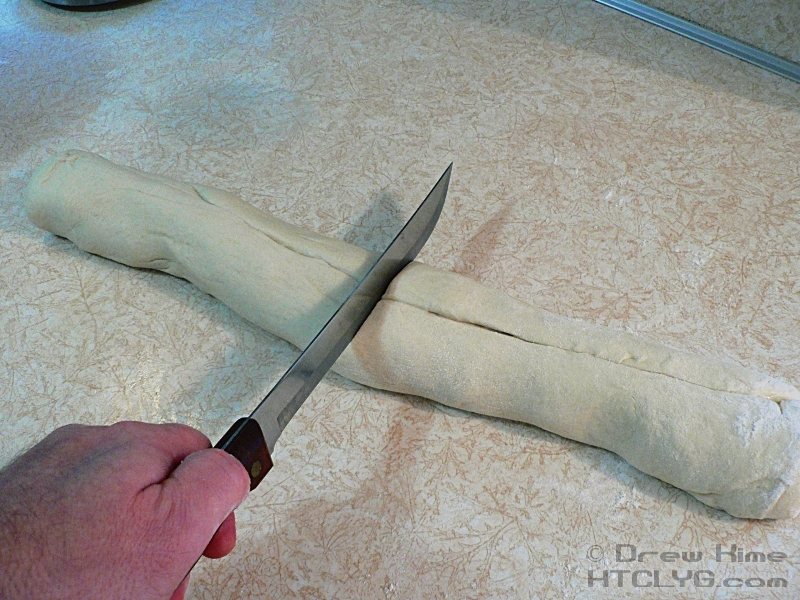
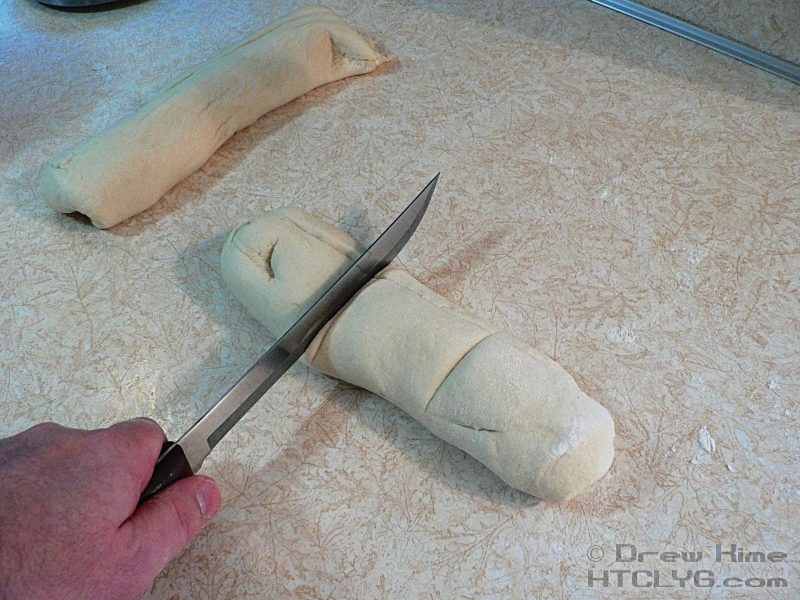
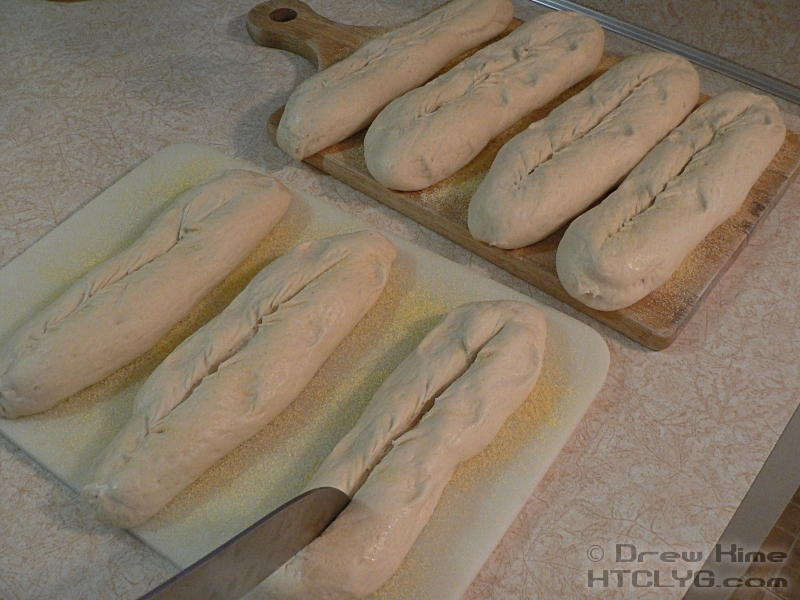
Roll the dough out into a loaf shape and cut it in half. You can form the halves into loaves or, like I did here, divide each half into three smaller pieces.
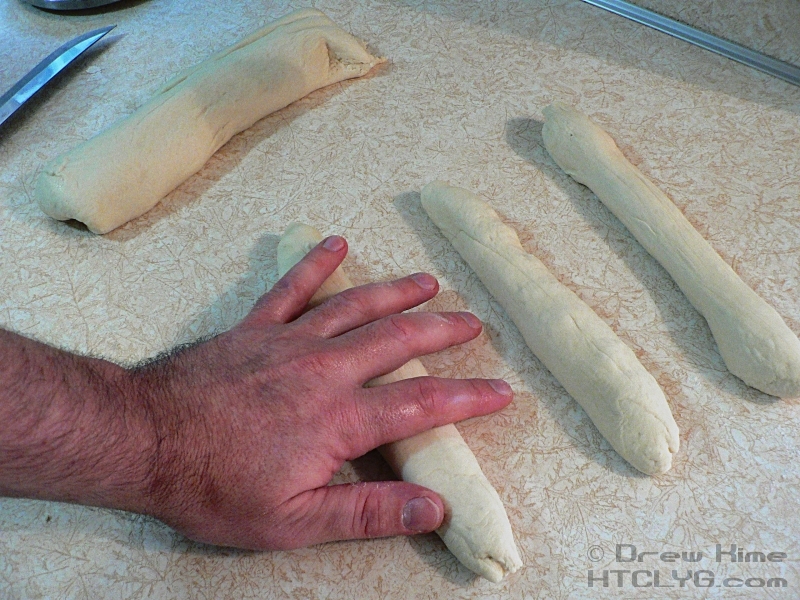
Roll out the pieces of dough until they are about 6-9 inches long.
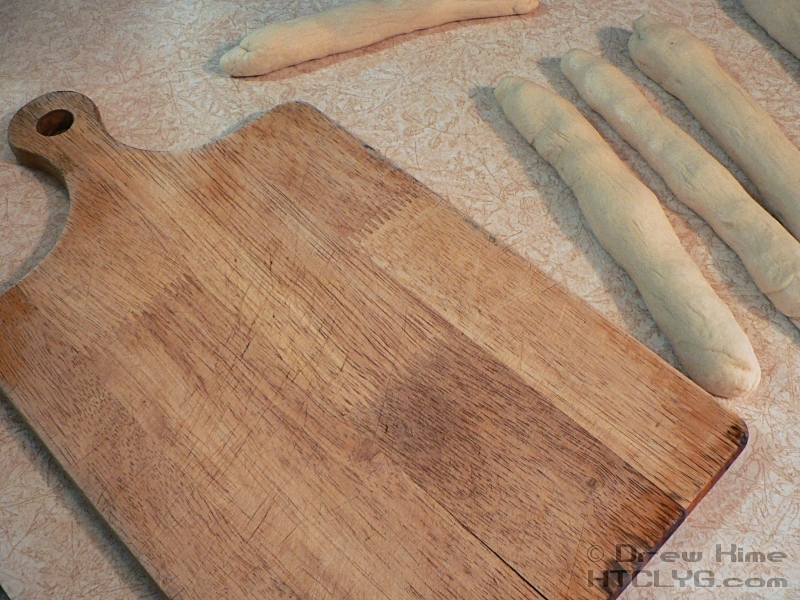
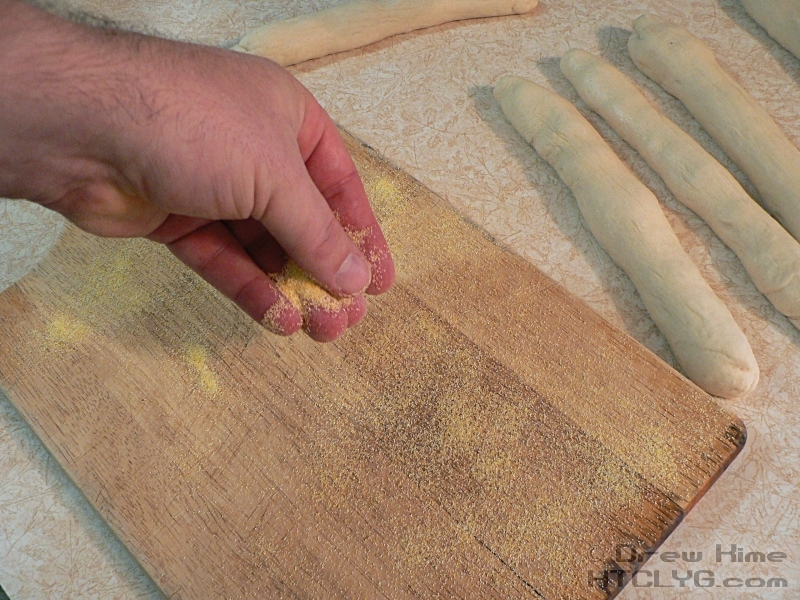
If you have a peel (the large wooden spatula you see in pizza shops) use that. If not, a wooden cutting board will work. Dust it with cornmeal so the dough doesn’t stick.
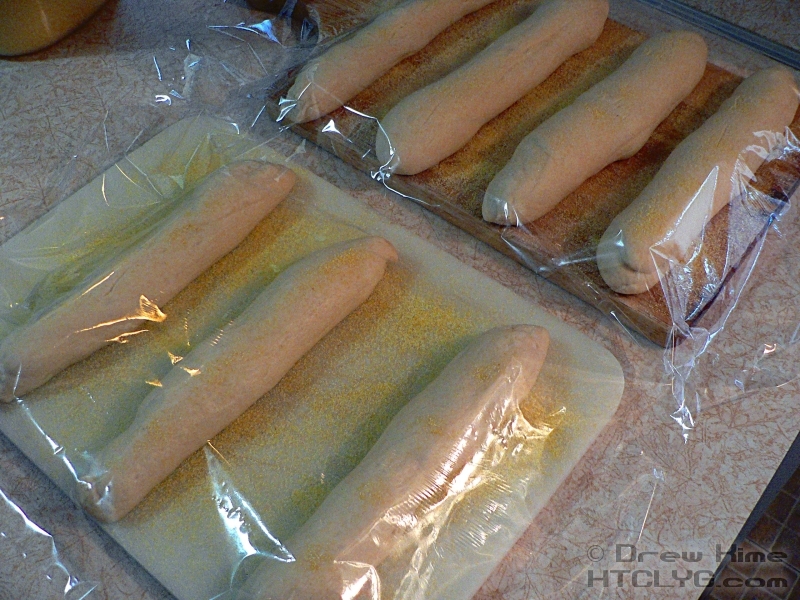
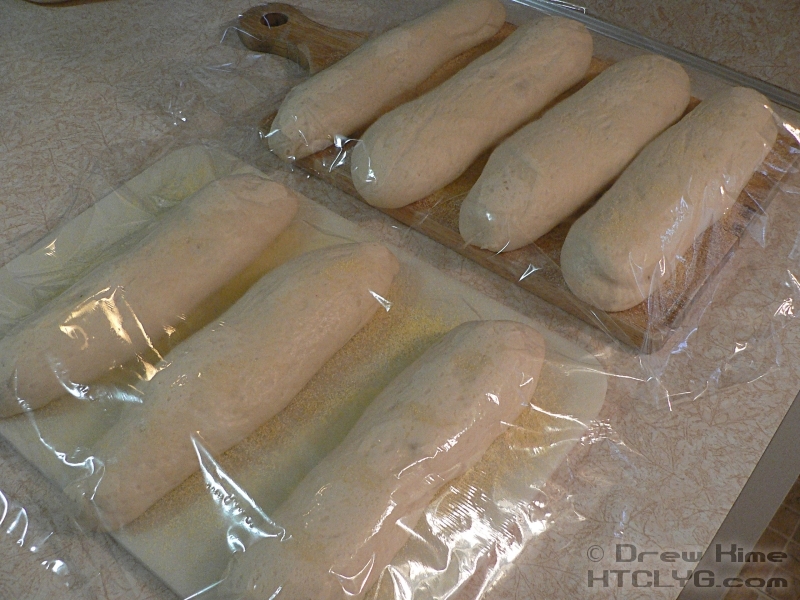
Cover the loaves with plastic and allow to rise for another 40 minutes. They should roughly double in width.
Cut each loaf down the middle with the sharpest blade you have. If you don’t have anything that is absolutely razor sharp, use a razor blade. You want to cut about a quarter-inch deep in a single quick stroke without sawing back-and-forth. This will prevent the bread from bursting open when it rises in the oven.
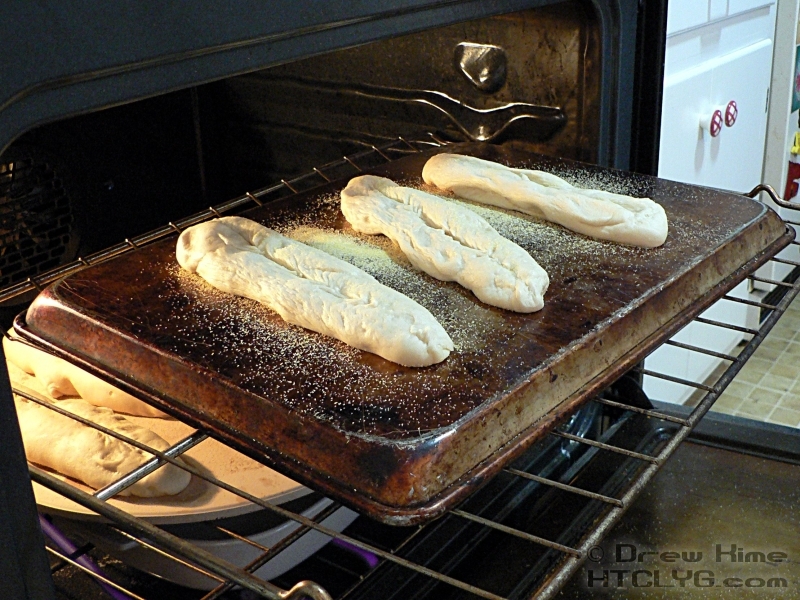
Transfer the loaves onto the baking stone. Leave room between loaves for them to rise some more.

If they don’t all fit on your stone, put the rest on an upside-down baking sheet.
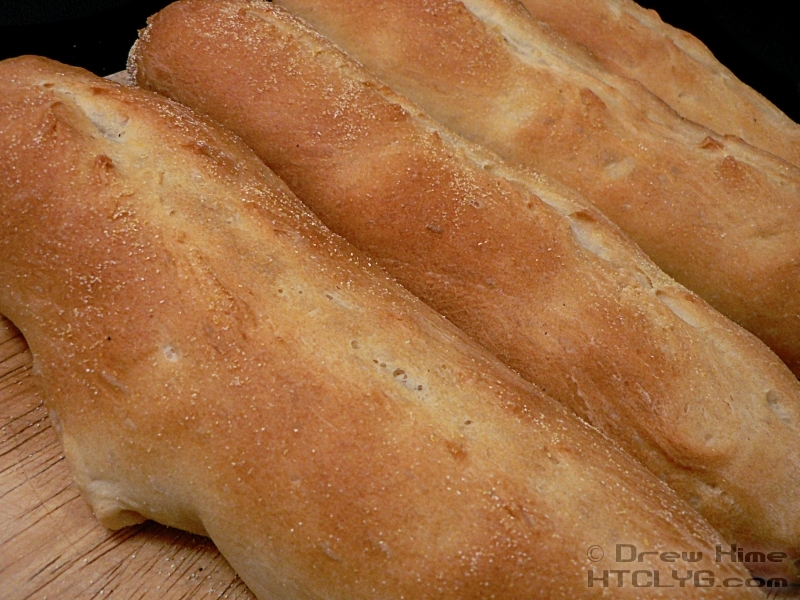
Bake at 425° for 10 minutes, then turn the oven down to 400° and bake another 25-30 minutes. To check if they’re done, pick one loaf up and thump on the bottom with your thumb. If it has a hollow sound, it’s done.
If you want really crusty bread, great for dipping in olive oil or marinara sauce, place a pan of water in the bottom of the oven. The steam will keep a skin from forming too fast, giving the bread more time to rise. It will also make the crust crisper.
Don’t put the loaves near the top. The radiant heat from the top of the stove will brown the crust too much, too fast. Guess which ones in the picture below were on the baking sheet?

Serve immediately with butter, or with olive oil and balsamic vinegar for dipping.
And that’s it.
Or … let them cool off and maybe use them for sandwiches. Maybe I’ll have something special comingng up next. You think? Maybe?
Ingredients
- 1 package (2½ teaspoons) active dry yeast
- 1¼ cups warm water (105-115°)
- 3 cups bread flour or all-purpose flour
- 2 teaspoons sugar
- 1 teaspoon salt
- 1 tablespoon olive oil
- cornmeal for dusting
Instructions
Combine yeast, water, 1 teaspoon of sugar and 1 cup of flour in mixing bowl. Allow to rest for 10 minutes until the yeast starts bubbling and giving off a "yeasty" smell.
Add the remaining flour, sugar and salt and mix until the flour is incorporated. Add the olive oil and knead for 10 minutes, until the dough is smooth and satiny.
Place the dough in an oiled bowl, coating the dough all around with the oil. Cover with plastic wrap or a wet tea towel and place in a warm spot until the dough has doubled in volume -- 45 minutes to an hour or more, depending on temperature.
Punch down the dough, roll into desired loaf shape, cover with plastic again and allow to rise until doubled in volume.
Place a bowl of water in the stove and pre-heat to 425°. Turn down to 400 when you put the bread in. Bake 20-30 minutes, depending on shape of loaves. Bread is finished when it makes a hollow sound when you thump on the bottom with your thumb.


