For special deals and more great content, sign up for the free How To Cook Like Your Grandmother Newsletter.
Email address:


Also receive blog posts via email

Name: (optional)

Not now, thanks

How To Make Sourdough Starter

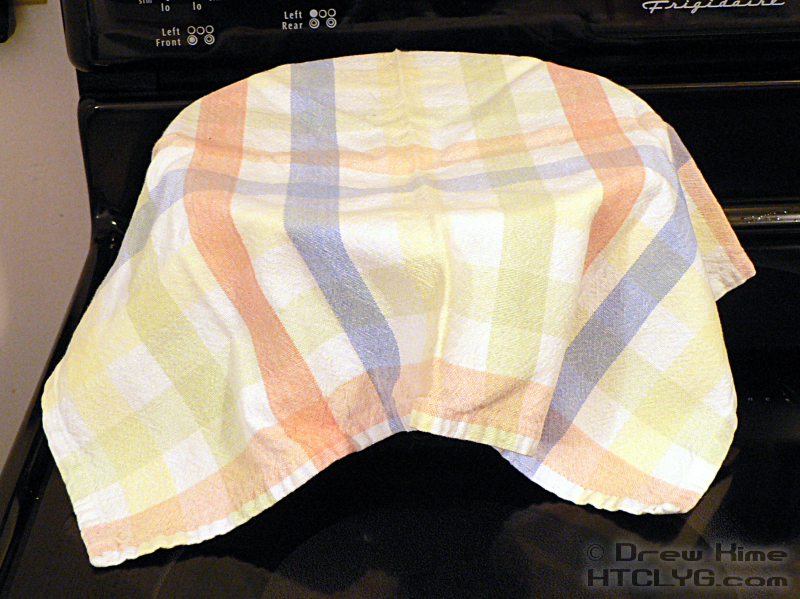
Today’s recipe is a dish towel.

No, today’s recipe is under the dish towel.

No, that’s not it either. Today I’m showing how to start making a single ingredient that, in three days, will go into an actual recipe.

Yeah, that’s it.

Ingredients


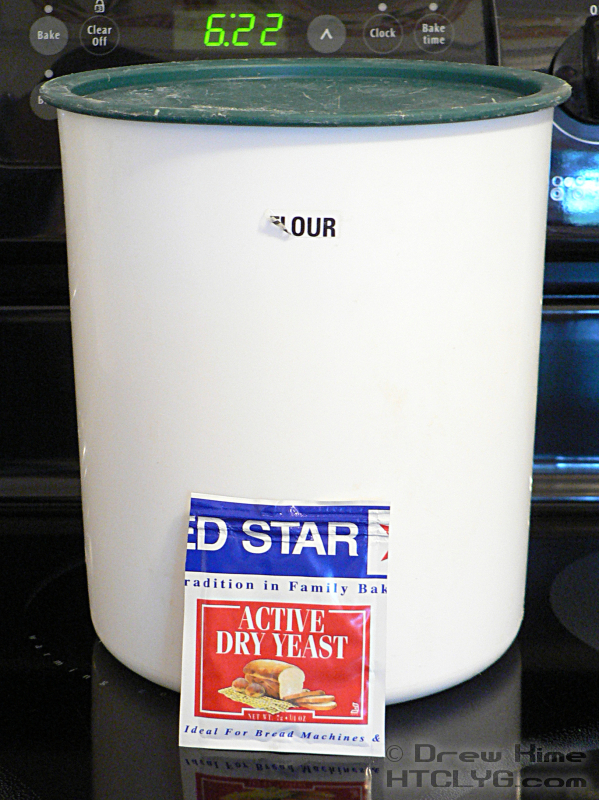
1 package active dry yeast
1-1/2 cups flour
2-1/2 cups lukewarm water (not pictured, because I’m not about to take a picture of water)

Directions

Bread has been a staple of every human society since the beginning of agriculture. But I’d never made it from scratch.

Weird, huh?

I don’t know if I thought it was going to be harder than it was. Or maybe I’m just not into things that take so long to do. And this step is the one that stopped me. You have to do the sourdough starter two to three days before you plan to make the bread. Who plans that far ahead?

So yeah, it takes some planning. But actually doing it couldn’t be much easier.

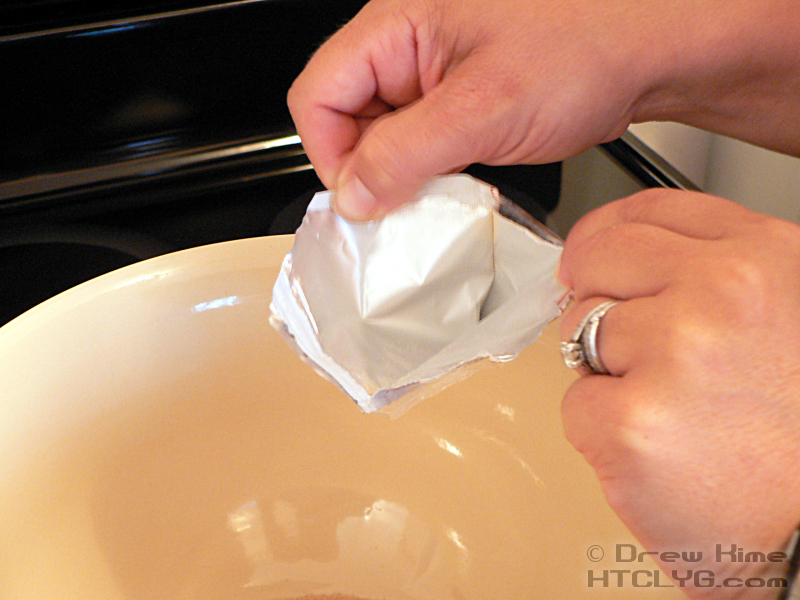
Just empty a single yeast pack into a bowl. (My wife likes to rip it open to make sure she gets all of it.)

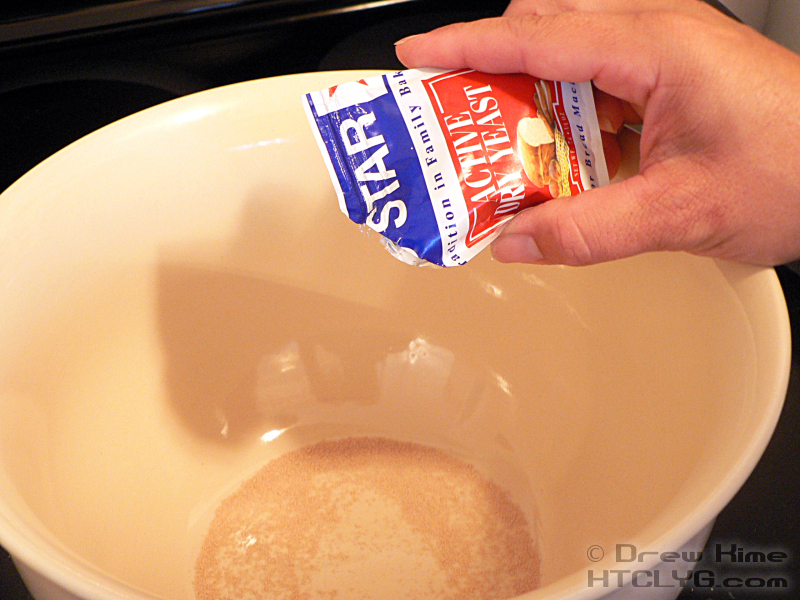
Add the water and stir.

Actually, that last step is one where you can mess up. It says up in the ingredients “lukewarm water”. How warm is luke? According to the back of my yeast pack — not the one I used the first time, the new one I went and bought — it’s between 105° and 115°.

That’s only written once on the back of the three-segment package, though. So my first try, the water wasn’t warm enough. And the yeast never activated. I went and bought some more, and saw the temperature range on that. Okay, so “lukewarm” is over 100°. Got it.

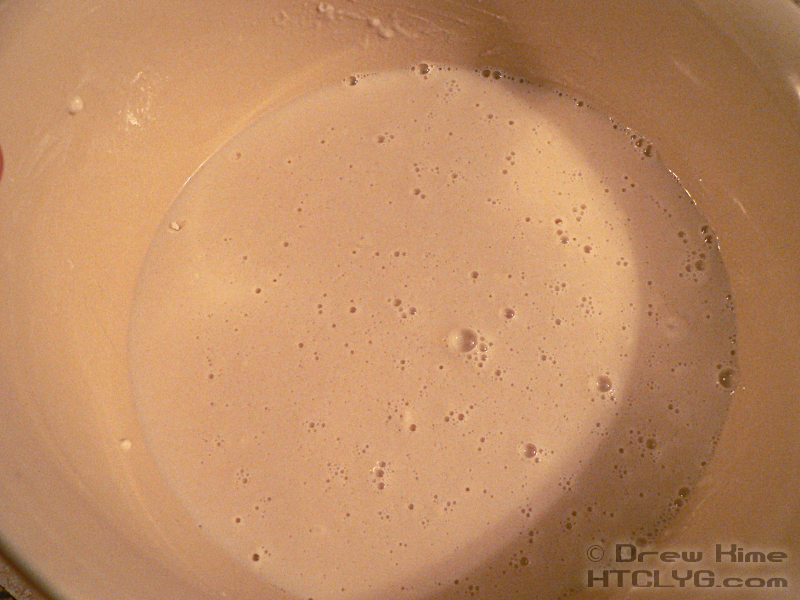
Now that I had warm-enough water, it started to bubble after about 15 minutes.

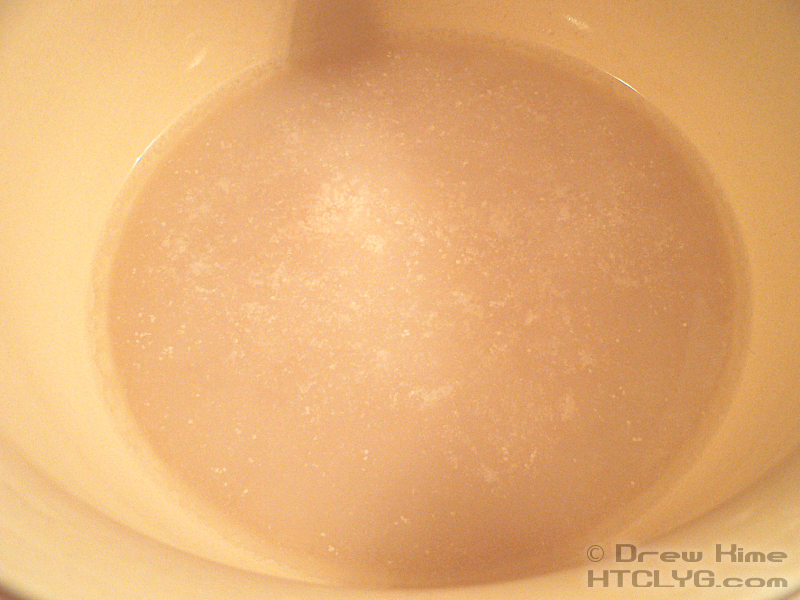
Once it’s going, add the flour and stir again.

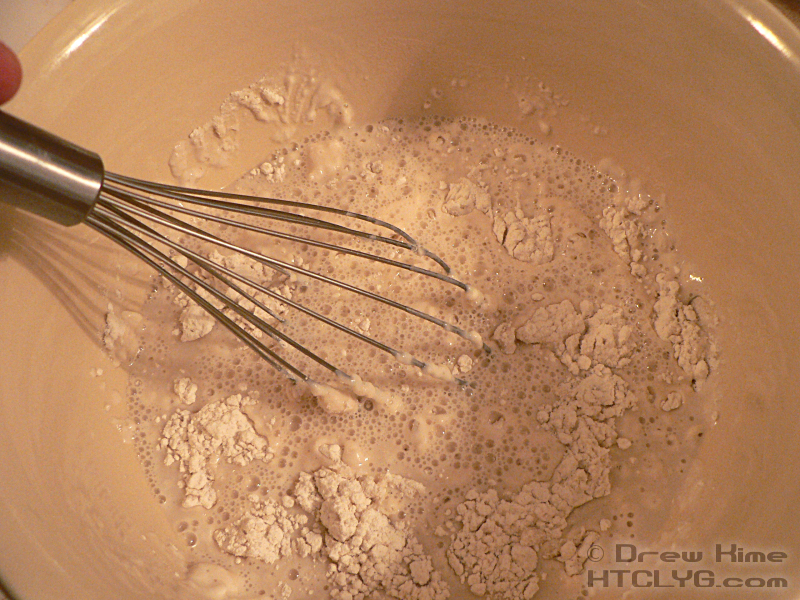
You should still see it bubbling after adding the flour.

Cover the bowl and set it someplace warm for two to three days.

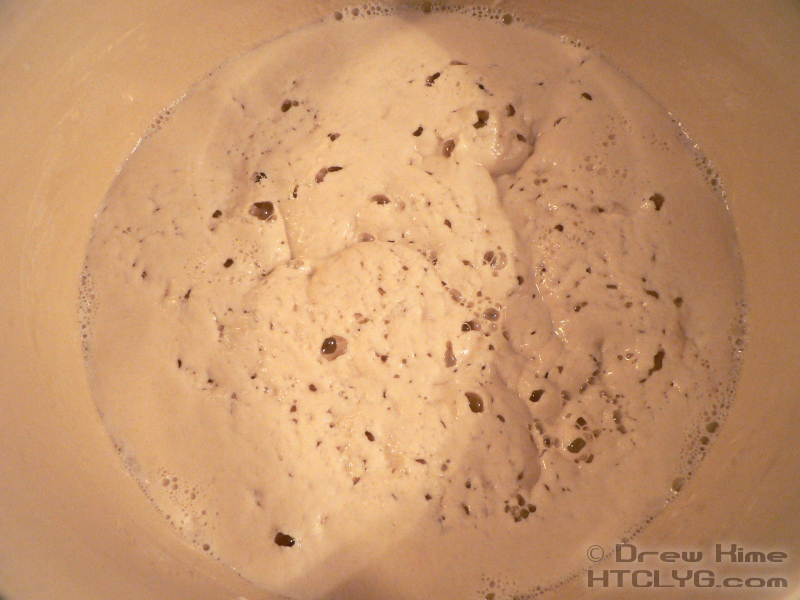
If you just have to peek — and I do — you’ll see plenty of bubbling after a couple of hours.

Stick around to see what this looked like three days later, and what I used it for.


For a bit of detail about “authenticity”, check out the comments below. Follow some of the links to see how seriously people take their breadmaking.


Want more like this? For more recipes like this, that you can hold right in your hands, and write on, take notes, tear pages out if you want (Gosh, you're tough on books, aren't you?) you might be interested in How To Cook Like Your Grandmother, 2nd edition, Illustrated. Or to learn your way around the kitchen, check out Starting From Scratch: The Owner's Manual for Your Kitchen.

This entry was posted in Bread. Bookmark the permalink. Post a comment or leave a trackback: Trackback URL.

17 Comments

  1. Kristin
    Posted September 15, 2008 at 11:18 am | Permalink

    I don’t get along with yeast. Which is why the MiL makes the bread in our house. I knew we kept her around for something . . .

  2. Stephanie
    Posted September 15, 2008 at 11:08 pm | Permalink

    I love sour dough! Can’t wait to see how your bread comes out!

  3. Anonymous
    Posted September 16, 2008 at 9:57 am | Permalink

    NOOOOOOOOOO! :)

    You’re making a poolish which is a baking pre-ferment. Sourdough is wild yeast. Commercial yeast will produce a very nice poolish to incorporate into your bread and will drastically improve the flavor but it really isn’t sourdough.

    Check out The Fresh Loaf for their excellent definitions and sourdough starter instructions.

    http://www.thefreshloaf.com/faqs/glossary

    http://www.thefreshloaf.com/lessons/sourdough

  4. Posted September 16, 2008 at 11:00 am | Permalink

    Kristin, you think you don’t get along. I killed the first batch.

    Stephanie, it was worth the wait.

    Anonymous, I didn’t know the term “poolish”, but I did know that lots of sourdough comes from wild yeast and bacteria. That’s why San Francisco is famous for their sourdough — they have better wild yeast and bacteria out there.

    But that’s not something that most people can count on. It’s hard enough for me to plan my baking three days out. Trying to do a wild yeast starter is a hit-or-miss affair. Unless you’ve already got a starter you’re happy with, you don’t know when or if you’ll get something you like.

    So this may not be the most “authentic” sourdough, but it’s more predictable, and it is more sour than a loaf made without doing any fermenting.

    And thanks for the links. Now that I’m a born-again bread maker, I’ll be looking for tips for a while.

  5. Jehan
    Posted September 16, 2008 at 2:07 pm | Permalink

    I’m a fan of sourdough, can’t wait to try it out!

  6. Nancy from Mass
    Posted October 2, 2008 at 8:29 am | Permalink

    Hi! I made the starter, but it looks more ‘liquidy’ than yours. Did yours separate quite a bit? I want to make bread with it this weekend, but wanted to know if yours looked the same.

  7. Posted October 2, 2008 at 9:25 am | Permalink

    Nancy, take a look at the post where I finally used it. It definitely sepatated a lot. As long as you give it a good stir before using it, you should be fine. And once you use the cup or two you need, add another cup each of flour and water back in if you want to keep the starter going.

  8. Melissa
    Posted January 8, 2009 at 9:19 am | Permalink

    Drew, how do you KNOW it’s ready to use? I whipped up a batch of your starter last night and I’m itching to make the bread.

  9. Posted January 8, 2009 at 2:33 pm | Permalink

    Melissa, you can use it almost immediately. The longer it site, the more the flavor will develop. At some point it will run out of food (flour) and die if you don’t replenish it, so you can’t just let it sit forever. But give it at least two days.

  10. Anonymous
    Posted August 10, 2009 at 12:28 pm | Permalink

    Hi drew. how much bowls can each batch make? im talking about the one cup of starter with the normal ingredients.

  11. Posted August 10, 2009 at 2:29 pm | Permalink

    When I made them, I got four bread bowls from the one batch. If I were doing it again today I'd use bread flour, which would give more rise, and I'd probably get six loaves from it.

  12. English Rose
    Posted September 29, 2009 at 12:58 pm | Permalink

    hello,
    i am recently getting into bread making.

    it's very cold where i live and today when i just made a plain loaf without waiting for a starter my yeast wouldn't "bubble" intil i added a bit of sugar.

    i would like to use your starter recipe, but i was wondering if i added sugar to get the process going if it would ruin it…

    also, can i keep this in the fridge when as i continue to feed it over time?

  13. Posted September 29, 2009 at 1:22 pm | Permalink

    Rose, a little sugar to get the yeast going probably won't change the flavor enough to notice. I always add a little now when proofing the yeast, even if the recipe doesn't call for it.

    For the sourdough starter, yes you can keep it in the fridge. You'll have to let it warm up to room temperature before using it, or the yeast will stay dormant. And when you take some out, and replace it with more flour, leave it out until it has started bubbling to make sure it is still alive before returning to the fridge.

    Working with live yeast takes some practice. You'll have to learn how long your yeast can keep in your fridge. Just pay attention to what you do, and remember that what actually works in your kitchen is more important that what any recipe says.

  14. Natalie
    Posted November 16, 2009 at 10:22 pm | Permalink

    This si my first attempt to make sourdough bread. I am making the started tonight. I am a little unclear about what you do with the left over started when you are done. I see you can "feed" it and I don't understand. It looks to me as if you never have to use yeast in again. Also can I freeze sourdough, and if yes at what point and how do I thaw ect….? Thanks for any help, this is a great site!

  15. Posted November 17, 2009 at 9:38 am | Permalink

    Natalie, that's right, you never have to add yeast again.

    Keep it in the fridge. When you're ready to bake, take it out and let it come to room temperature. (Actually about 80-85° is better.) Then scoop out what you need.

    When you're done, for each cup that you took add back in a half-cup of warm water and a cup of flour. Let it sit out for 2-4 hours before returning it to the fridge. This gives the yeast time to multiply and start on the new flour.

    For freezing, wrap the finished bread tightly in plastic wrap — get all the air out — then wrap in aluminum foil. I've frozen it for several weeks this way. To thaw it, remove the plastic wrap, then put the foil back on and bake at 200° for about 15-20 minutes. This should be enough to warm it all the way through if it's long and thin, like French bread, and it will come out smelling like hot fresh bread.

    You'll have to go a little longer for thicker shapes, like bread bowls or loaf-pan shaped.

  16. Ron Galdabini
    Posted January 2, 2010 at 3:55 pm | Permalink

    1 . I keep my starter in a wide-mouth quart jar with a plastic lid in the fridge. I’ve kept it going for 39 years. The starter can go for 6-8 weeks without feeding but does take a day or two to get real active when taken out of the fridge and fed after that long.
    2. Occasionally there will be mold form in the jar. Just scrape/pour off and feed. The mold is from the natural yeast spores found in the air
    3. Remember, the Sourdough’s of Alaska took their sourdough crock to bed with them when it was 40 below so they would have an active batter for hotcakes the next morning….time to bake cannonballs!

  17. Posted January 2, 2010 at 6:25 pm | Permalink

    Ron, 39 years is impressive. I’ve heard the bakeries in San Francisco have had theirs going for over a century, but that’s a business. For an individual, I wonder if yours is a record. Actually, I wonder who would even track something like that.

    As for the Alaskans, I look at that instead as a sign that they should live somewhere more hospitable to humans. When you have to bring your groceries to bed with you, I’d suggest it’s time to re-think your living arrangements.

» Subscribe to comments on this post

Post a Comment

Your email is never published nor shared. Required fields are marked *

*
*

You may use these HTML tags and attributes: <a href="" title=""> <abbr title=""> <acronym title=""> <b> <blockquote cite=""> <cite> <code> <del datetime=""> <em> <i> <q cite=""> <strike> <strong>

  • Free Online Class

    Sign up now for my free 10-day online course in the basics: Starting From Scratch

  • Buy the Book


    Cooking used to be all about making food that tasted good. But somewhere along the way, we seem to have decided the diet-of-the-week was more important. How to Cook Like Your Grandmother is a return to recipes and techniques that are based on what tastes good, not on junk science and fad diets. You won't find the words lite, low, lean, free or skim anywhere. This is all real food, cooked the way Grandma would have done it.
  • Buy the Other Book


    People have been making and eating food as long as there have been people. And food. But somehow we've let ourselves believe that it's something only experts can do "right". That's where Starting From Scratch comes in. I'm not saying you'll go from zero to hero just by reading it, but at least now you'll know what those self-proclaimed experts are talking about.
  • Follow this blog

     Subscribe in a reader

    -- OR --
    To get recipes in your email
    Enter your email address:
    -- OR --
    Sign up for the weekly newsletter. Email address:
  • All-time Favorites

    Perfect Brownies French Onion Soup Bruschetta Pizza Egg Salad Onion Rings Banana Cake Cheesesteak Peach Cobbler Frozen Chocolate Truffle Pie Emily's Creamy Cheesecake
  • No Awards Please

Page optimized by WP Minify WordPress Plugin