For special deals and more great content, sign up for the free How To Cook Like Your Grandmother Newsletter.
Email address:


Also receive blog posts via email

Name: (optional)

Not now, thanks

Pan-fried Chicken in Butter

I’ve been described as something of a “skin freak” when it comes to chicken and turkey. So it always catches me by surprise when someone says that they prefer skinless chicken breasts. Not as a dietary issue — which is misguided anyway — but they actually don’t like the skin. Baffling.

That doesn’t mean I can’t still do a fabulous skinless chicken breast. Oh, sure, it’s cooked in butter. But as long as it’s skinless, people seem to be happy. I can work with that.

Ingredients

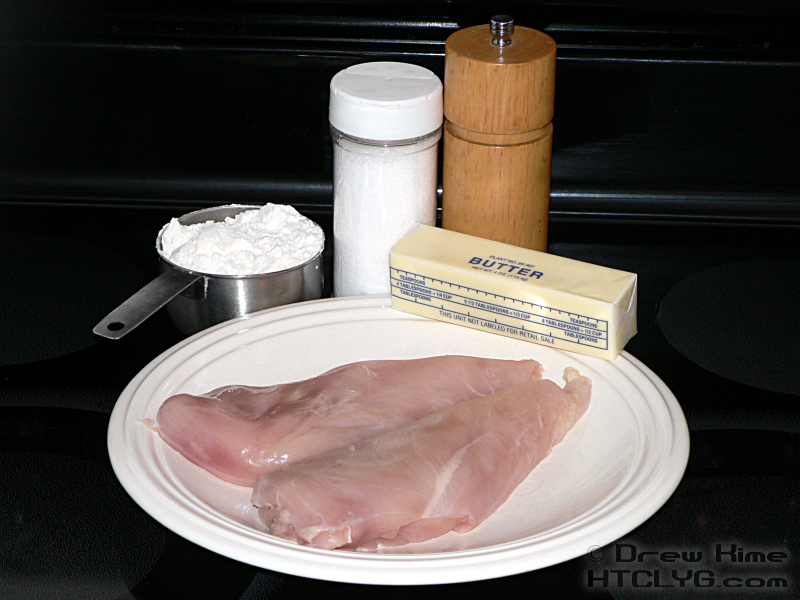
2 chicken breasts — boneless, skinless
2 tablespoons butter
1/2 cup flour
kosher salt
coarse ground black pepper

Directions

The first two steps will improve any chicken dish you make: start with the chicken at room temperature, and pound it thin. The longer it takes to get the center cooked, the more likely it is the outside will be tough and dry.

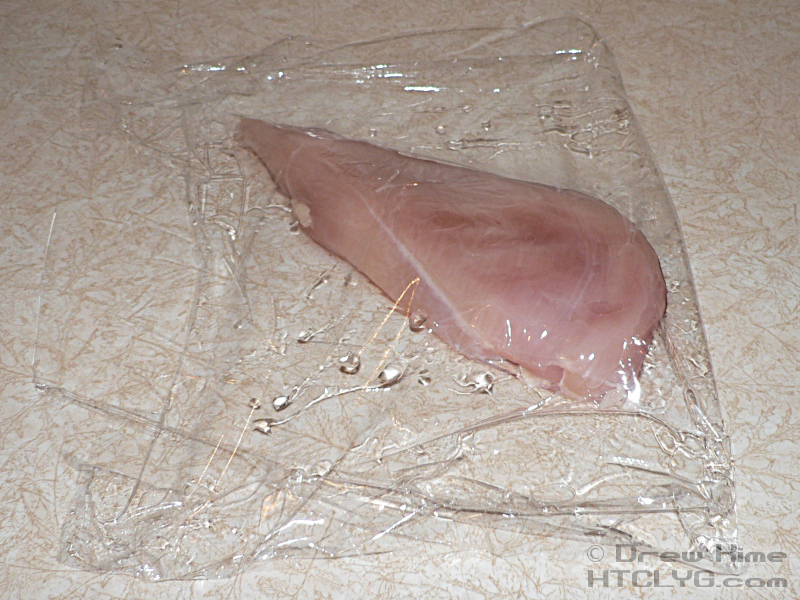
Pounding it doesn’t take any special tools, either. Start by laying out a long piece of plastic wrap on your counter. Sprinkle it with a little water so the chicken slides around instead of tearing. Start with one breast, and fold the plastic over so the chicken is covered.

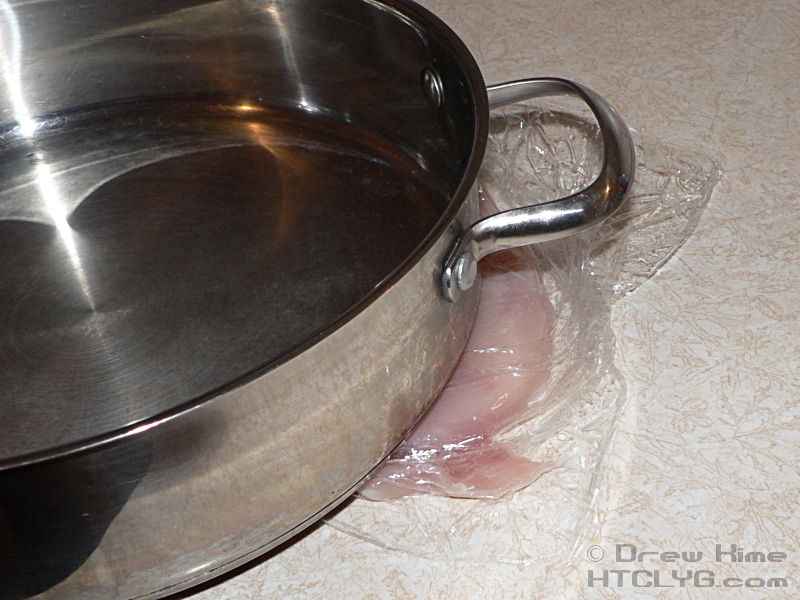
Using a heavy-bottomed skillet — like the one you’re about to cook the chicken in — pound the breast until it is as flat as you can make it. Start from the thickest part and work your way out.

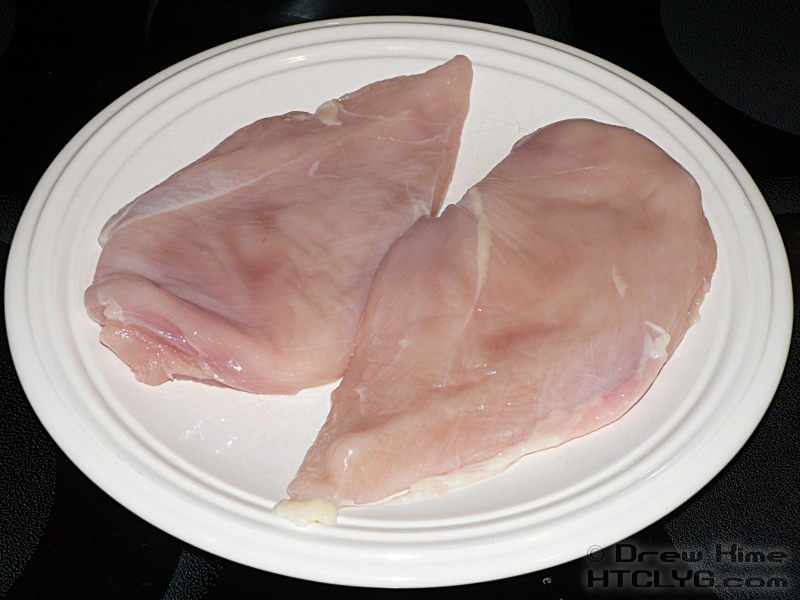
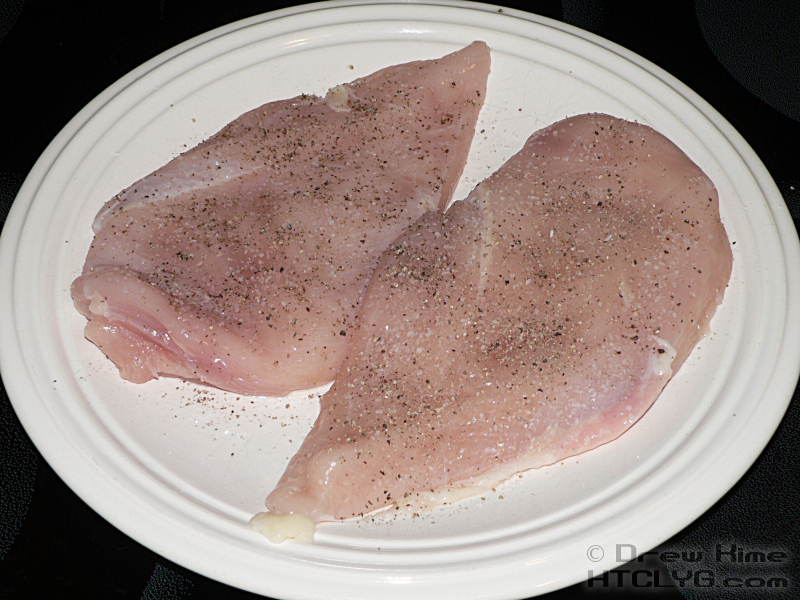
Compare the size of the pounded breasts with what they looked like in the ingredients picture above.

Coat the breasts on both sides with a generous helping of salt …

and pepper.

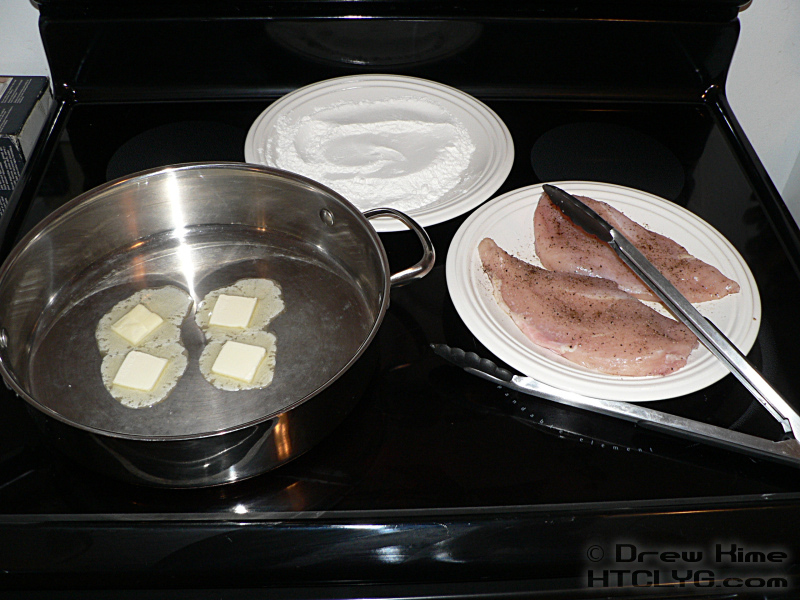
Put the flour in a dish or shallow bowl, one that is large enough to lay a breast out flat in it. Place this dish, and the one with the breasts, on the stovetop next to the frying pan. Divide the butter into a couple of small pieces and melt it over low heat.

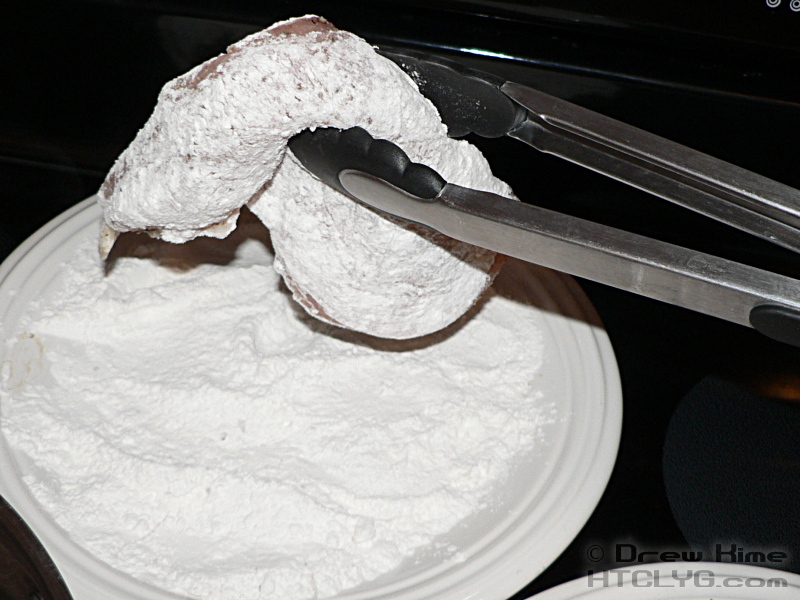
Once the butter is melted, dredge the breasts one at a time in the flour …
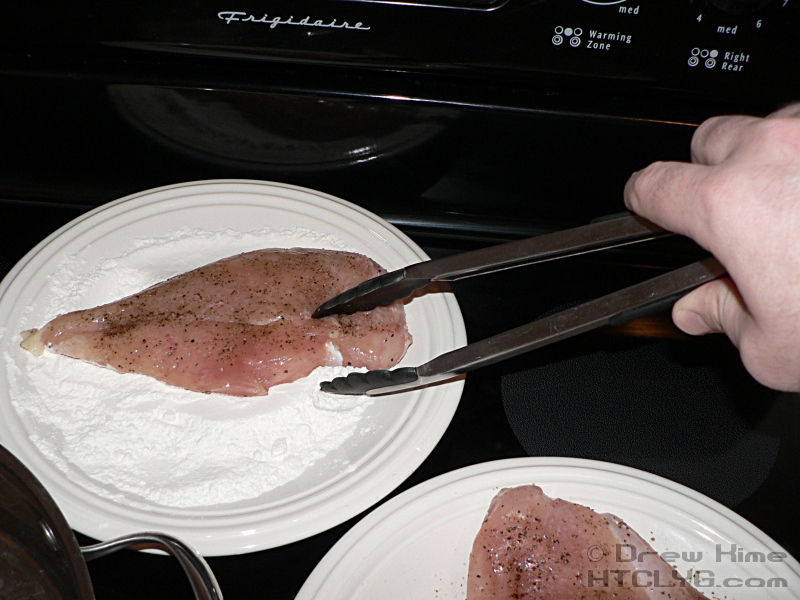
on both sides …

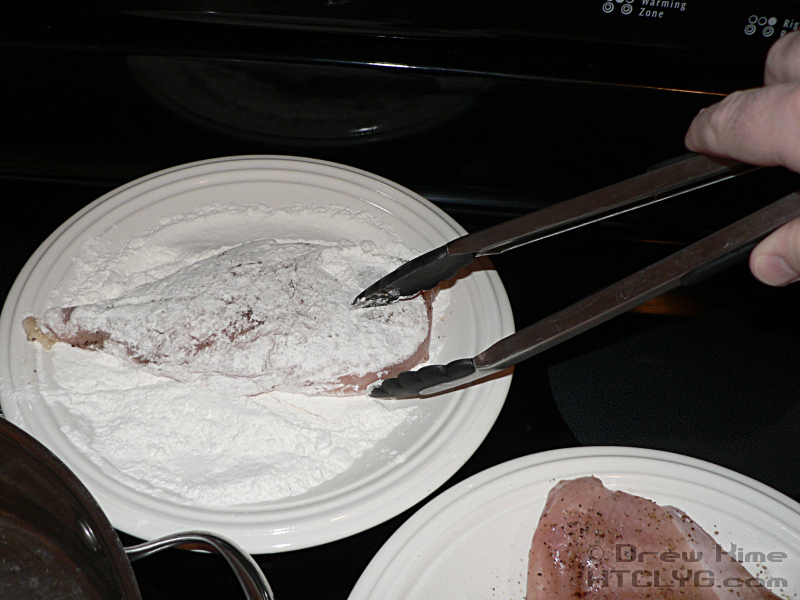
and shake off the excess.

Lay the breasts in the butter, with a little space between them.

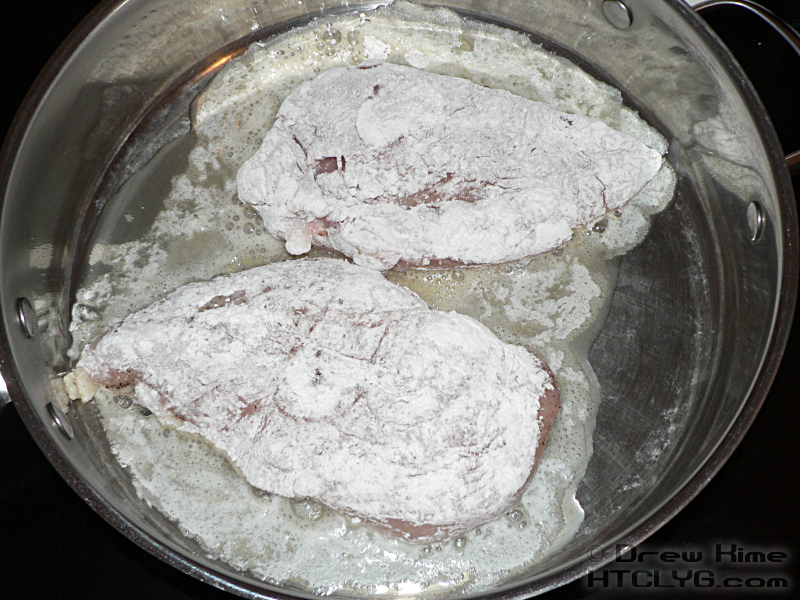
Keep an eye on the pan to make sure the butter doesn’t start smoking. (It’s okay for the flour and butter to turn brown.) If it smokes, remove the pan from the heat until the smoke stops, turn the heat down, and keep going.

Cook on the first side until the thinnest edge starts turning white on top …

then flip them over. Make sure there is still a little butter underneath when you flip them. If there’s not, add a little bit before putting them back down.

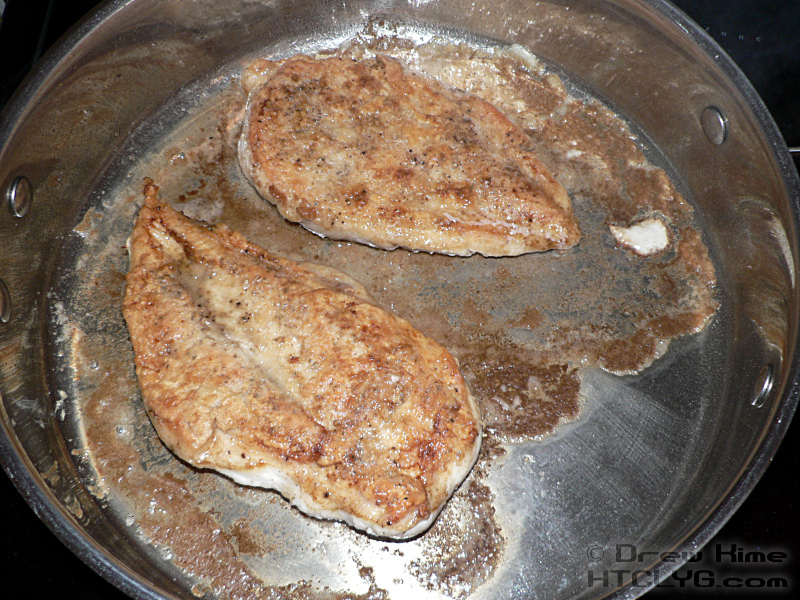
Cook on the second side until there is no more pink showing around the edge.

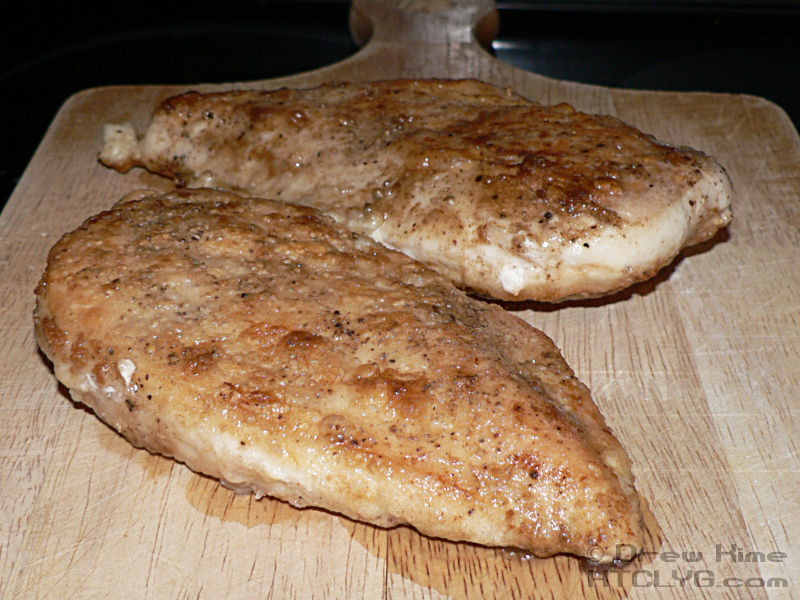
Let the breasts rest for at least five minutes before cutting.


Want more like this? For more recipes like this, that you can hold right in your hands, and write on, take notes, tear pages out if you want (Gosh, you're tough on books, aren't you?) you might be interested in How To Cook Like Your Grandmother, 2nd edition, Illustrated. Or to learn your way around the kitchen, check out Starting From Scratch: The Owner's Manual for Your Kitchen.

This entry was posted in Dinner, Fowl and tagged , , . Bookmark the permalink. Post a comment or leave a trackback: Trackback URL.

12 Comments

  1. Rob
    Posted February 3, 2009 at 4:37 pm | Permalink

    Complete novice who just made this and it is excellent. Super easy, super quick and very tasty.

    My only advice would be to not be as generous with the salt as I was!

    Thanks for the recipe.

  2. Posted February 3, 2009 at 9:16 pm | Permalink

    Glad you liked it. And I’d rather go a little heavy on the salt the first time. If you overdo it, you know, “Okay, good but a little too much salt.” Not enough and you’ll just be disappointed and think it’s a bad recipe.

  3. sickest
    Posted April 2, 2009 at 8:28 pm | Permalink

    very nice. just simple and quick.

  4. Anonymous
    Posted September 3, 2009 at 11:10 pm | Permalink

    I know I'm late to the dance but c'est la vie.

    Question–would you brine this chicken first?

    Thanks,
    Danelia

  5. Posted September 4, 2009 at 11:15 am | Permalink

    Danelia, you could, but if I wanted really juicy chicken I'd use the yogurt marinade.

  6. Anonymous
    Posted September 4, 2009 at 8:14 pm | Permalink

    Yummy and easy!

    Thanks!

  7. Anonymous
    Posted September 4, 2009 at 10:33 pm | Permalink

    Good to know.

    Why kosher salt? or have I missed where you addressed that elsewhere?

    Thanks,
    Danelia

    P.S. My son (11 y/o) and I have just discovered sea salt–okay.. I know, I know; we didn't discover it..people have been using it for eons–still it's new to us. From what Wikipedia says wouldn't it work just the same basically?

  8. Posted September 5, 2009 at 8:07 pm | Permalink

    Danelia, kosher salt isn't ground as fine as iodized (table) salt. It comes in either larger chunks, like sea salt, or sometimes as flakes. Either way, it sticks to the meat better instead of bouncing off and landing in the pan. Yes, sea salt will work fine, too.

  9. Anonymous
    Posted October 29, 2009 at 11:53 am | Permalink

    I used a generous helping of table salt, fresh ground pepper, and garlic powder on the chicken before dredging them in the flour. The flavor was amazing! The butter adds so much to the flavor of the chicken. It took all of 5-6 minutes of cooking time and the chicken was REALLY juicy and just right! Great recipe!

  10. Susan
    Posted November 8, 2009 at 11:10 pm | Permalink

    Drew, trust you to come up with chicken breasts that actually sound GOOD. (Normally I hate white meat!)

  11. Nicole
    Posted April 7, 2010 at 4:37 pm | Permalink

    i just made this chicken, and i am going to break it up and put it in my “chickenetti.” this is an alternative to buying a pre-roasted chicken for my recipe.
    very good.thank you.

  12. Posted April 7, 2010 at 7:52 pm | Permalink

    Nicole, you’re right, this makes a really good base for a lot of other dishes.

Subscribe to coments on this post

Post a Comment

Your email is never published nor shared. Required fields are marked *

*
*

You may use these HTML tags and attributes: <a href="" title=""> <abbr title=""> <acronym title=""> <b> <blockquote cite=""> <cite> <code> <del datetime=""> <em> <i> <q cite=""> <strike> <strong>

Subscribe to coments on this post
  • Free Online Class

    Sign up now for my free 10-day online course in the basics: Starting From Scratch

  • Buy the Recipe Cards

    Start your own recipe box, or fill up the one you've got. How To Cook Like Your Grandmother: Recipe Cards are a perfect addition to your set. They also make great gifts.

    Click here to select how many you want.

  • Buy the Books

    Whether you're just starting out, or already know your way around a kitchen, I've got you covered. How to Cook Like Your Grandmother is chock full of recipes and techniques that are based on what tastes good, not on junk science and fad diets. You won't find the words lite, low, lean, free or skim anywhere.

    Or pick Starting From Scratch to learn the difference between braising and roasting, and everything else you need to get comfortable in the kitchen.

  • Follow this blog

     Subscribe in a reader

    -- OR --
    To get recipes in your email
    Enter your email address:
    -- OR --
    Sign up for the weekly newsletter. Email address:
  • All-time Favorites

    Perfect Brownies
    Banana Cake
    French Onion Soup
    Egg Salad
    Onion Rings
    Bruschetta Pizza
    Peach Cobbler
    Cheesesteak
    Frozen Chocolate Truffle Pie
    Emily's Creamy Cheesecake


  • What Would Granny Cook?
  • No Secret Recipes
  • No Awards Please

Page optimized by WP Minify WordPress Plugin