I just started my relationship with yeast breads this past fall. I haven’t done the same recipes over and over to really get them right, because there are so many breads I want to try. But I’m getting comfortable working with the dough … though apparently “comfortable” is still well short of “confident.”
That’s why this post is not called How To Make Pizza Crust. I knew it wasn’t going right, but I figured I ought to follow the recipe the first time before I started getting creative.
Okay, lesson learned. It’s just baking, not heart surgery. Oh, and by the way, my wife says this crust is just like the kind she got at the local pizzeria when she was a kid. So it’s still good, just not what I was going for.
Ingredients
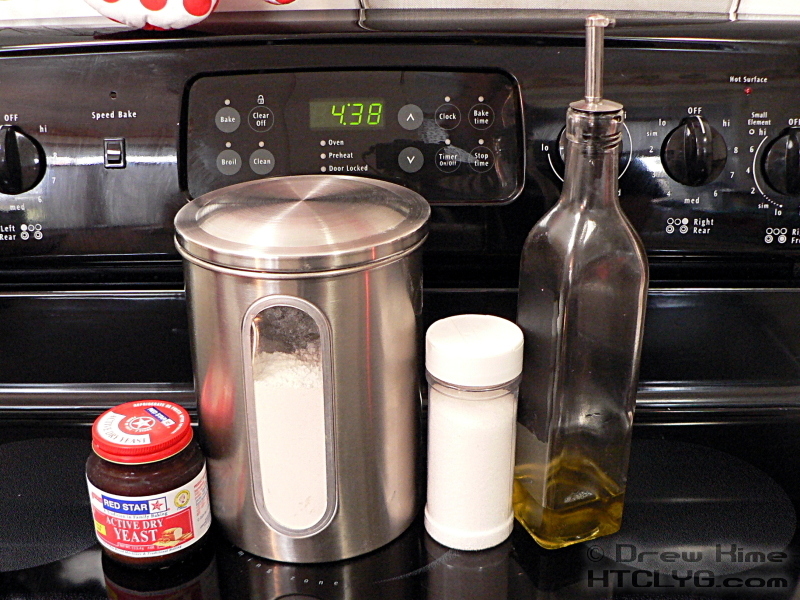
2 cups sifted flour
2 teaspoons active dry yeast (one package)
3/4 cup warm water
1 teaspoon salt
1 tablespoon olive oil
Directions
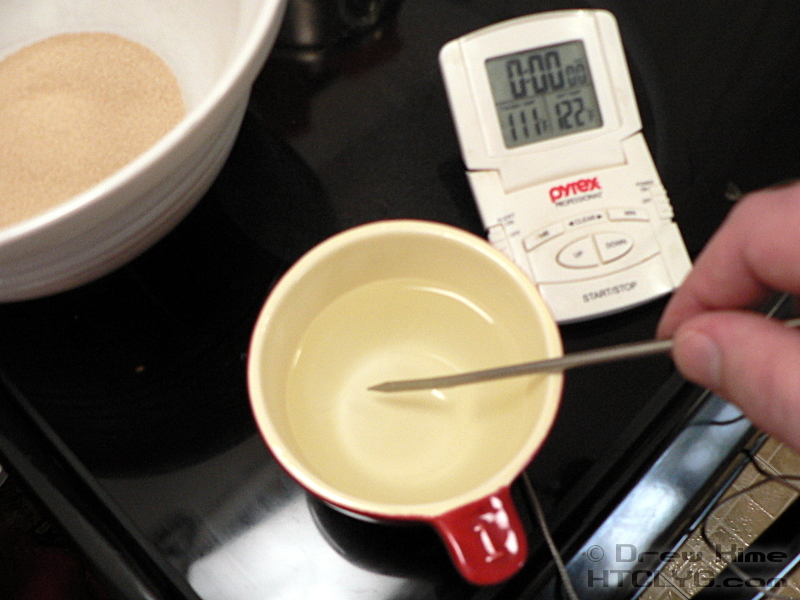
Just like every yeast dough recipe, this one starts by “proofing” the yeast. Put the yeast in a bowl, and make sure your water is between 105° and 115°. It has to be warm enough to activate the yeast — which is after all a live fungus — but not so hot that you kill it.

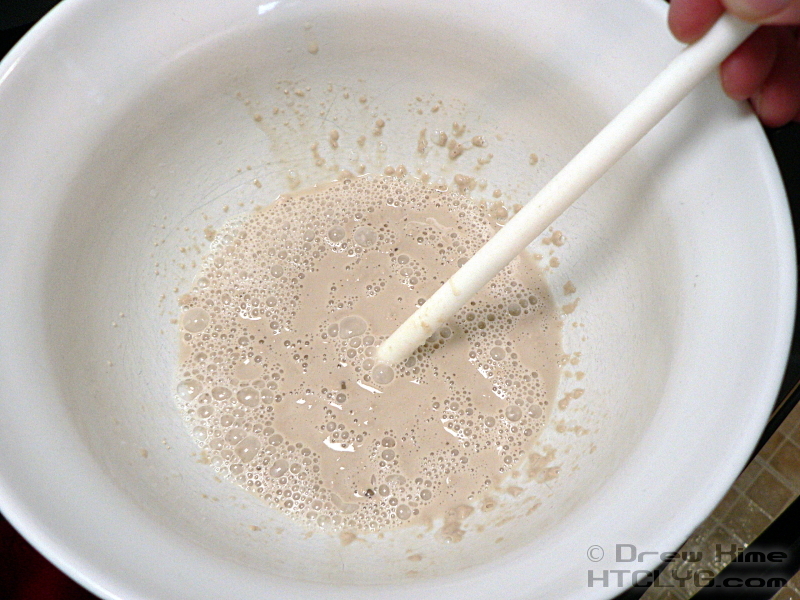
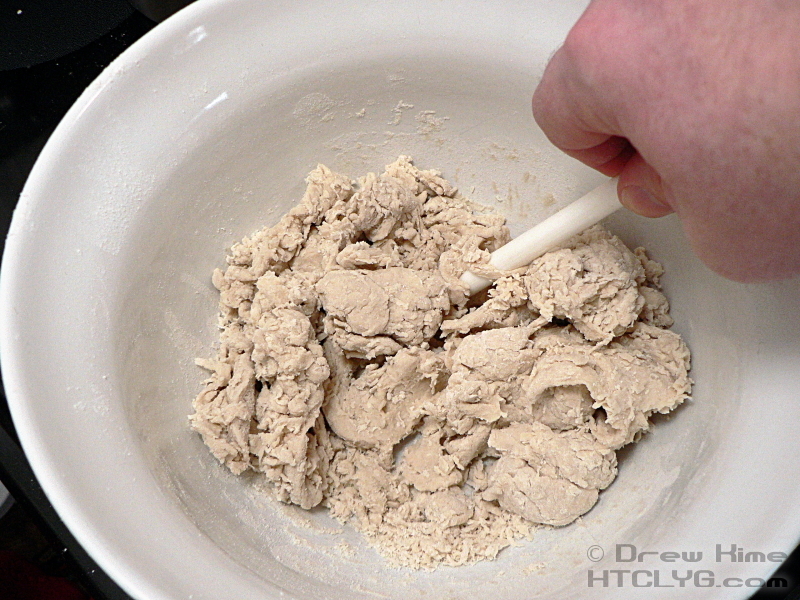
Add the water to the yeast and stir quickly until it’s dissolved.
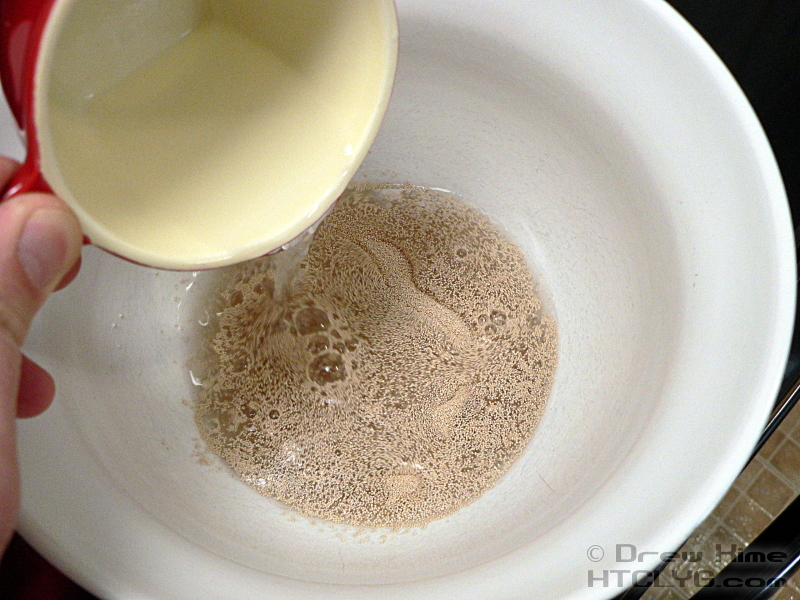
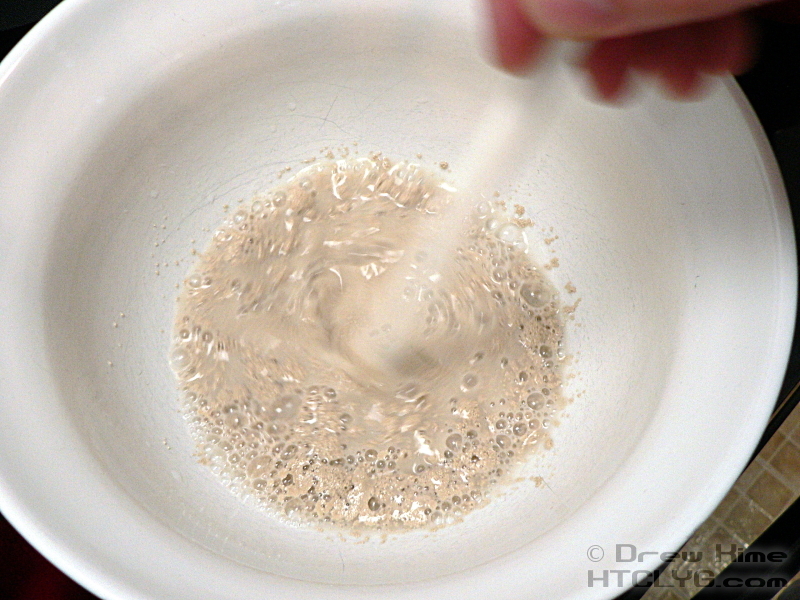
Don’t go crazy trying to make sure you get all the lumps out, like you would when making gravy. The more you stir it the more it will tend to clump up. You just want all the dry yeast to get wet.
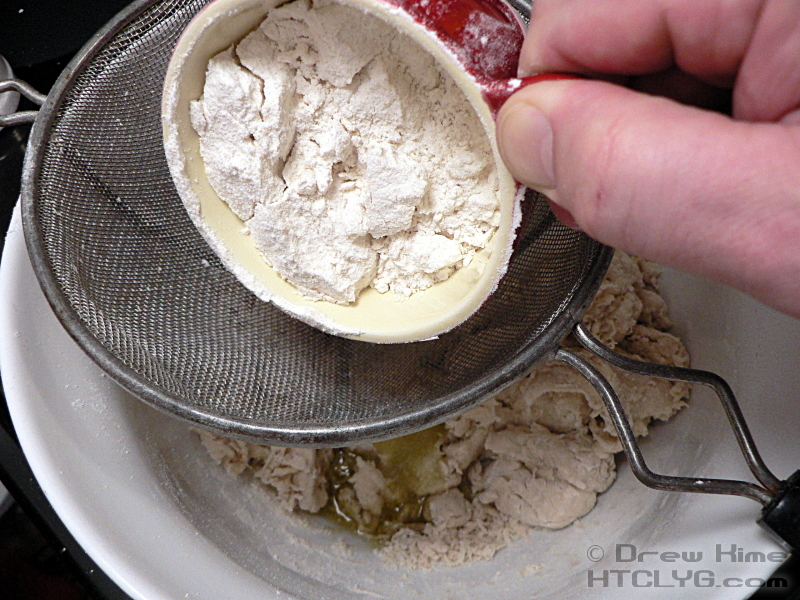
Sift in the first cup of flour.
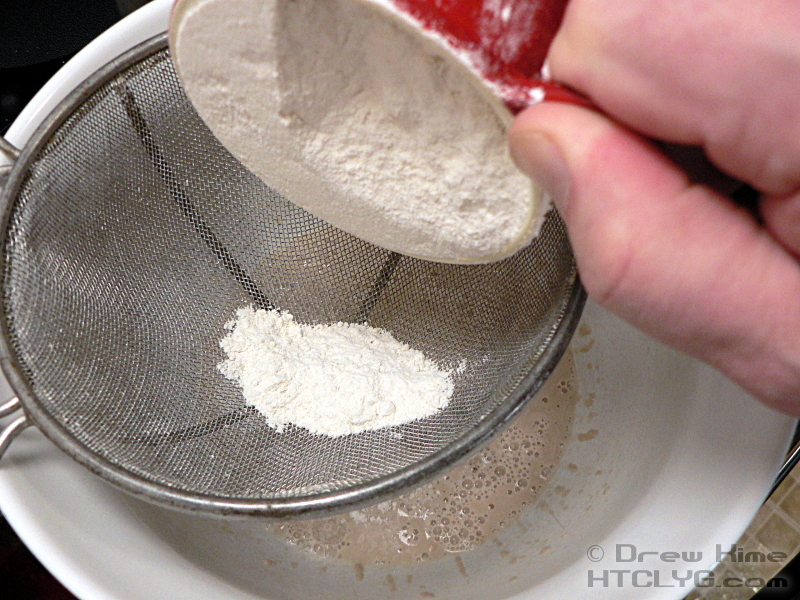

Then stir everything together.
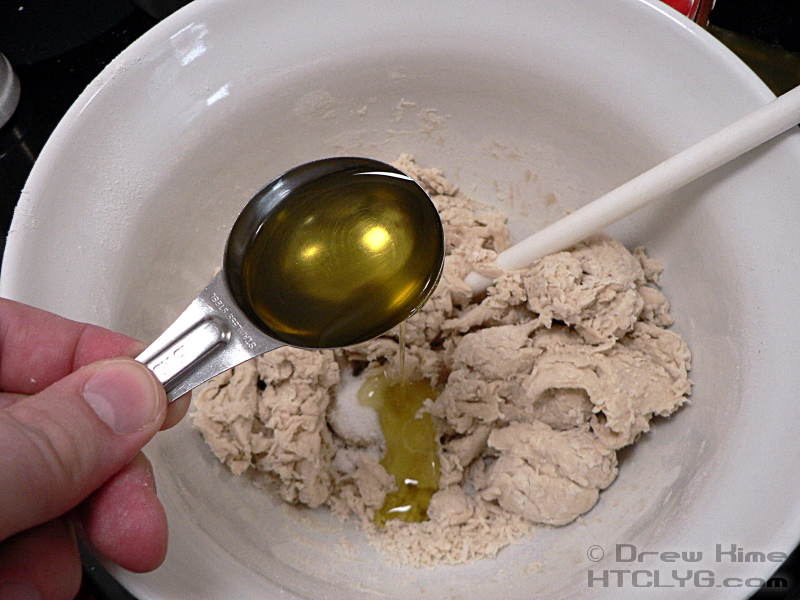
Add the salt and oil. (The olive oil is optional.)
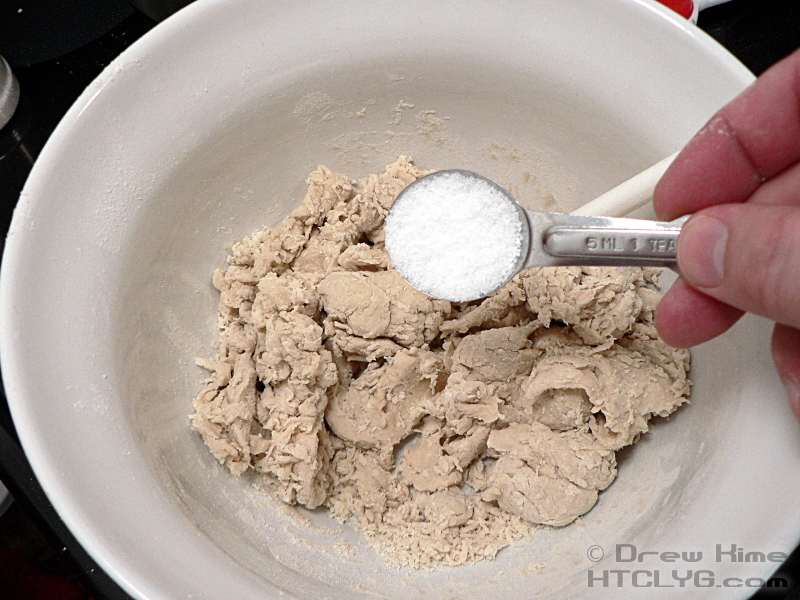
You don’t want to add the salt before the yeast is mixed with some of the flour. Salt can kill the yeast.
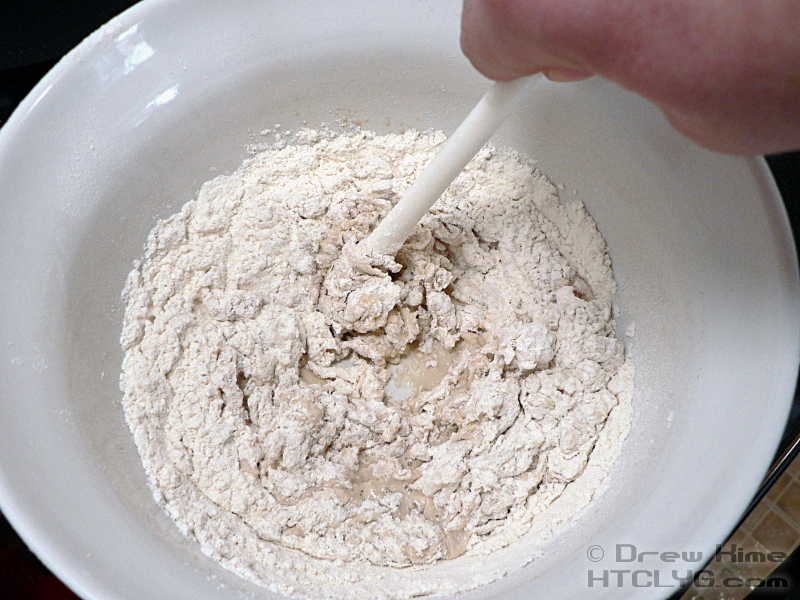
Add about half the remaining flour, so about a half cup.
Stir until the dough comes together, and is too dry to keep mixing with a spoon.
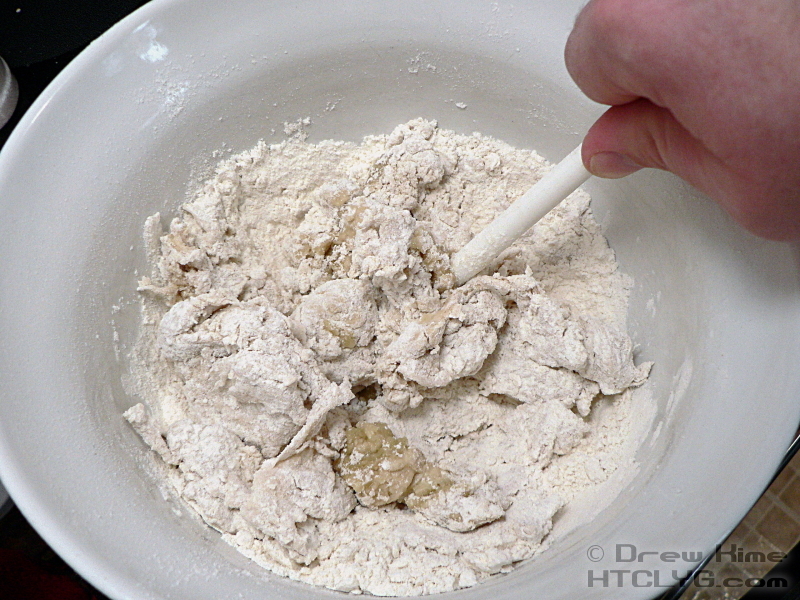
By the way yes, I’m using the handle of the spoon for my mixing. Wet dough sticks to the spoon, and the handle is much easier to clean off than the actual spoon-ey part.
Get in there with your hands and mix it a bit more until all the dry bits of flour are stuck onto the dough.
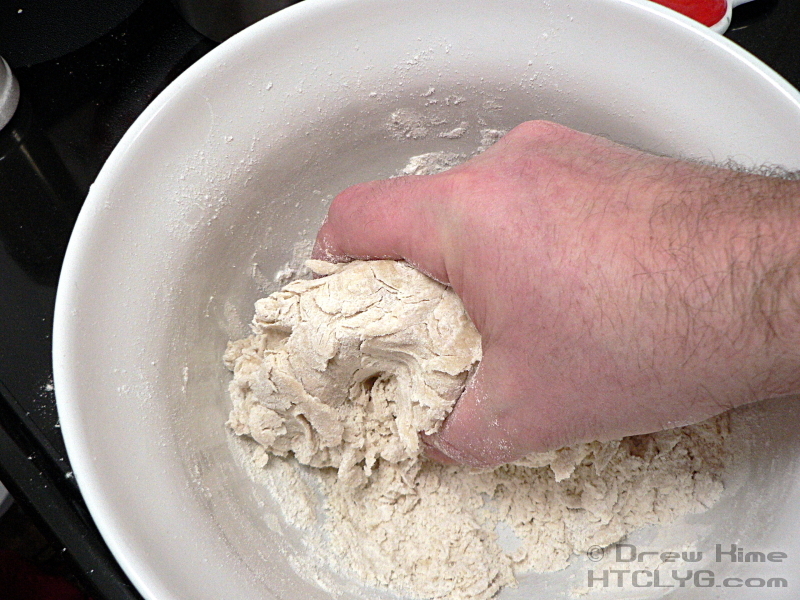
I thought the dough looked too dry at this point. But I’ve been making bread, not pizza dough. All the recipes I saw were pretty close on the amount of flour and water to use, so I thought this is what it was supposed to look like. “Shut up, little voice in the back of my head. These are professional pizza makers you’re learning from. They must know what they’re talking about.”
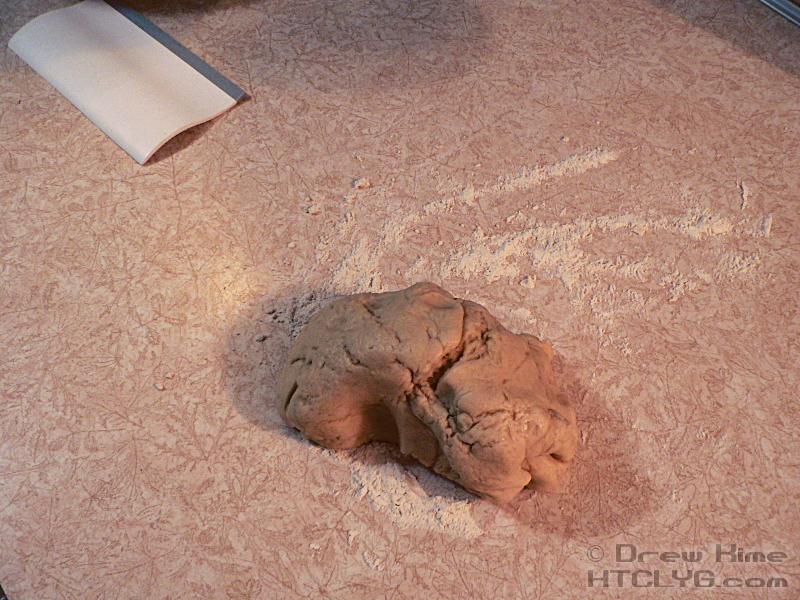
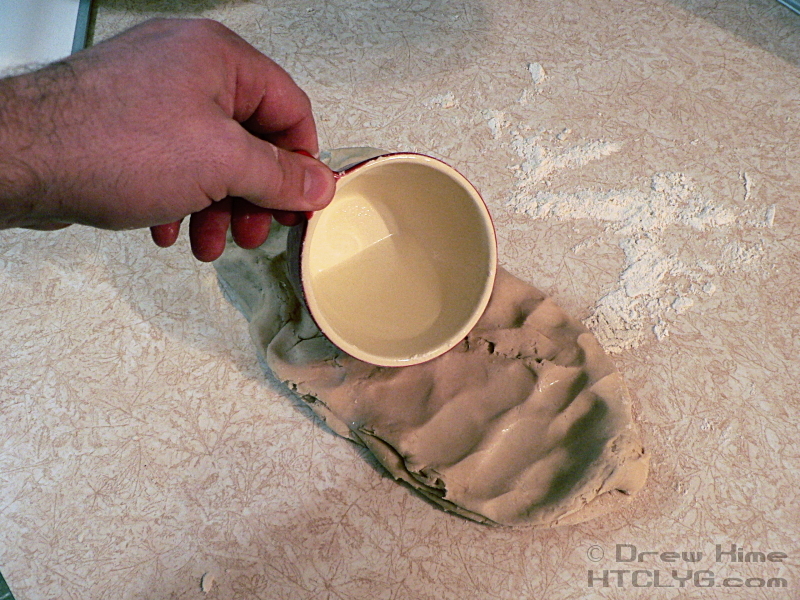
So, now that my little voice of experience was off in a corner pouting, I went ahead with it. Flour a surface and dump the dough out onto it.
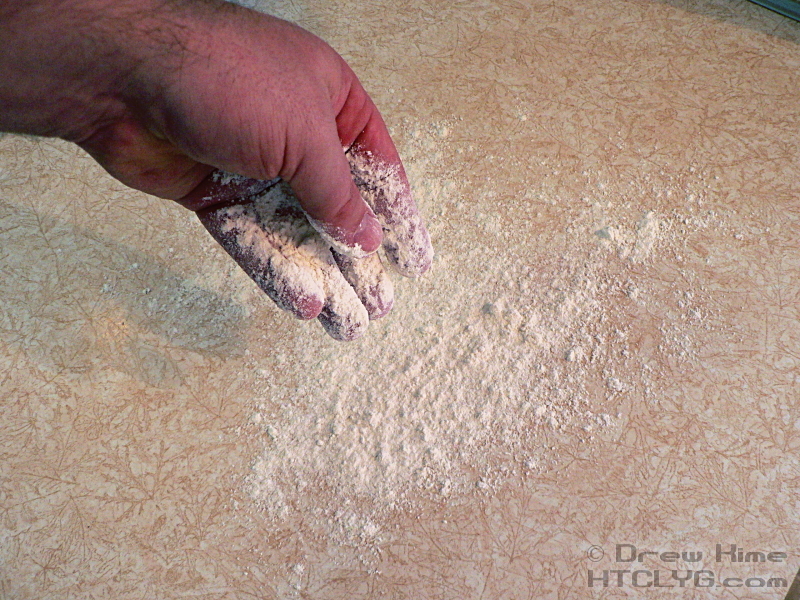
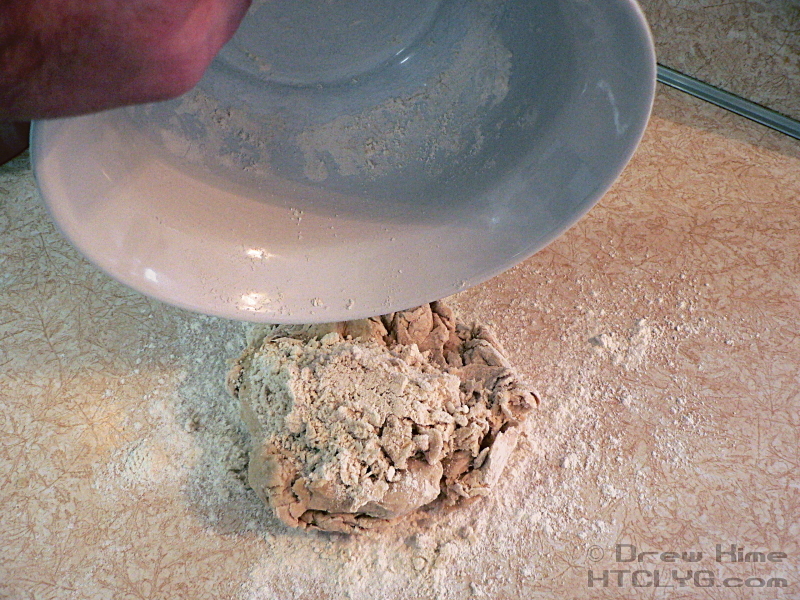
You can see here how much flour wasn’t really sticking to the dough ball.
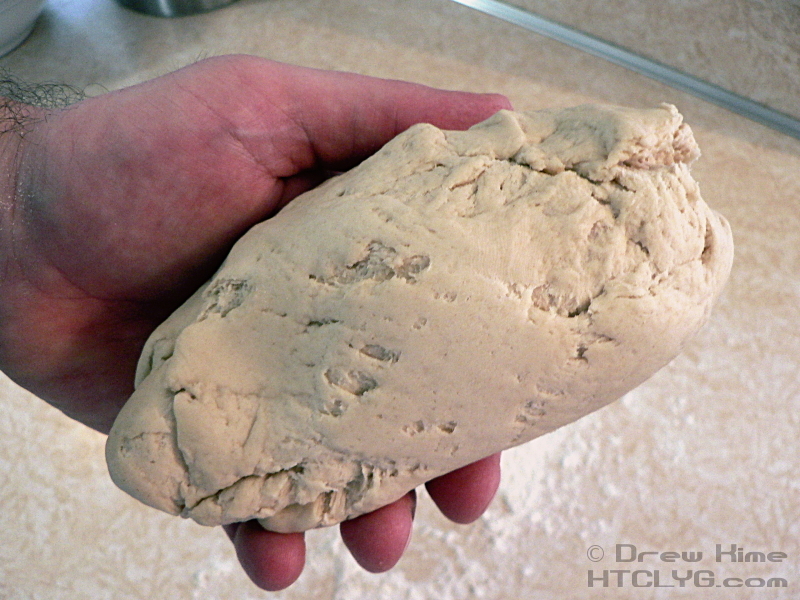
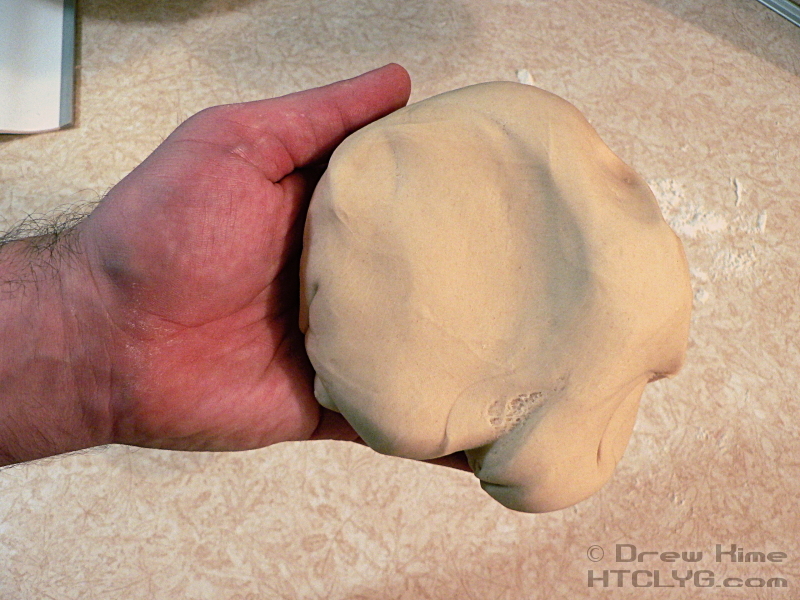
I kneaded this dough for nearly 15 minutes waiting for it to get smooth and elastic. The best it got was a firm, but smooth, ball that would still crumble instead of stretching.
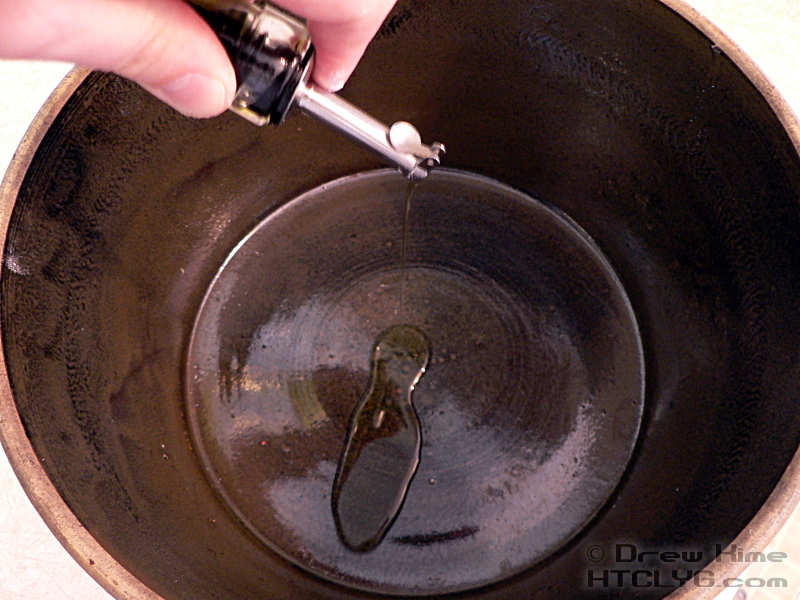
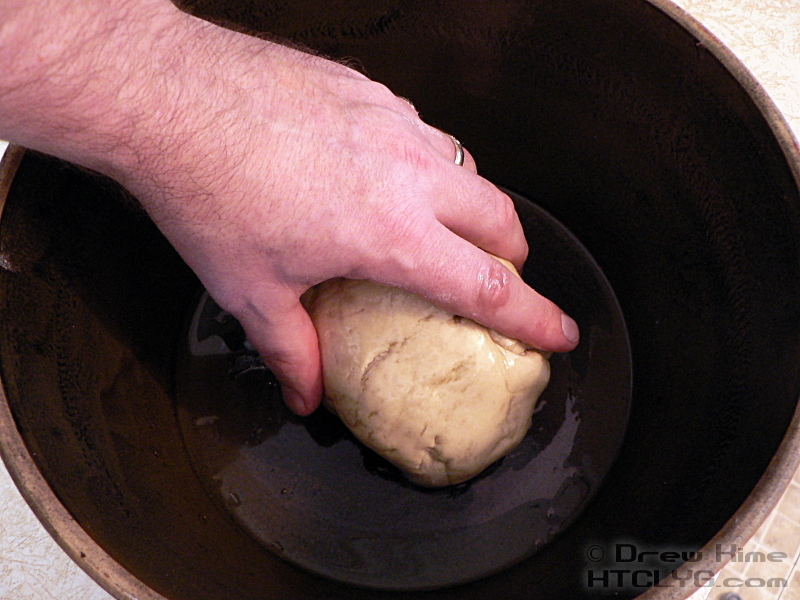
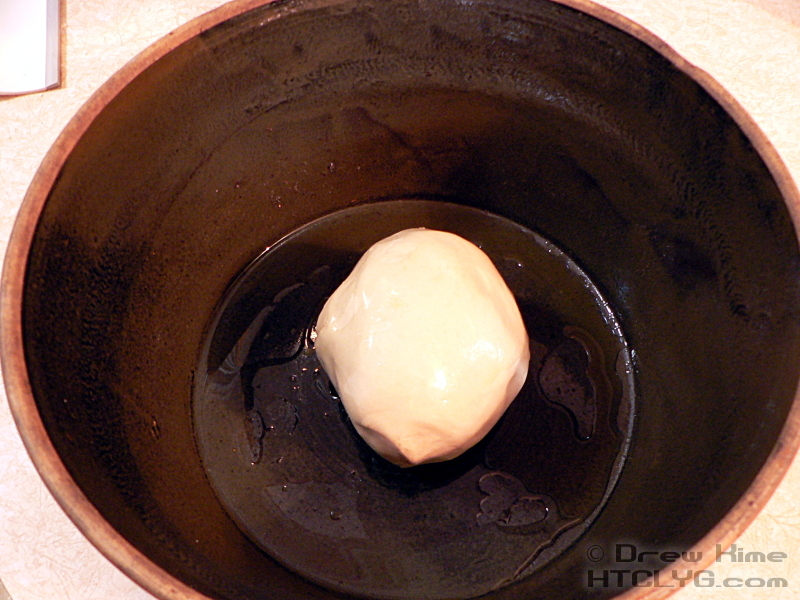
That little voice tried again to tell me to add some more water. But no, I just went ahead and put the dough in the bread bowl with some olive oil to coat it …
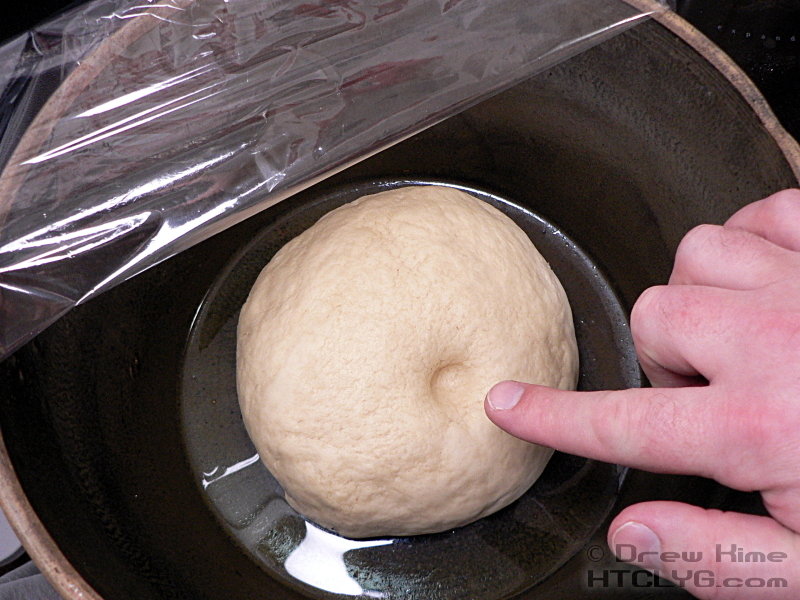
… and covered it with plastic wrap. Set aside for 45 minutes in a warm place to rise.

Over 45 minutes later, it still hadn’t risen very much, so I dumped it out to see if I could salvage it. (We were all getting hungry by this point.)
I added a little water and kneaded it again.
It still wasn’t very elastic, but better than the last time. Back into the bowl with oil and plastic wrap again.
Another 45 minutes later, it wasn’t quite doubled in size. It’s ready when you press on it and your fingerprint doesn’t spring back. So this looked to be about as good as it was going to get.
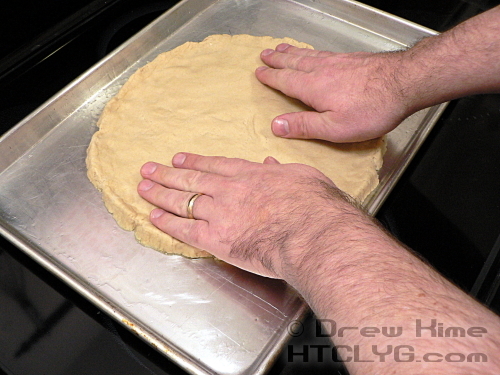
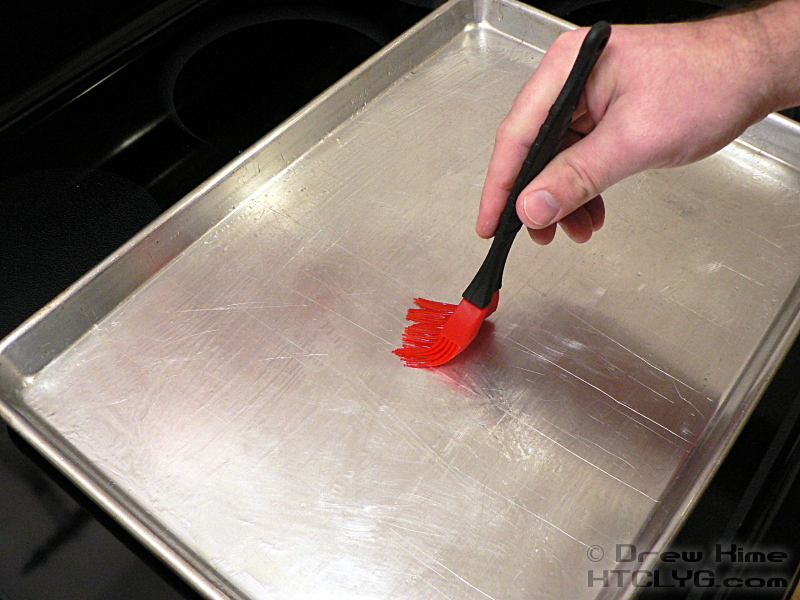
I didn’t know if I was going to be able to go round, or if I’d have to roll it square with a rolling pin, so I decided to use a baking sheet instead of my pizza stone. Oiled it up with olive oil.

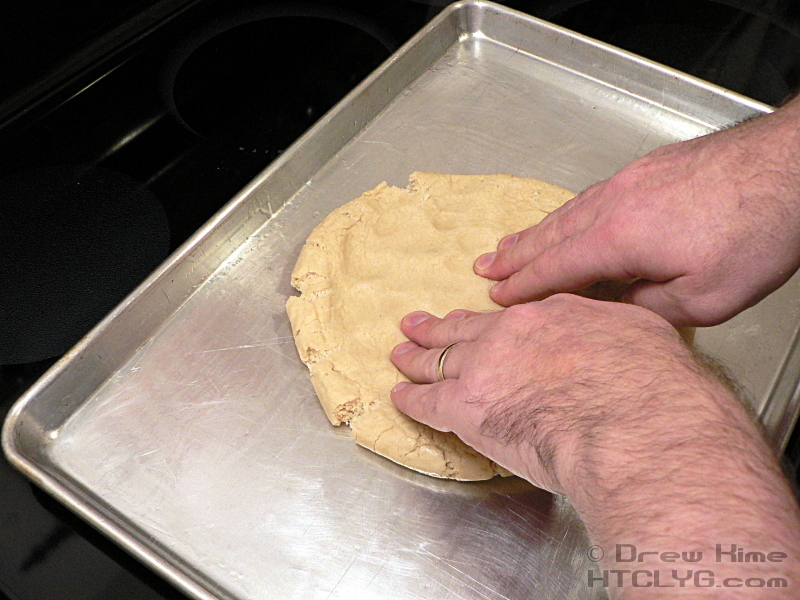
I flattened the dough out a little, then started pressing it out with my fingertips.
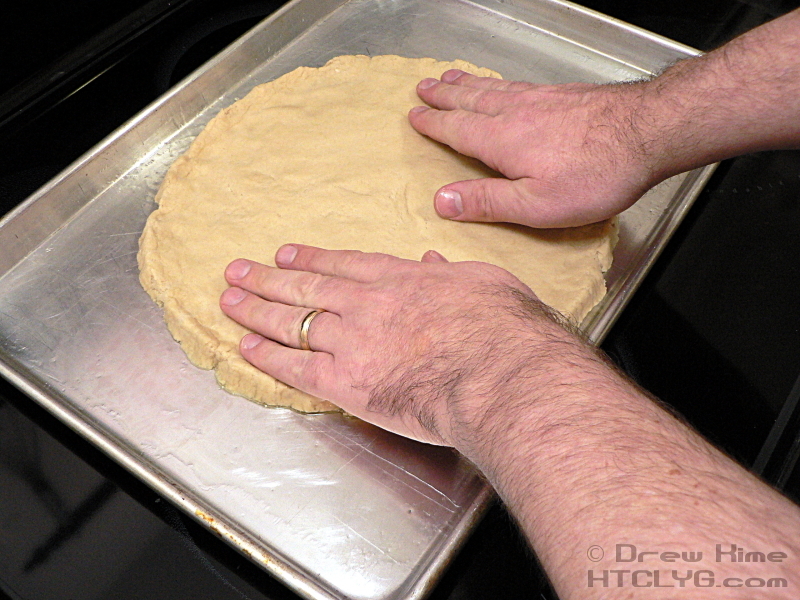
As it got to nearly the right size I sealed up the tears in it, smoothed out the top, and built up a little bit of an edge to it so the sauce wouldn’t run off.
I’ll show you the finished product tomorrow. (Steak pizza is now posted, by the way.) But you should expect to see another version of this fairly soon. This crust came out not quite thin-crust crispy, but had a bit of crunch to it. Definitely not the thick, chewy style I prefer. My wife said it reminded her of the pizza she used to get as a child, so of course that’s good memories for her. The taste was great, no doubt about that. Probably because of the two rounds of rising instead of the normal single round.
In the meantime, here’s my lesson for today. If you think the recipe you’re following isn’t working, but you follow it anyway, you’ll feel like an idiot for not listening to yourself. Don’t do that.
If you’re impatient and just want to see how a pro does it, check out this video of 7-time world champion Tony Gemignani. He’s my hero for the day.


