
This is Part 4 of a 4-part series on Larry’s Jalapeño Cheese Bread.
Act III — The Bread
Are you ready?
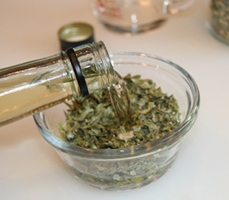
Before you make the bread, better yet, the night before, gather the cheese, jalapeños and sherry. You can substitute dry vermouth, but do not use cooking sherry (it contains salt which will interfere with the yeast). Sherry develops the flavor and heat in the jalapeños.
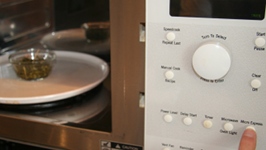
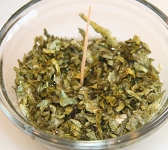
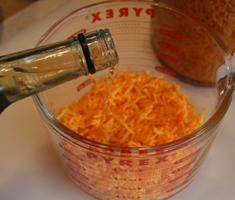
Take about ½ cup jalapeños and pour in sherry just to cover. If not done the night before, give ’em 30 seconds in the microwave oven. A toothpick is fine for stirring them up.
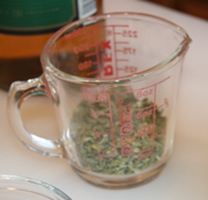
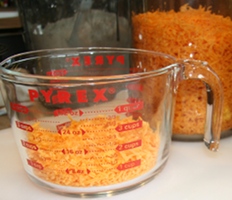
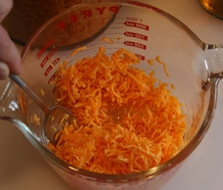
Take about two cups of cheese, more or less, and add sherry if it’s dehydrated. No nukes for the cheese. If it’s dehydrated, stir it up now and then while preparing the bread for kneading.
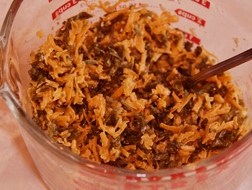
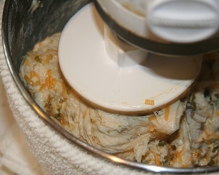
Just before adding to the ready-to-be-kneaded dough, mix the jalapeños in with the cheese.
Key Idea: The ration of liquid to flour in making bread especially at kneading has a big impact on the quality of the finished loaf. It’s important to keep that ratio as close to ideal as reasonably possible.
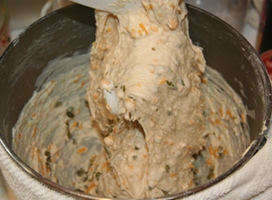
Make sure the jalapeño-cheese mix is damp to moist, no excess fluid. If the kneading dough becomes too “fluid”, you may have to add a small amount of flour. This best comes from experience. The basic idea is to match the fluidity of the kneaded dough after adding the jalapeño-cheese to it before you started. From this point on, proceed as with the regular recipe.


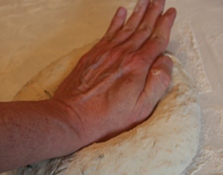
This hand kneading is not really necessary, I just like to keep my hand in, so to speak. Occasionally I will pick up the dough and throw it down on the kneading board, as the late, great Julia Child enjoyed doing.
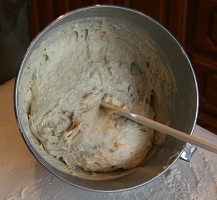
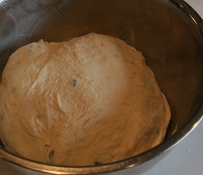
Into the bowl for the first rise. I think the wee yeasties like the sherry.
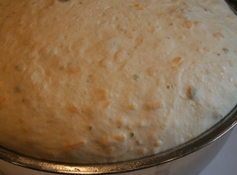
Real bakers call it “punching down” — I take it literally.
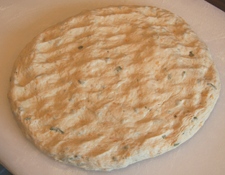
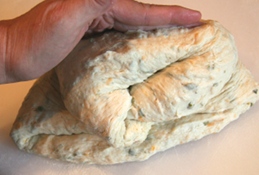

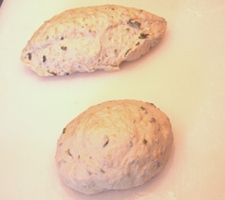
Roll out the halves from the formed balls until they are slightly longer than the bread pan. Pick up each from the ends so tips will fall back under. If bread did yoga, this would be the Bikram Yoga Sasangasana (Rabbit Pose).
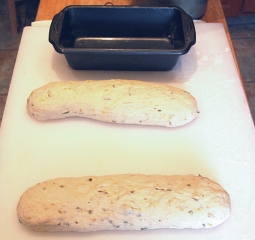
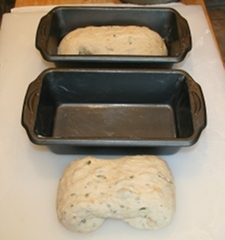
Gently flatten the dough in the bread pans, let it rise again. Then slash, mist and bake as normal.

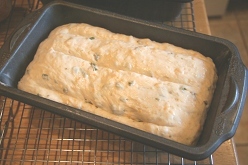
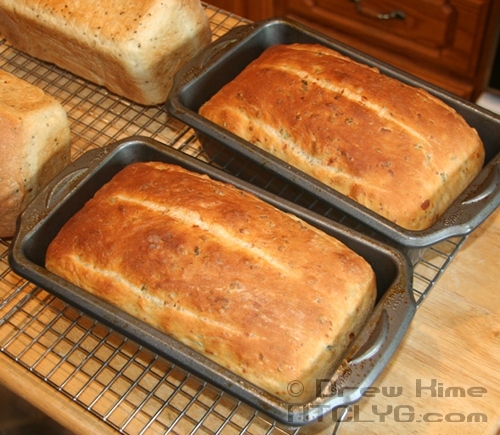
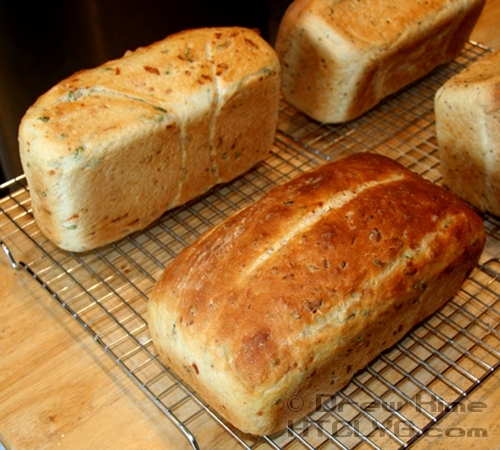
And out of the oven comes the final, wonderful result. Allow at least two hours on the racks to finish cooking and cool. This bread freezes well. ¡Alimentos apetito!
Technobabble
Camera: Canon EOS Rebel XT with EFS 17-85mm Macro-zoom.
Image database (Windows XP sp3): ThumbsPlus Pro 7.0-sp2
Image processing (Ubuntu 9.10 amd64): GNU Image Manipulation Program (GIMP) 2.6.7
Document processing (Ubuntu 9.10 amd64): OpenOffice 3.1.1 OOO310m19 GoOO
Brain: Version 1.0; Rev 0: Model-Male generic


