I think I’m going to start annoying people this fall.
Have you ever had a friend “discover” some wonderful new plan for their life and couldn’t wait to tell everyone about it? I’m that person now. I’ve had a conversion.
I make bread now.
And I’m going to tell everyone allllllll about it.
Ingredients
3 cups flour
1 tablespoon salt
1 cup sourdough starter
1/2 cup lukewarm water (over 100°)
Directions
I love fresh-baked bread. I love the way it makes the house smell. But since I didn’t know how to make it, every now and then I’d buy one of those packs that had five frozen loaves, ready to thaw and bake.
But you had to remember to take the loaf out several hours before you wanted to bake it. It needed to thaw and rise. And it was okay, but not that great, and your choice of flavors is limited.
Starting this week, if I’m going to start several hours out, I’m making it from scratch. It’s dead easy, and the sense of accomplishment is way out of proportion to the amount of work.
The sourdough I’m doing today actually takes a couple of days of lead time. You need to give the starter time to ferment.
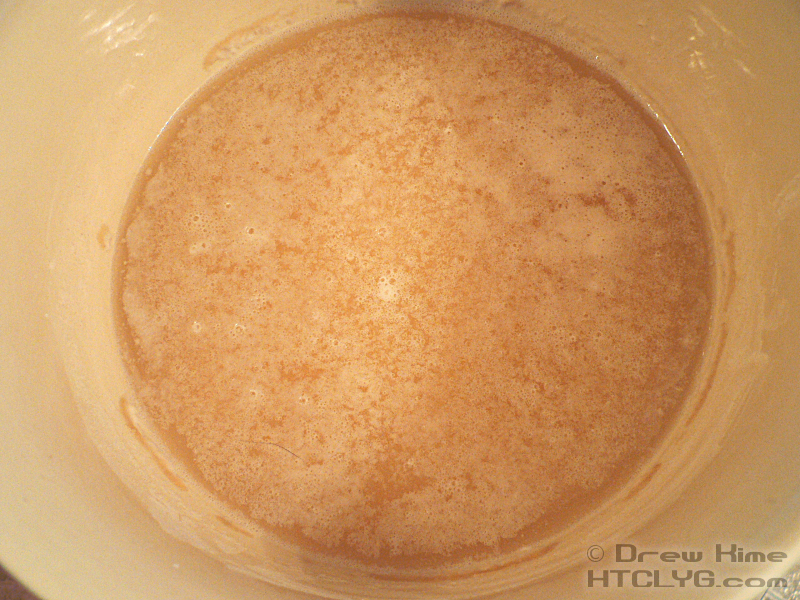
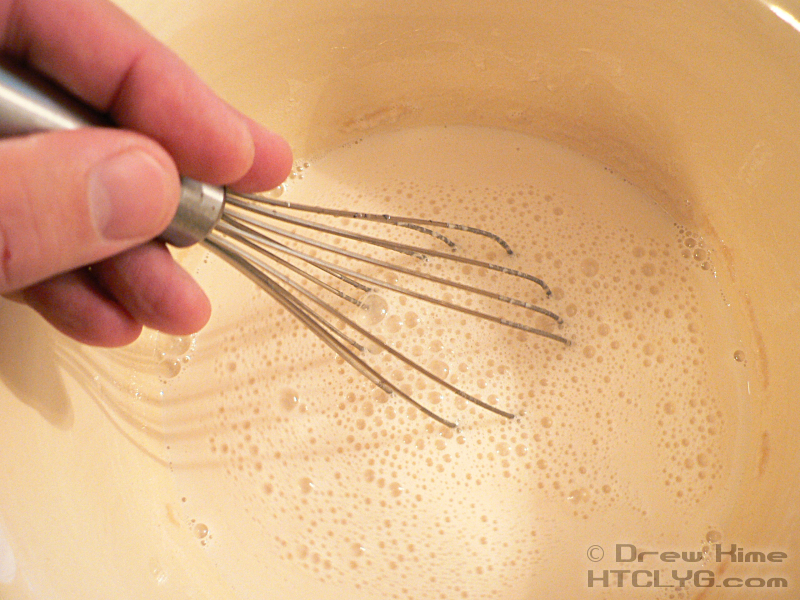
Yeah, that doesn’t look so appealing. But give it a quick stir and it’s all good. We’ll come back to that.
Start by combining the flour and salt in a large mixing bowl and making a well in the center.
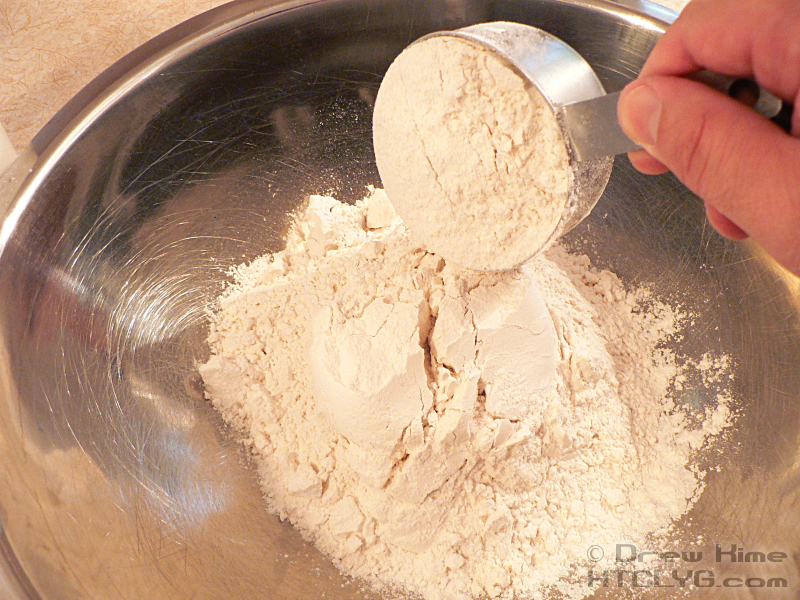

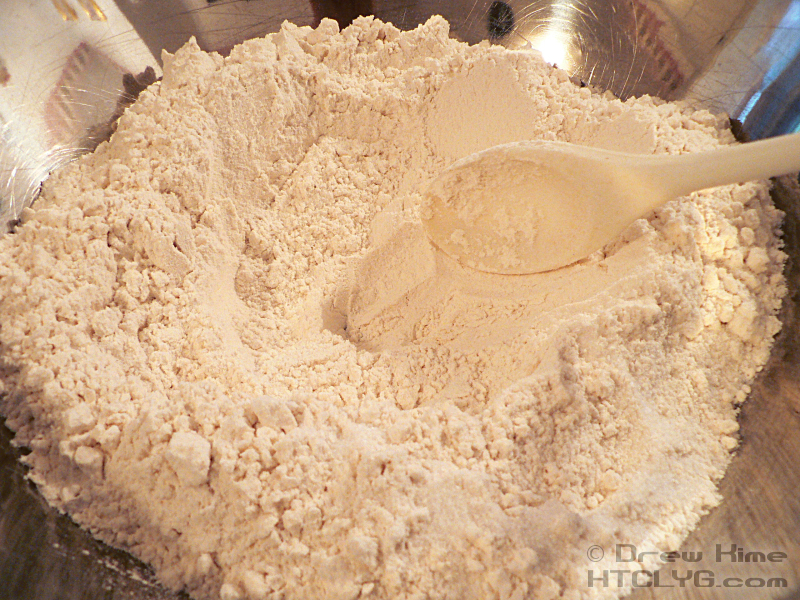
I’m actually doing a double recipe here, so yours might look a lot less full than this.
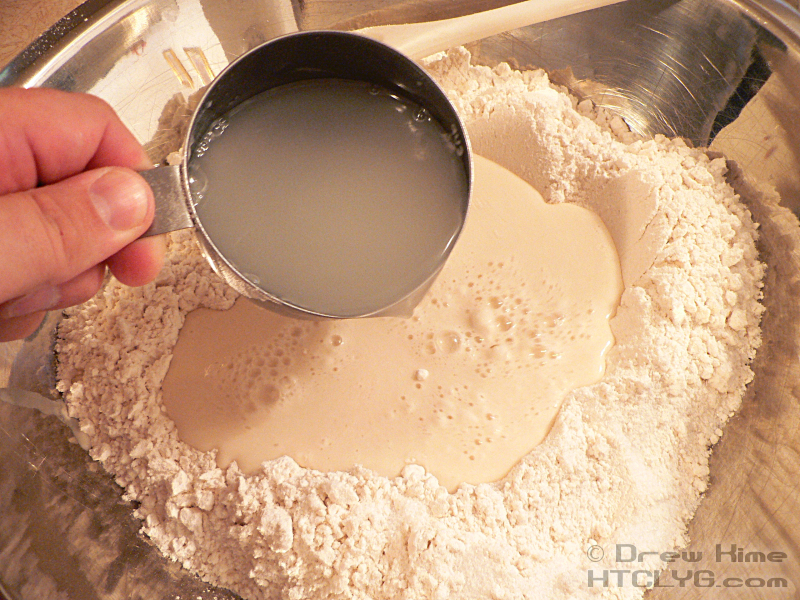
Give the starter a good stir. After a couple of days of sitting to ferment, it will separate and the flour will settle to the bottom.
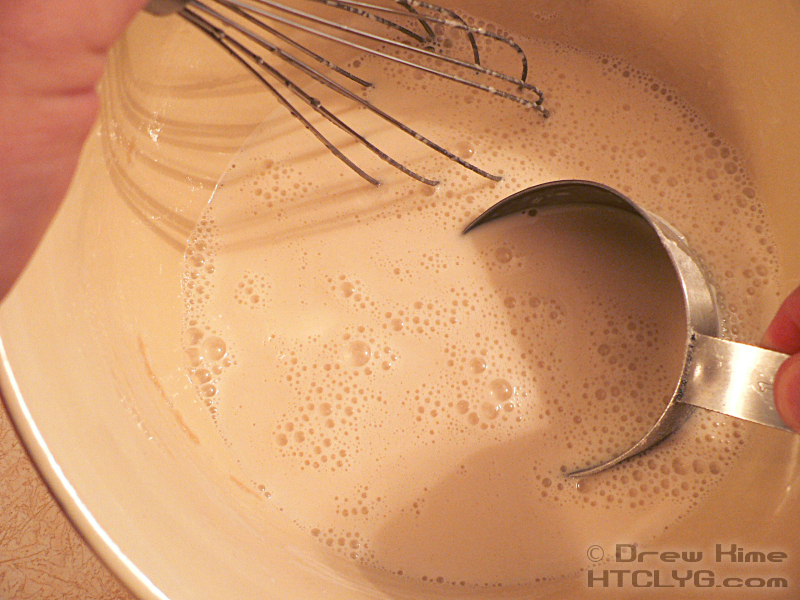
A single batch of starter is good for three cups, so unless you’re doing a triple batch you’ll need to scoop some out. I’m going to look for a mixing bowl with a good spout to keep my starter in from now on.
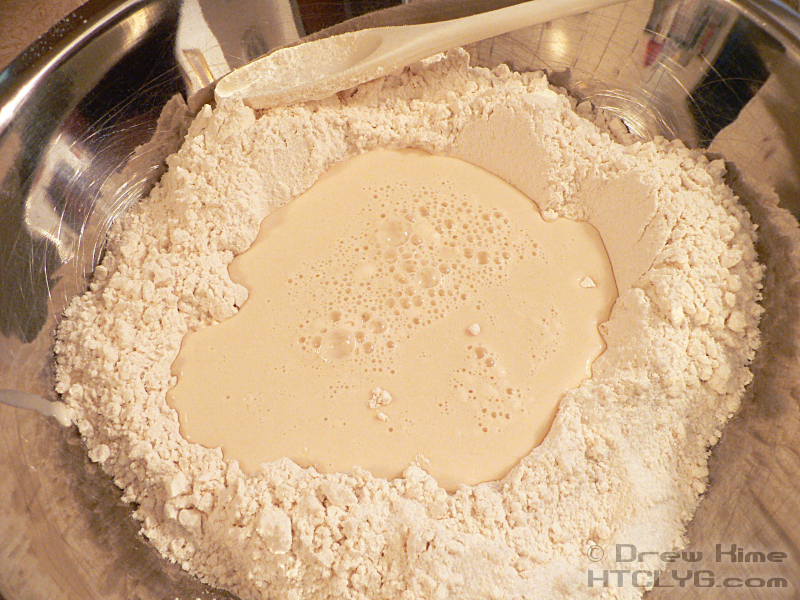
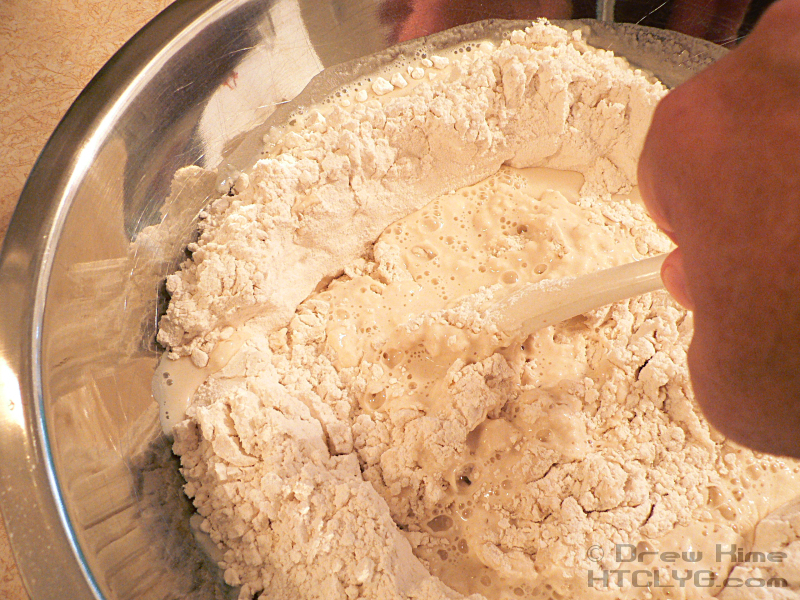
Add the starter and water to the flour, and stir until it forms a rough dough.
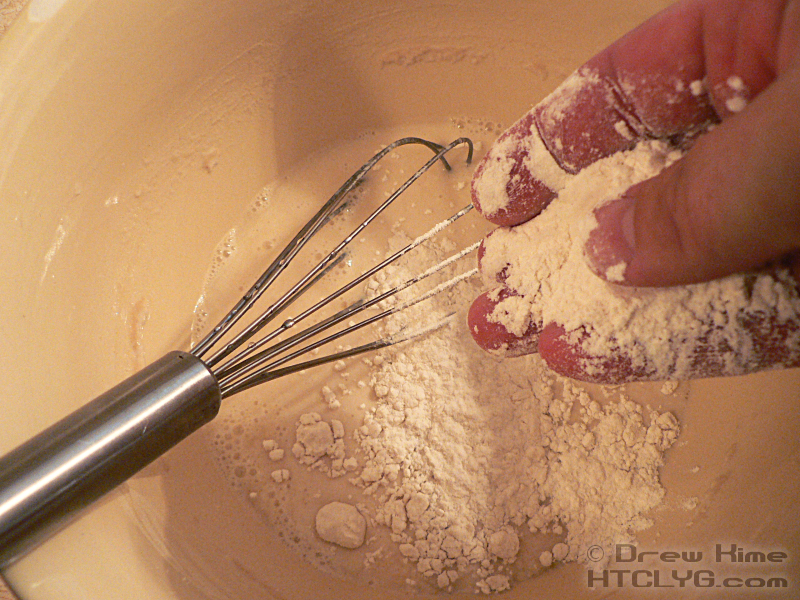
If you’re not using all the starter, add a handful of flour and a little warm water to it and stir. By “feeding” the starter, you can keep it going indefinitely. There are bakeries in San Francisco who claim they’ve been feeding the same starter for over a century.
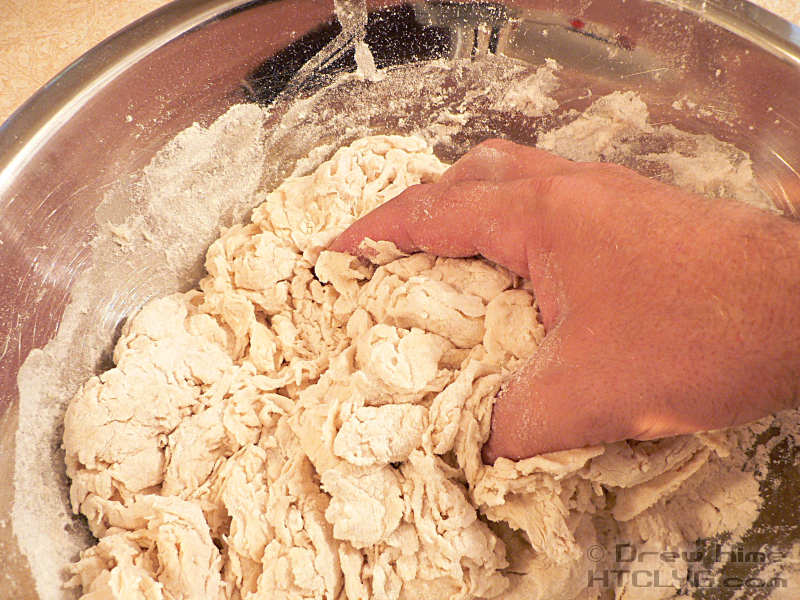
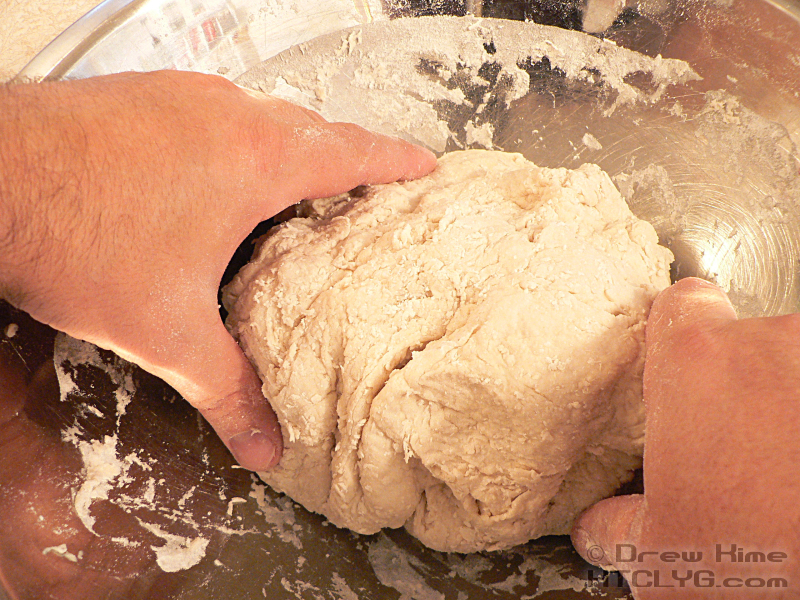
The dough won’t come together just using a spoon. Use your hands to work the dough in the bowl until it comes together into a ball.
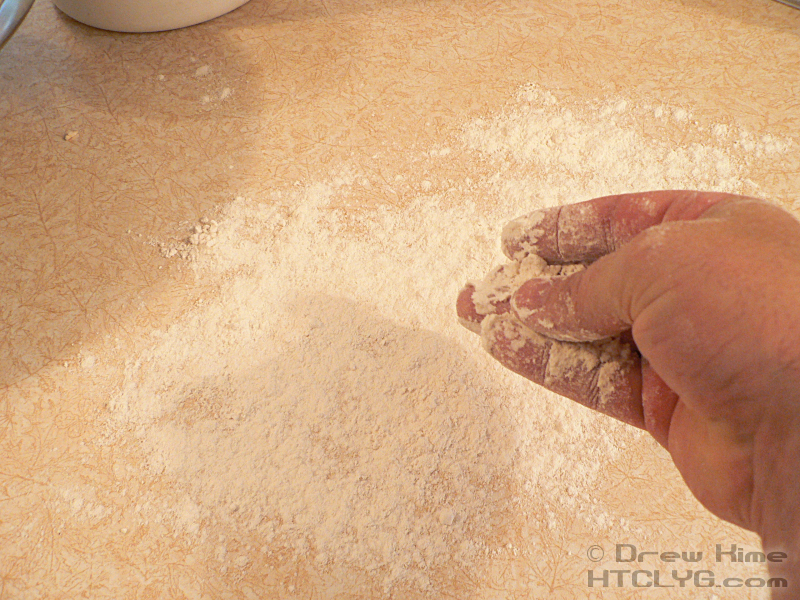
Make sure you have a spotlessly clean work surface. Anything on it will get picked up by the dough. Throw down a handful of flour and roll the dough in it.
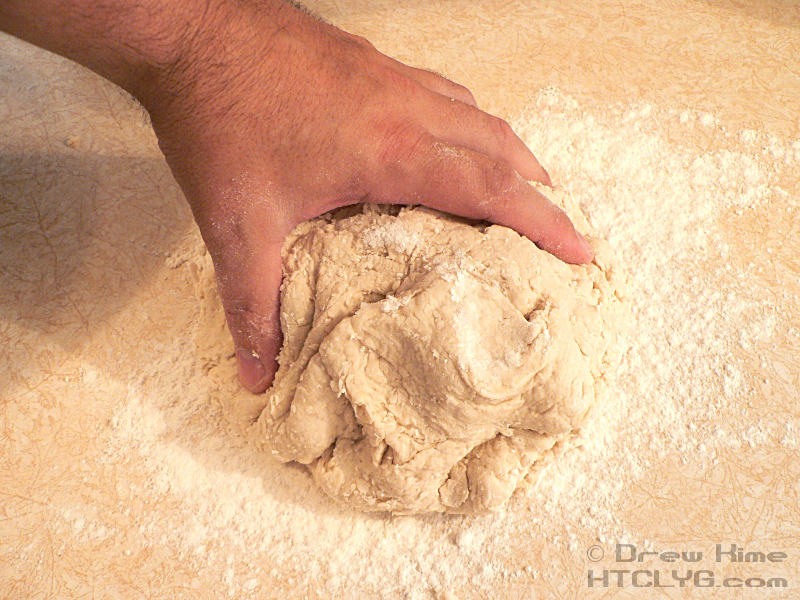
Kneading dough isn’t just about getting all the ingredients combined. You’re also stretching out the gluten. Start by pushing the dough away from you with the heel of your hand. Fold the end back towards you, and repeat. Keep doing this until the dough is smooth and elastic. This clip shows the last stages of the kneading.
You’re done when the dough is smooth and satiny.

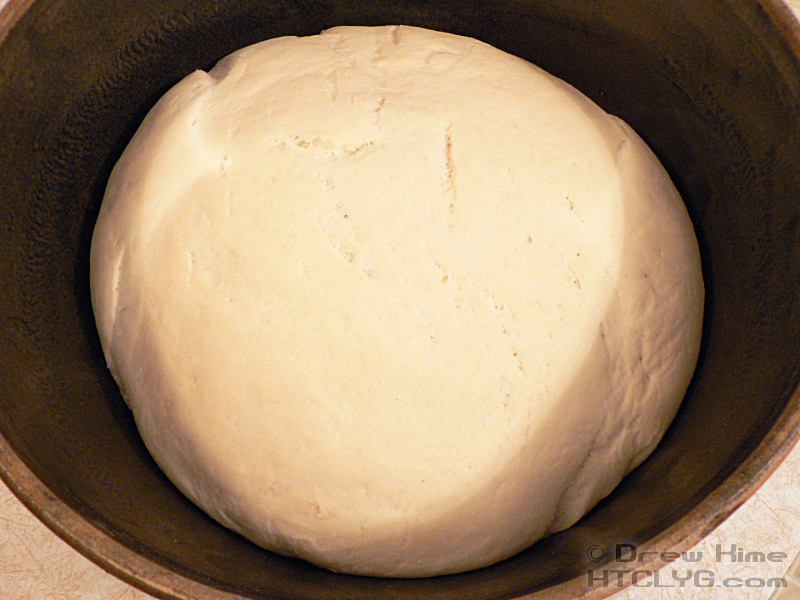
Place the dough in a lightly-oiled bowl to rise. If you’ve got an antique bread bowl you can get away without oiling it.
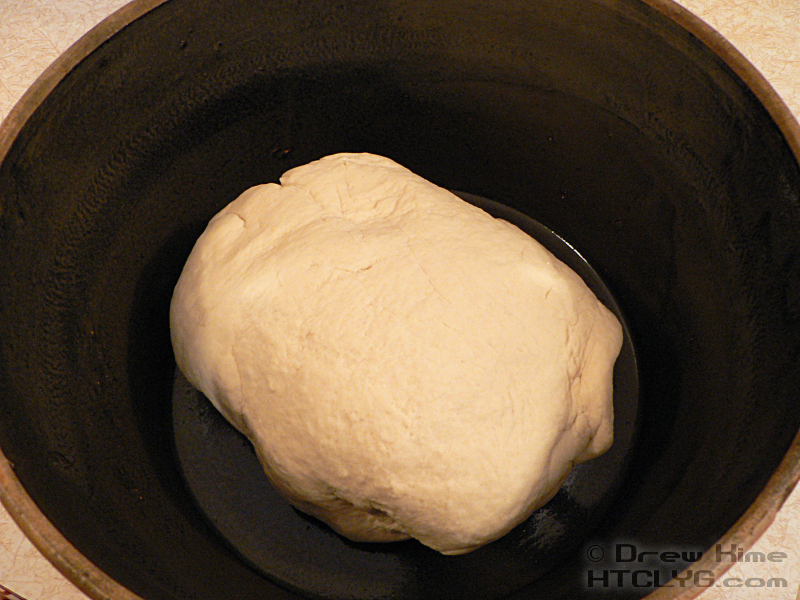
NOTE: Don’t use a stainless steel mixing bowl for this unless you’ve got a very warm place to put it. The metal will draw all the heat out of the dough. Even if you don’t kill your yeast, it will take forever to rise.
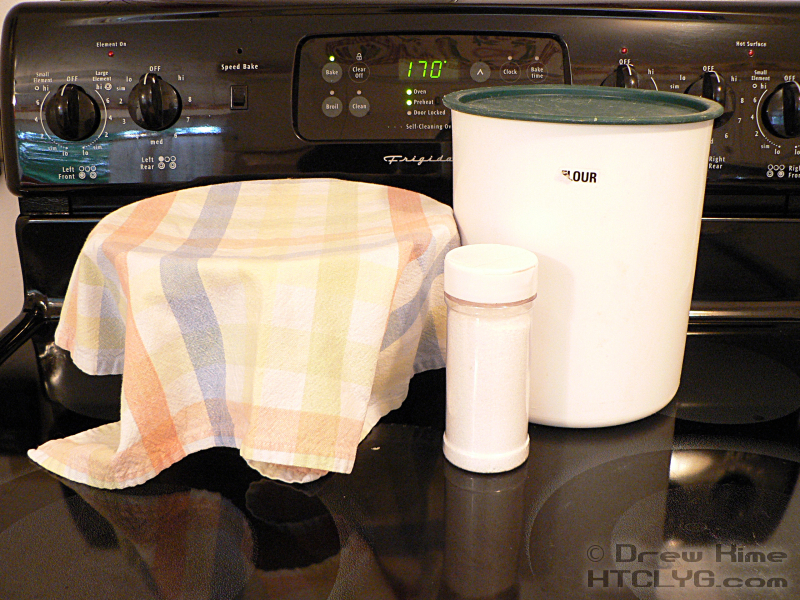
Cover the bowl with a clean dish towel and place it in a warm place until the dough has doubled in size — about two hours. It was cold in my house so, while I was mixing and kneading the dough, I set my oven on the lowest setting. I turned it off when I put the bowl in.
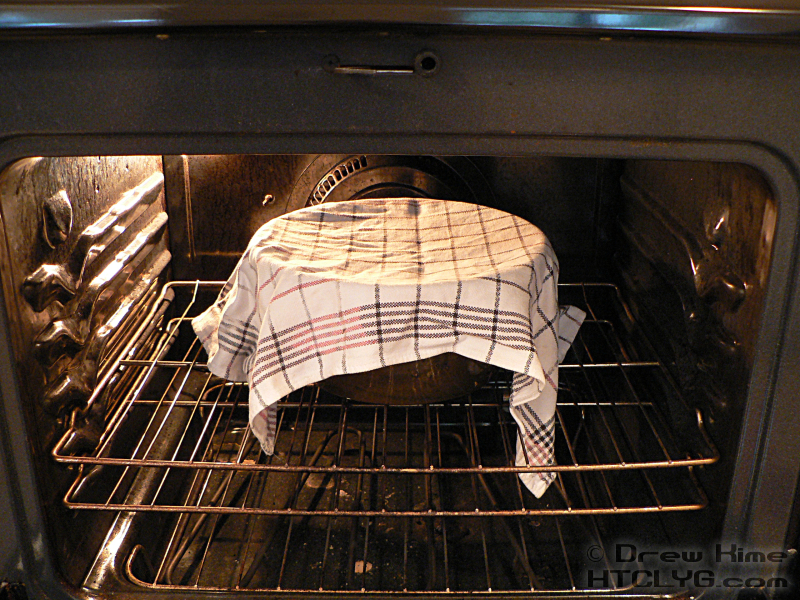
Unless your house is really cold, you shouldn’t need to do this, except to speed up the process. But it is possible to kill the yeast if it’s too cold. Mine was ready just a little short of two hours.
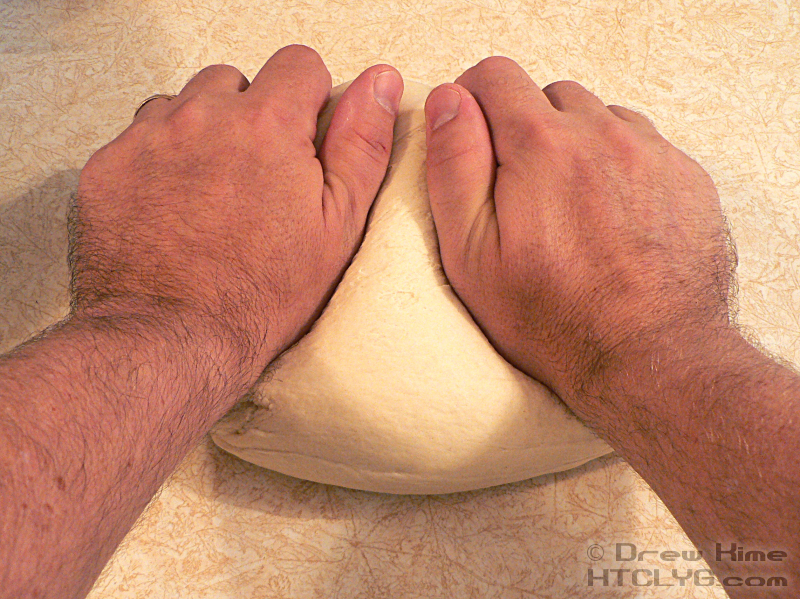
Remove the dough from the bowl and punch it down. You want to knock most of the volume out of it.


Then knead the bread briefly, just to get it back into a nice ball shape.
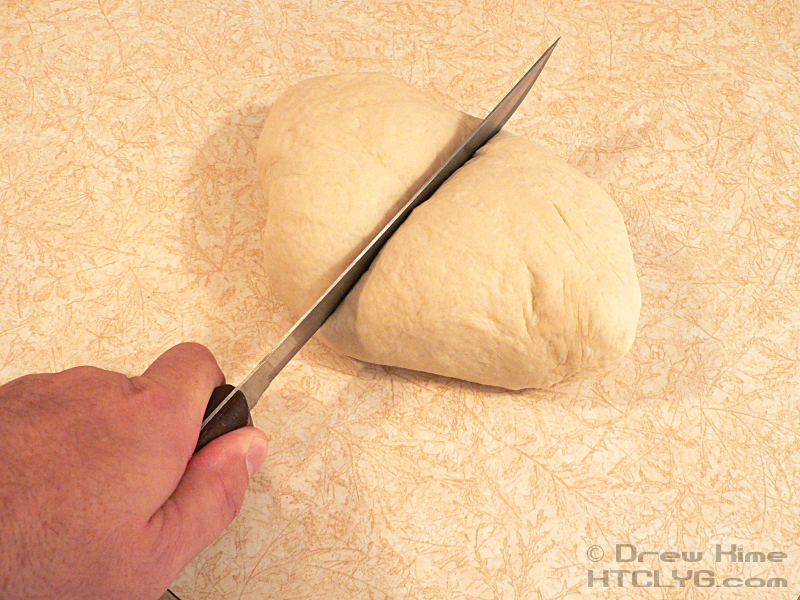
If you’re making a loaf, this is when you put it in the pan. Since I was making bread bowls I cut the dough in half, then in half again.
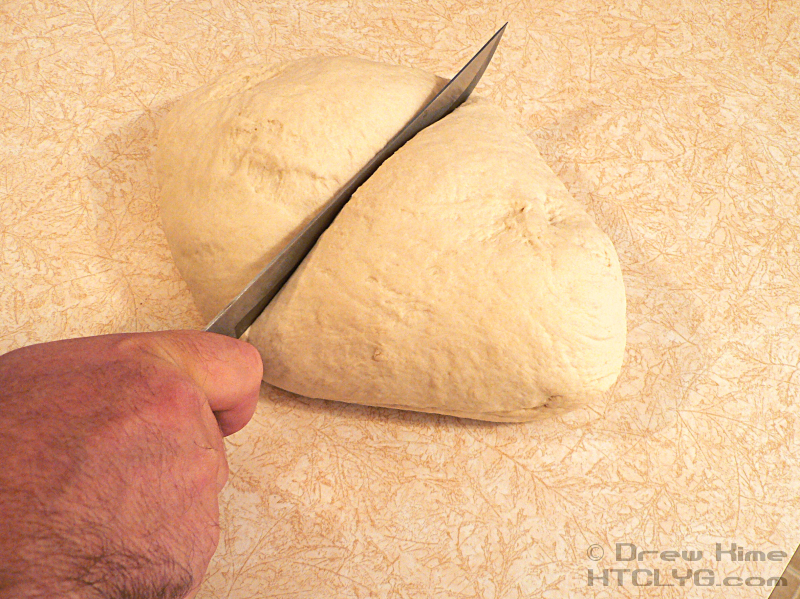
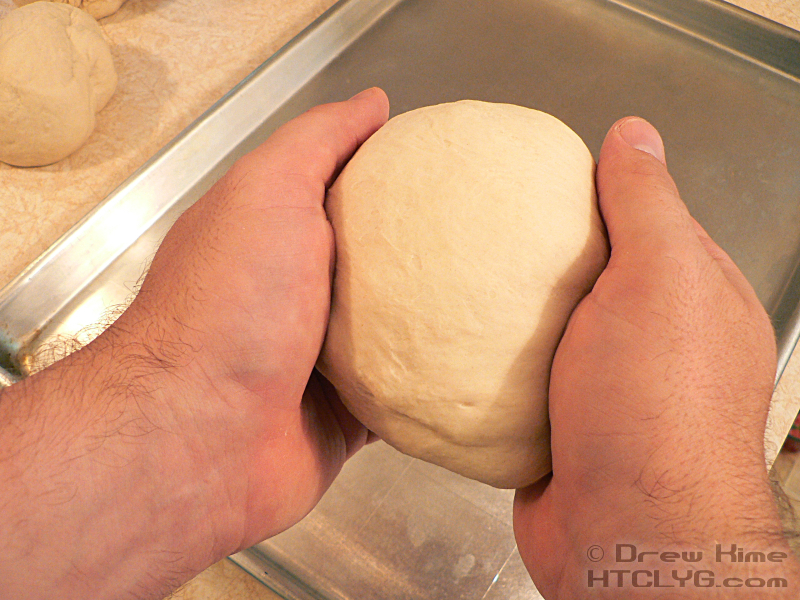
Then kneaded each of the pieces just until it was round again.

Form each piece of dough into a ball, and tuck any loose edges or seams underneath.
Place the dough on a baking sheet — ungreased — as far apart as you can.
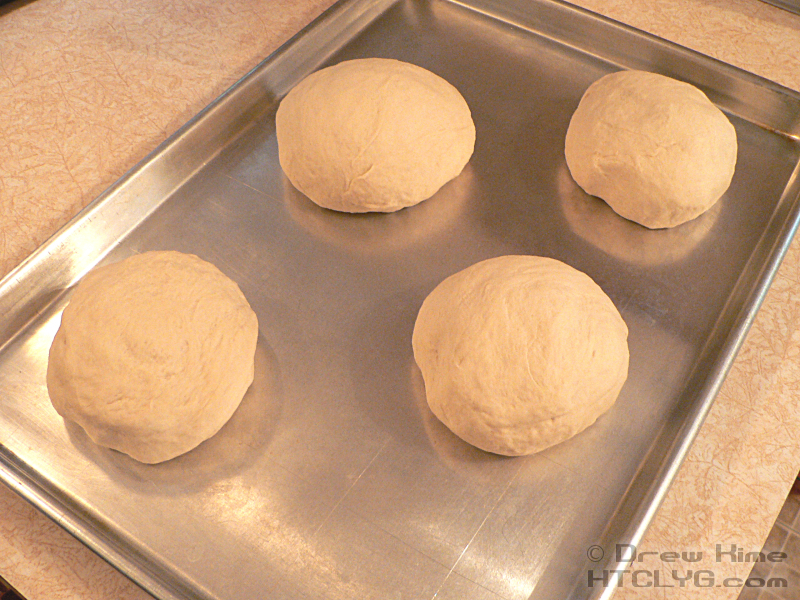
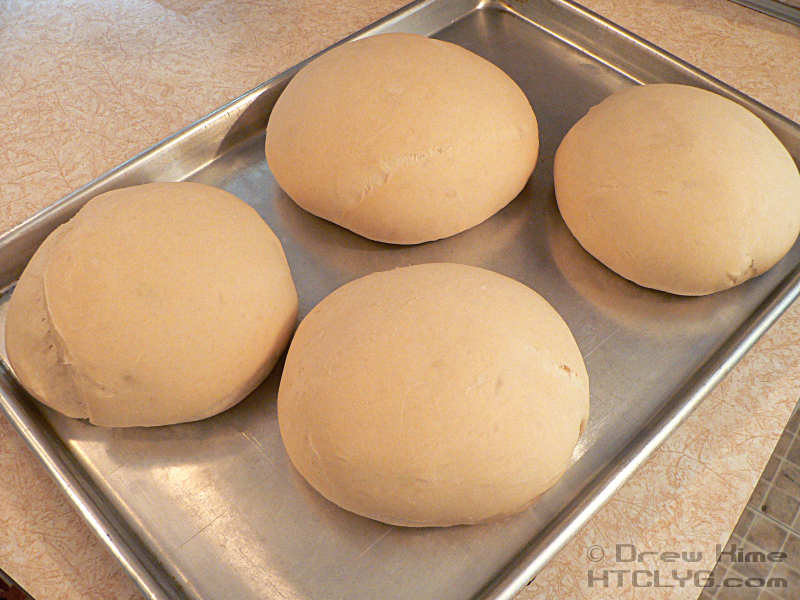
Put the baking sheet somewhere warm so the dough can rise a second time. (Yes, I put it back in the still-warm oven.) Let the dough double in size. It should take about an hour-and-a-half.
Bake at 425° for 15 minutes, then 375° for another 30 minutes. They are done when they make a hollow sound when you thump them.
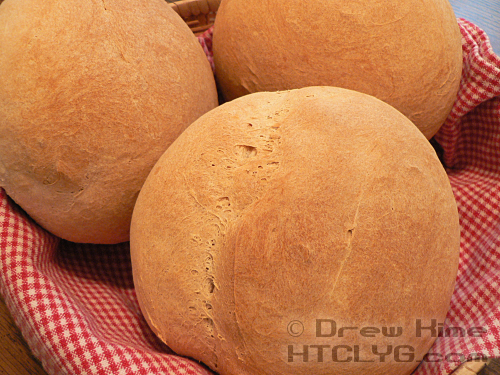
Slice a loaf while it’s still warm and serve with butter.

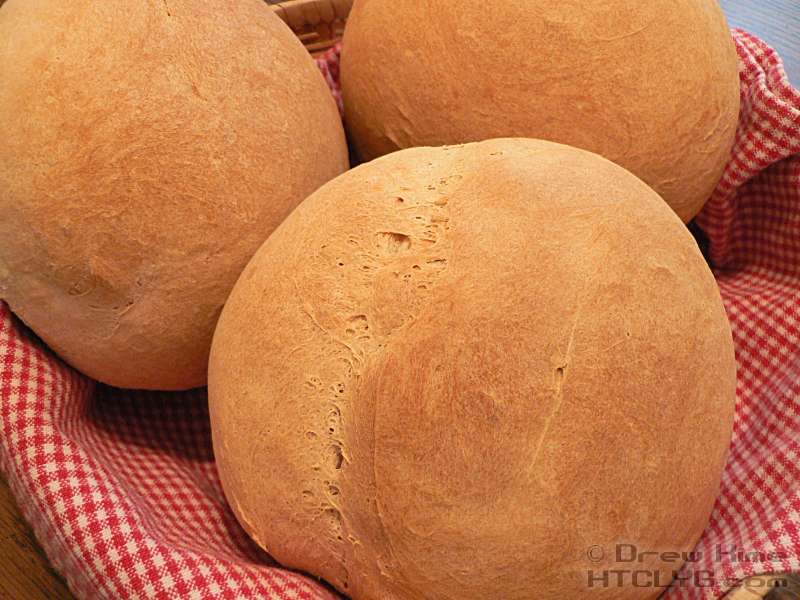
But the title of this post is “How To Make Sourdough Bread Bowls“. That first loaf was just to keep the family out of the kitchen long enough for me to prepare the bowls. I’ve learned to have the camera set up before I take food out of the oven or someone will eat it before I can take the shot.
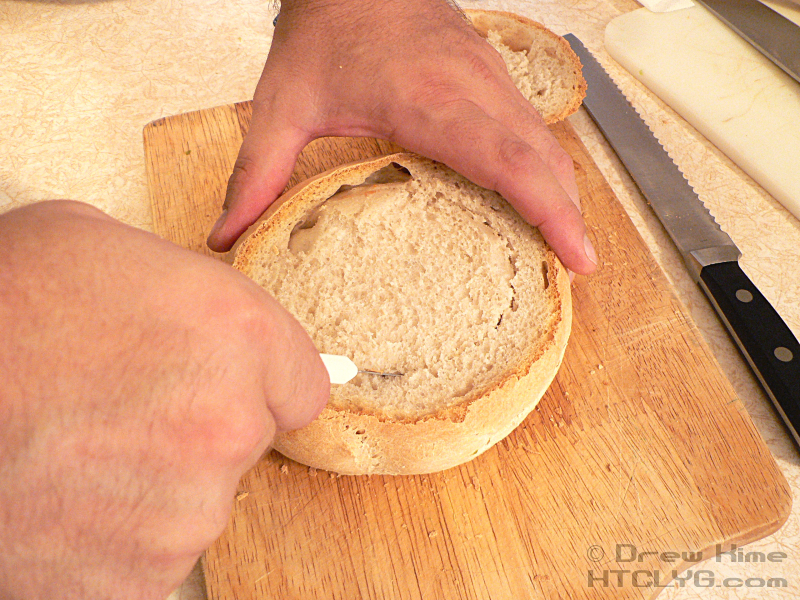
Using a serrated knife, cut off the top of the loaf, about a third of the way from the top.

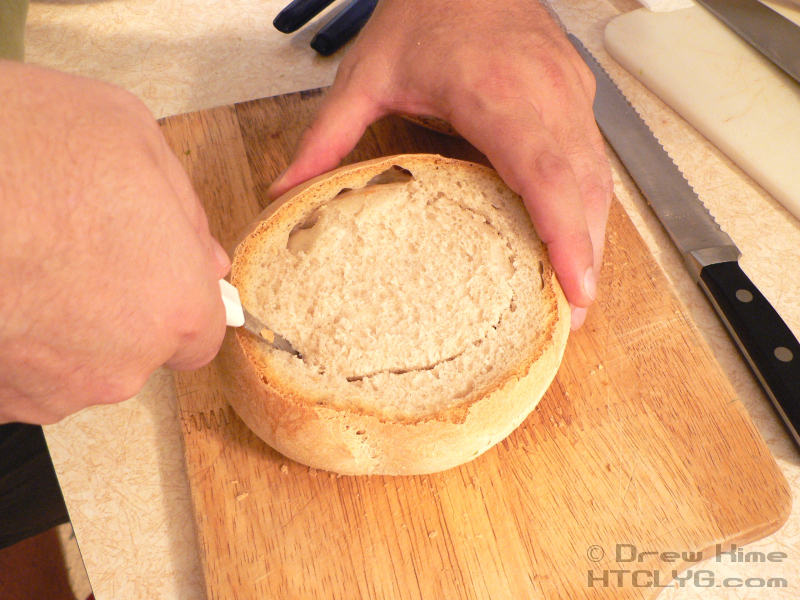
With a paring knife, make a cut straight down just inside the edge, nearly down to the bottom but not all the way through.
Reach into the cut with your fingers, and pry the center plug of bread out of the center.
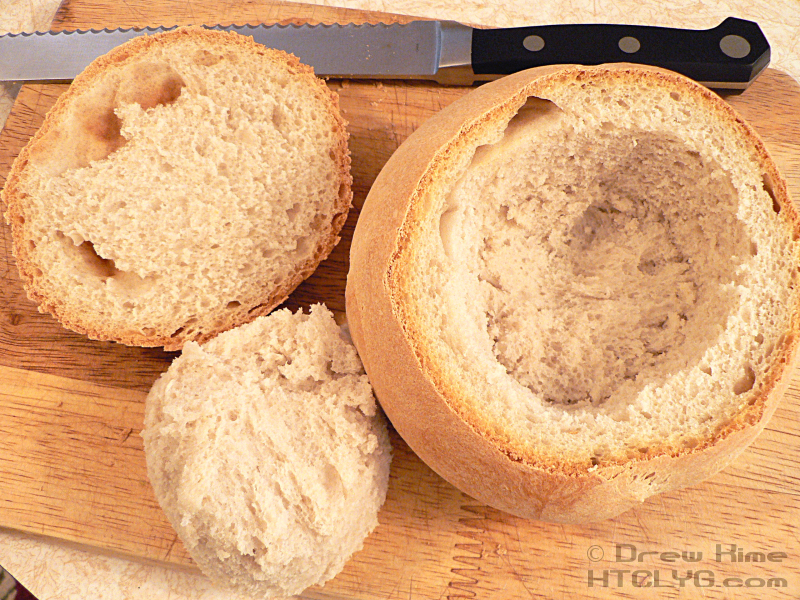
And that’s it.
Okay, that’s not completely it. You just know I’ve got to put something in that bowl, right?
Sign up using the form at the right to make sure you see the conclusion tomorrow.
I can guarantee I’ll be making these bowls several more times this fall, each time with something else to go in it. And I’m going to tell you all about it. Again.
UPDATE: Take a look down in the comments for Musky Bob’s chowder recipe.


