
Today isn’t about the recipe, it’s a rundown of several techniques for making ravioli. I’ll put the recipe for the filling up the next time my father-in-law makes it. It was already made before I showed up with the camera.
In the clips below I’m working with my father-in-law, Lou. His mother and her sisters would spend several days each fall making thousands of ravioli and freezing them to use through the holidays. When I say thousands, I’m talking about 12-14,000 ravioli. And yes, they’d count them all.
We spent a day on it and made … fewer. We didn’t figure out the right technique until right near the end. Then we found the video my wife shot of Nana and the aunts making them before we were married. Turns out the method we ended up with is exactly what they did. Guess they knew what they were doing.
Ingredients
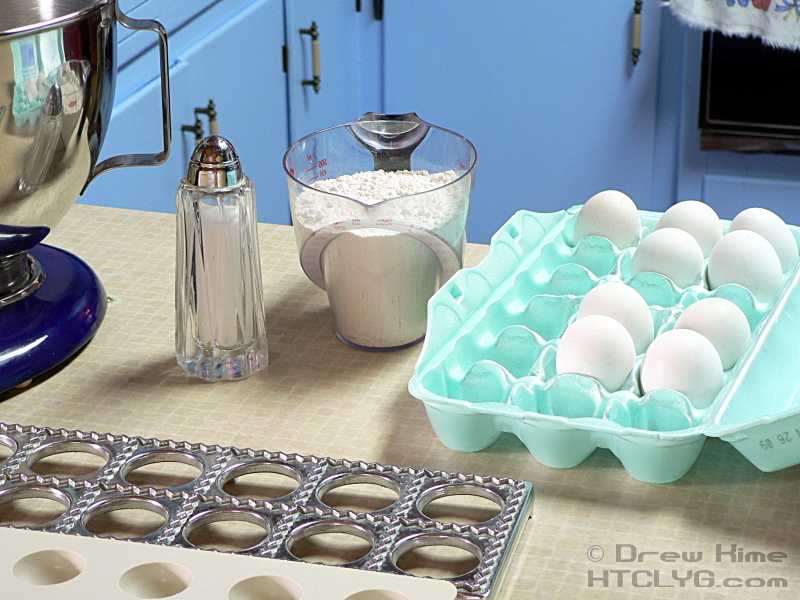
This is the basic pasta dough, 3/4 cup of white flour and a teaspoon of salt per egg. The filling was bread crumbs, Parmesan cheese and tomato sauce. Once I get the exact recipe I’ll do another post where I make the filling, too.
Directions
The pasta
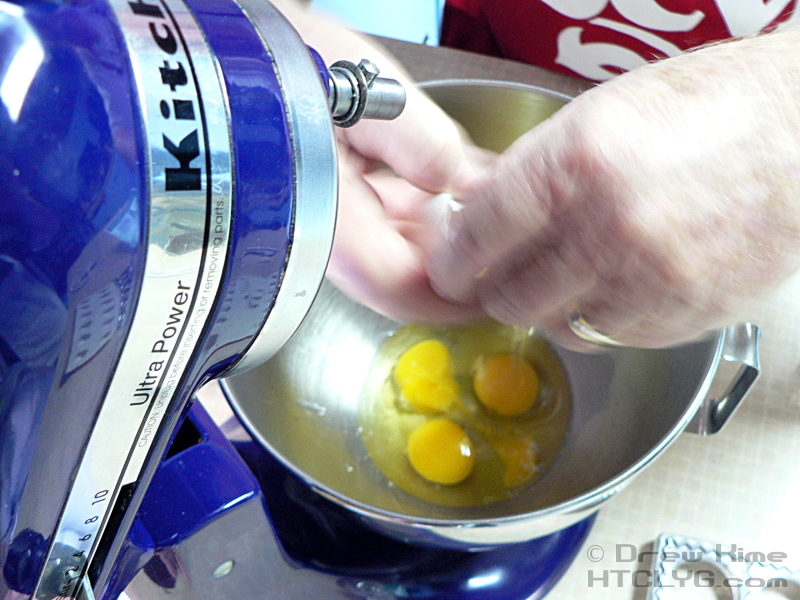
You can check out the post about making egg noodles for some video clips of actually making the pasta. The steps are exactly the same. Crack the eggs into the mixer and stir briefly.
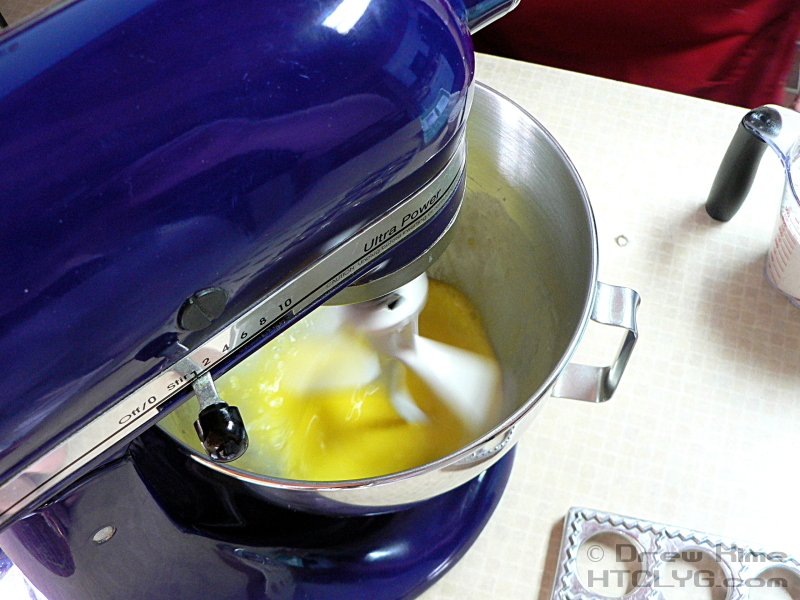
Then add the flour and salt and mix again.

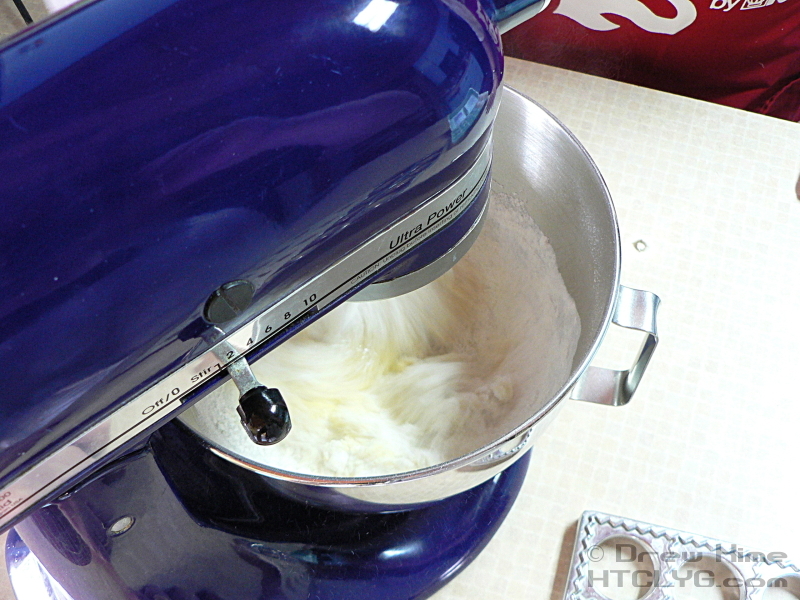
Once it’s mixed, remove the beater attachment and scrape off all the dough that stuck to it.
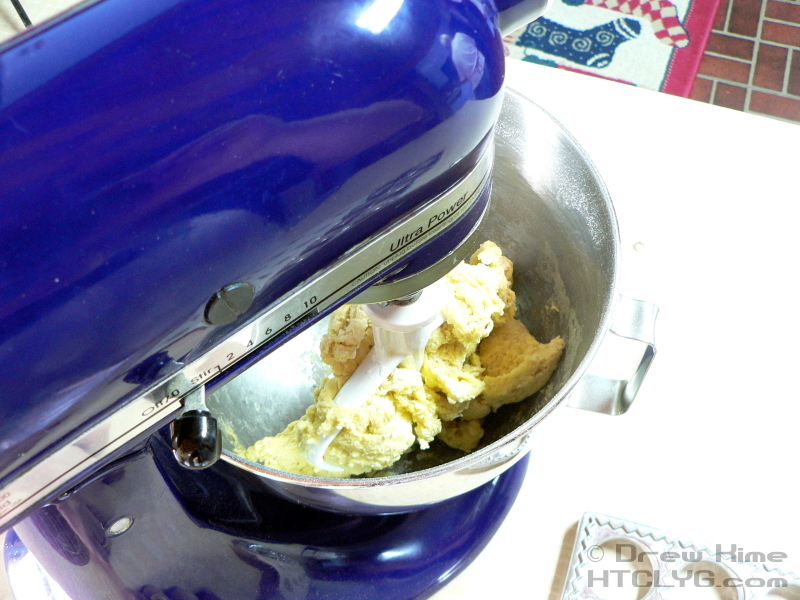
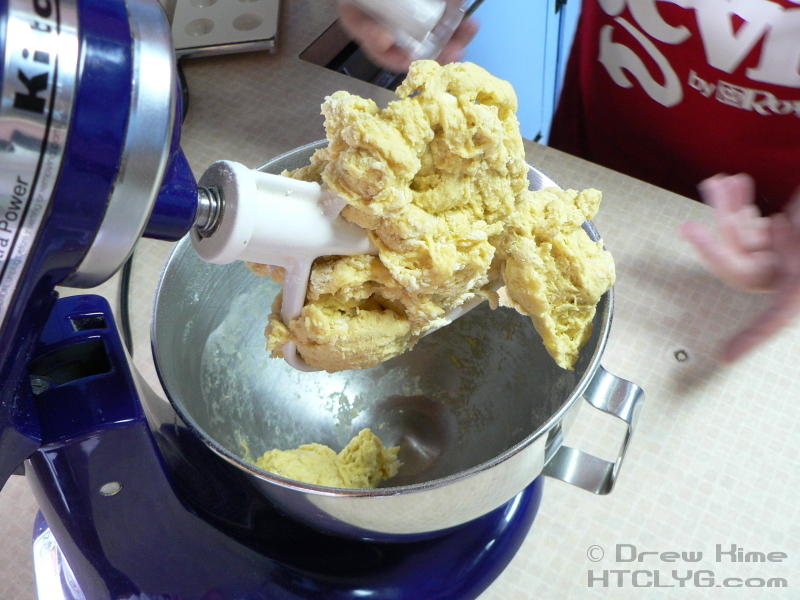
The dough hook will work, but it will take about three times as long to finish mixing it well.
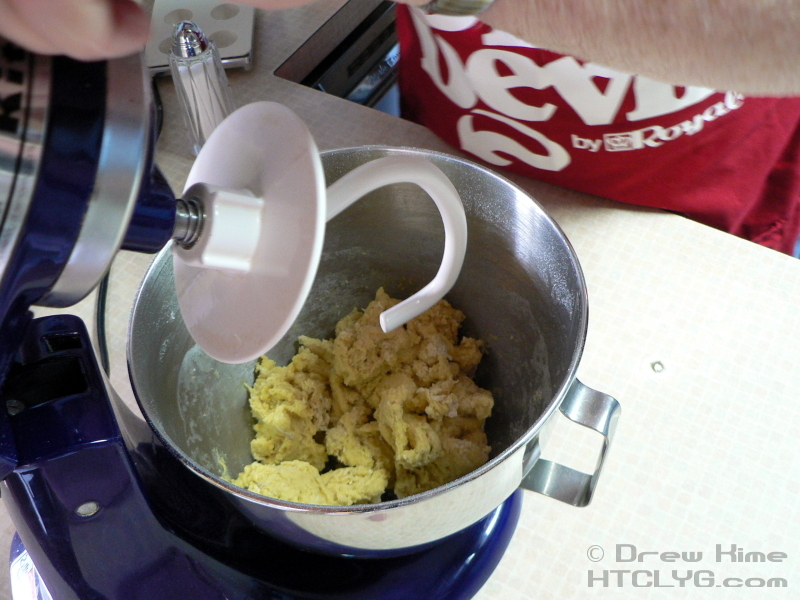
And of course you still need to finish with some hand-kneading.

The tray
Here is where we started experimenting with different techniques. First was a tray that makes perfect little square ravioli. (You can see it up in the ingredients photo.) We put the filling in a pastry shooter to make it easier. That was a good call. Definitely keep that one.
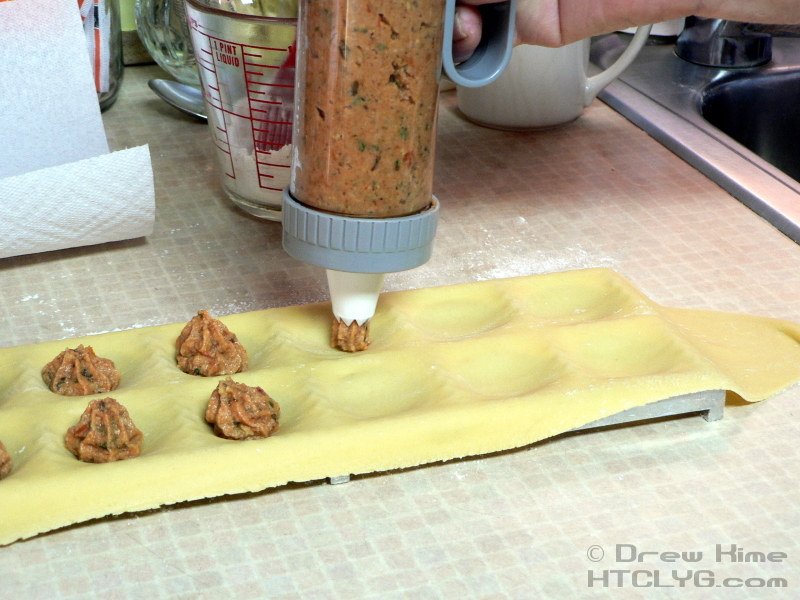
You can see in this video how easy it was to fill them.
Then just lay another piece of pasta across the top and roll it with a rolling pin to crimp the edges.
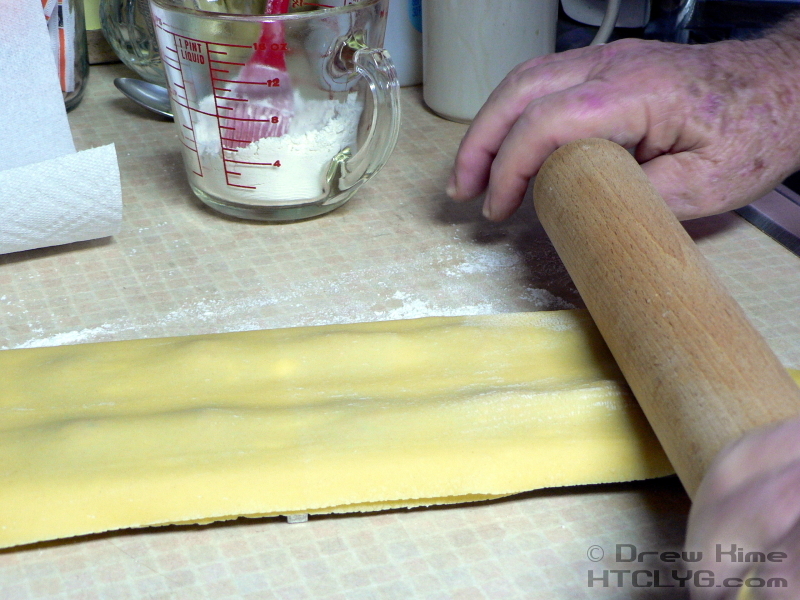
Peel the excess off and knock them out of the tray.
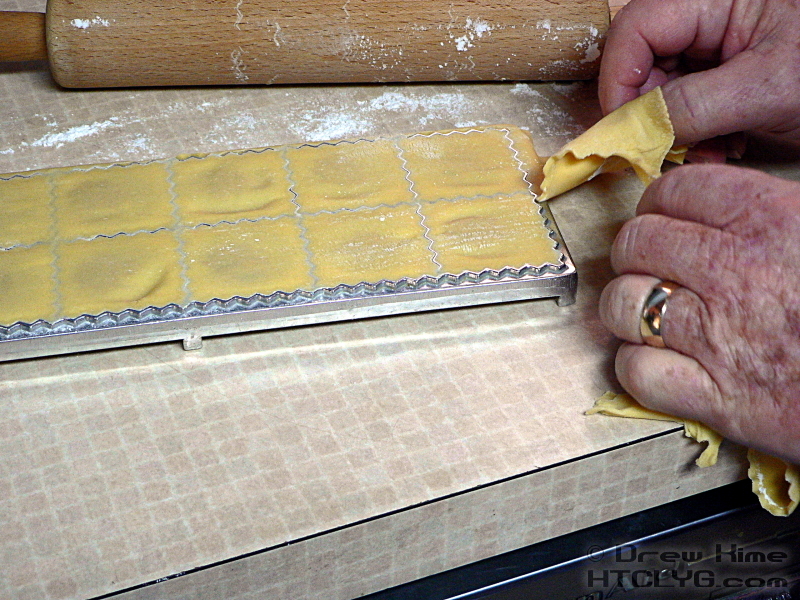
Except they stuck. Really badly. Yes, we tried flouring it. We tried oiling it. It just stuck every time.
Okay, so let’s try it freestyle.
Two strips
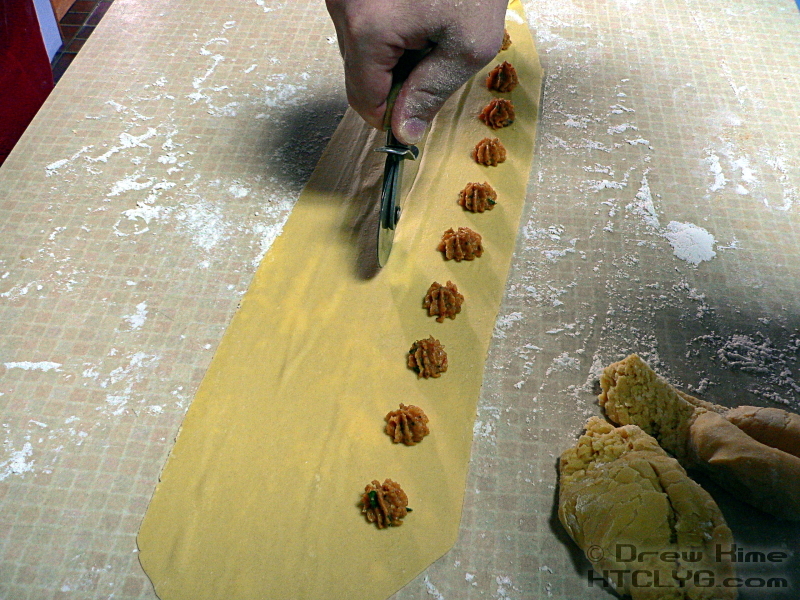
Next we rolled out one long piece of pasta and cut it in half lengthwise. Deposit the filling down one half and cover it with the other half.
Press down on either side of the filling so the pasta doesn’t rip when you cut it.
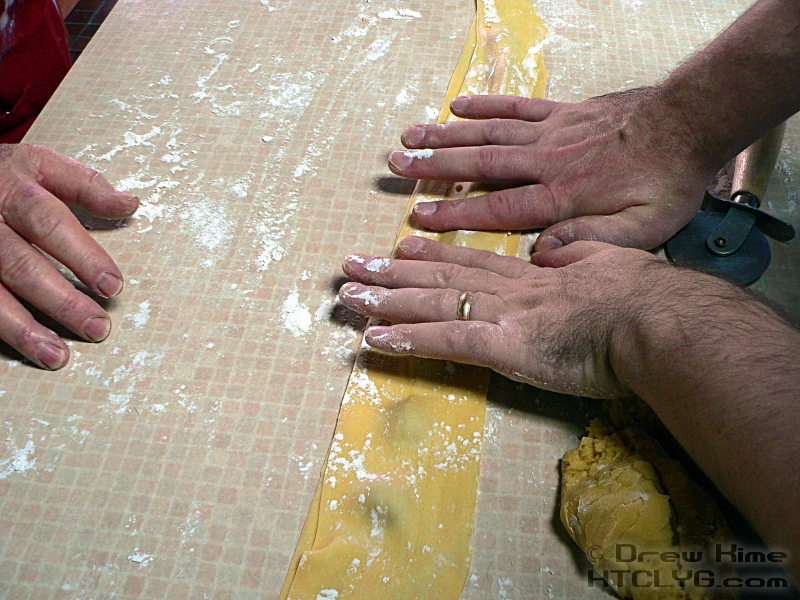
Or press down after each center as you lay the strip down.
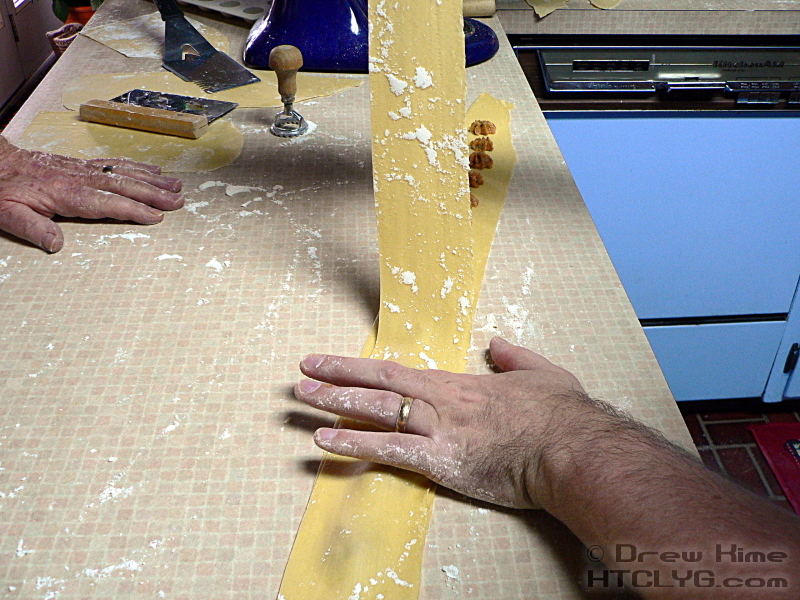
That worked pretty well. But it was still an extra step we didn’t need. Here’s what we finally came up with.
The winner
Oops. Shouldn’t kick the tripod. Let’s try that again.
That little tool I’m using is a ravioli cutter from the local Italian market. Yes, when making Italian food, it pays to find out what real Italians use to make it. Seems obvious, doesn’t it?
So here’s what we spent all day making.
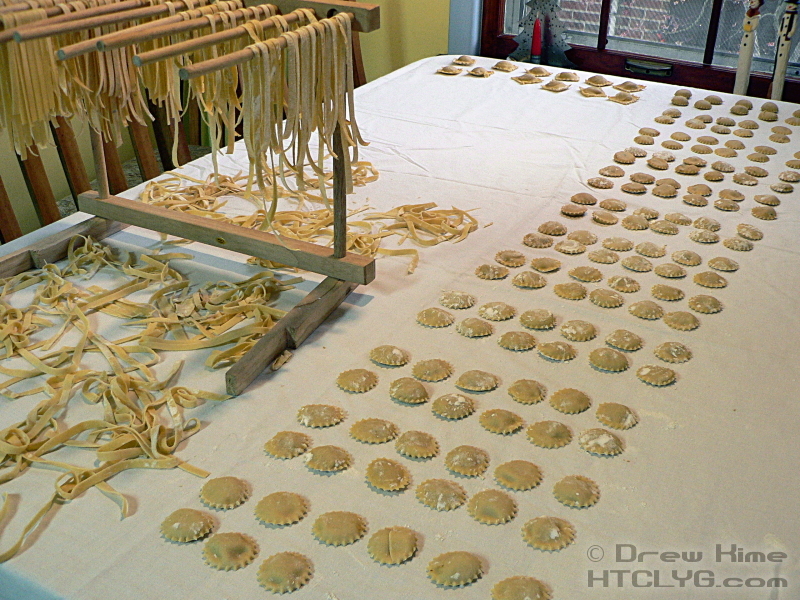
That also has some of the noodles we started cutting once we ran out of filling. Believe it or not, after all that we didn’t actually eat any of them for over a week. And when we did it was in soup, not with red sauce as the main course.
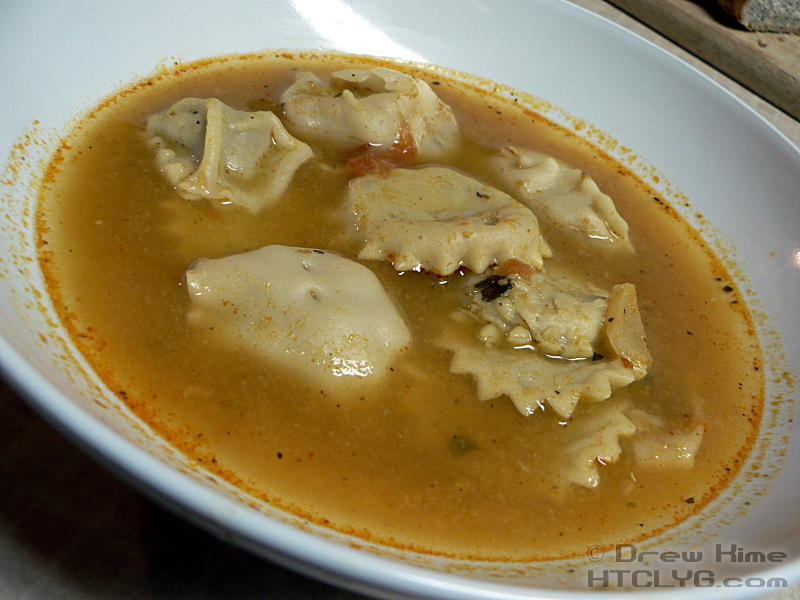
I’ll be back soon with the recipe for the filling, and the broth for the soup. Until then, you’re just going to have to trust me that it was delicious.


