Now that spring is showing up every now and then — anyone else who’s ever been in Cleveland through April knows what that means — I start thinking about fair food from my childhood. I always preferred funnel cake to elephant ears, though they’re basically the same food in a slightly different shape. (Funnel cake has more crispy surface area, elephant ears have more light, fluffy insides.)
But I don’t like deep frying in the house, unless I can open up all the windows in the kitchen and get a nice breeze going through. Otherwise the whole house ends up smelling like the fry stand … which is great at a fair, not so much when you’re trying to sleep.
Well it turns out I can get almost the same taste without the deep frying. After the last time I made pizza crust someone wrote to ask me if I ever tried frying it. I have now, and it’s a great movie night snack.
Ingredients
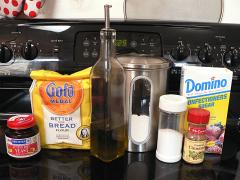
1 cup each white flour and (high gluten) bread flour, sifted
2 teaspoons active dry yeast (one package)
2 teaspoons sugar or honey
3/4 cup warm water (105° – 115°)
2 teaspoons salt
2 tablespoons extra virgin olive oil
butter for frying
Topping
cinnamon
powdered sugar
Directions
Standard dough
This is going to look almost exactly like the pizza crust directions, because it’s exactly the same recipe. The only difference is this time I used the stand mixer to do the kneading. This is also exactly how every yeast bread recipe is going to start. Get these few steps down and you’ll be able to make bread.
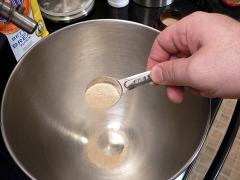
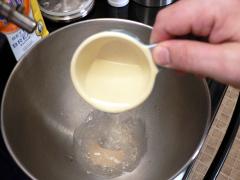
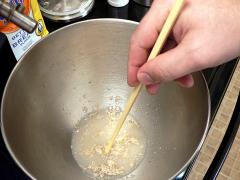
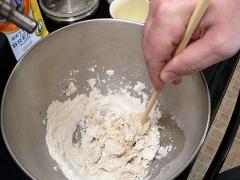
Start by “proofing” the yeast. Combine the yeast and about half the water. It needs to be warm enough to activate the yeast, but not so hot it kills it. Give it a quick stir, but don’t try to stir until it’s all dissolved — like a lot of recipes call for — or it will all stick to your spoon. That’s why I use the handle of the spoon or, in this case, a chopstick to mix it.
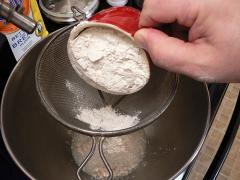
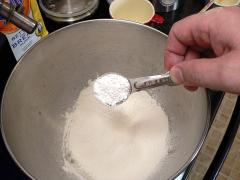
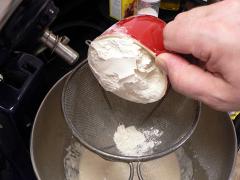
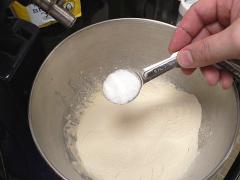
Sift in one cup of flour (either one, doesn’t matter which is first), and the sugar or honey. The sugar is there to feed the yeast, not so much for flavor. And since I already had the powdered sugar out for the topping I just used that.
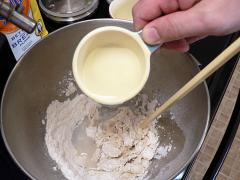
Give it another stir and add the rest of the water. I like to add the water in two steps so that if I had it a little bit too hot, the flour will absorb some of the heat and keep it from killing the yeast.
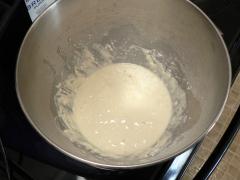
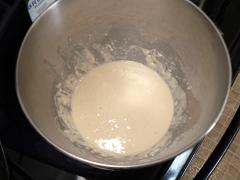
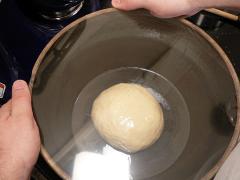
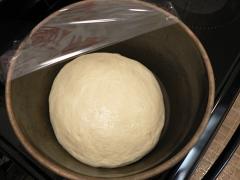
The first picture below is just after mixing everything. The second is ten minutes later. It may be a little hard to tell unless you click on the pictures to see the larger versions, but it has increased in volume from the yeast eating the sugar and giving off gas bubbles. That means the yeast is working. If you don’t see it grow like this, or lots of bubbles breaking the surface, it means that your yeast is not active. Either it was too old, or the water was too hot. You’ll have to get more yeast and try again.
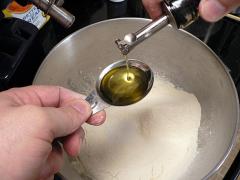
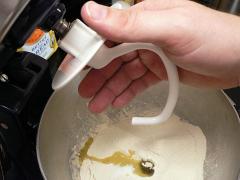
Sift in the other cup of flour, the salt and oil, and put on the dough hook.
You can knead this by hand for ten minutes instead of using a mixer. That’s how I did the last batch of pizza crust. A few people told me they swear by the mixer, so I tried it this time.
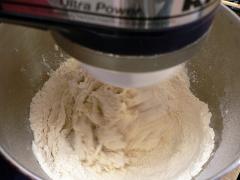
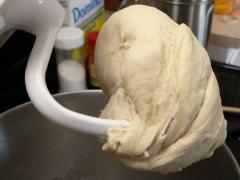
Mix on medium for ten minutes. The dough should end up wrapped around the hook, smooth and not sticky.
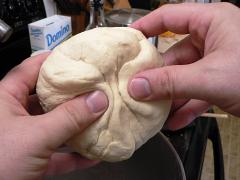
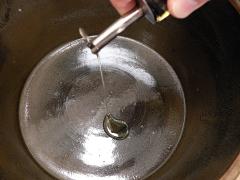
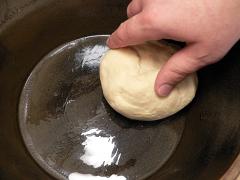
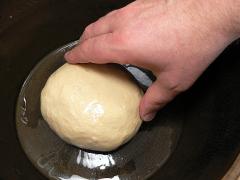
Pull the dough off the hook and form it into a ball by tucking all the loose edges under one spot. Add a few tablespoons of olive oil to a clean bowl and swirl the dough around to make sure the bottom of the bowl and the whole surface of the dough are oiled. Then put the dough in the center.
Cover the bowl with plastic wrap or a damp dish towel to keep the surface of the dough from drying out. If it gets dry it stops stretching and won’t rise as much.
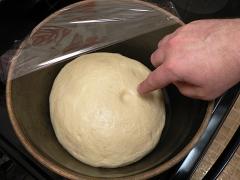
Leave the dough to rise in a warm place — inside the oven with the light on is the perfect temperature — for about an hour, until it has doubled in volume. It’s ready when you press on the surface and your fingerprint doesn’t spring back.
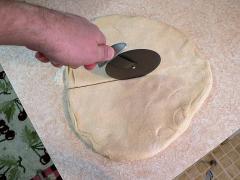
Punch the dough down to deflate it, then turn it out onto a well floured surface. Slice into four pieces with a pizza cutter.
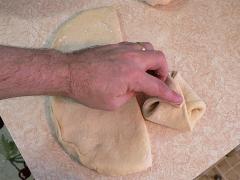
Take each piece and tuck the corners together and turn it over.
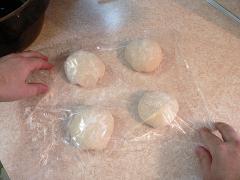
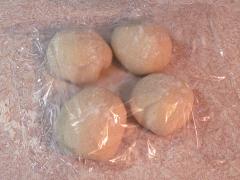
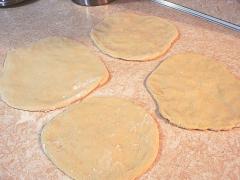
Put the four pieces of dough on a floured surface and cover with the plastic until they’ve doubled in volume again.
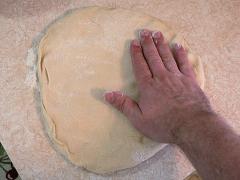
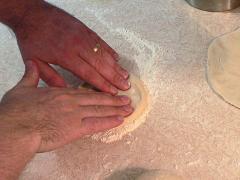
Using your fingertips, spread out each piece into a flat disk about six to nine inches across. If your fingers stick to the dough, dust the top with a little more flour.
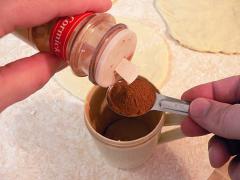
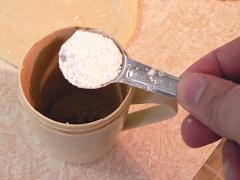
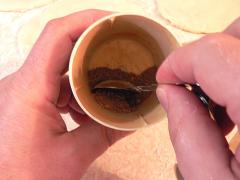
Leave the dough to rest for a few minutes while you get the topping ready. I started with a teaspoon each of cinnamon and powdered sugar. Next time I’ll use at least twice as much sugar.
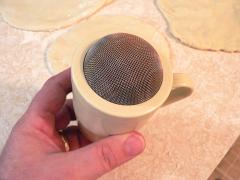
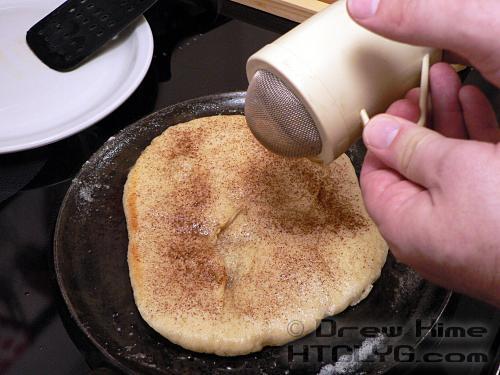
Mix them together so you can sift them onto the finished dough. I have this handy sugar/flour shaker, so I just mix it right in there.
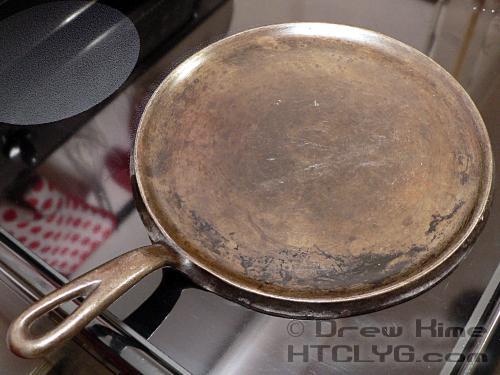
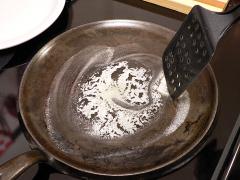
I’m a kitchen hardware geek, so if it’s okay with you I need to get way too excited about this skillet for just a minute. I found it down in the basement a couple of months ago. My wife insists I had it when we got married, but I don’t remember ever cooking with it. It had some light surface rust on the cooking surface, and it looked like it had once been seasoned but had been stripped at some point.
I finally decided it was time to strip it down back to bare metal and re-season it. But first, I thought I’d just hit that rust with some oil, kosher salt and a paper towel. And would you look at that? It came right off with just five minutes of rubbing.
I rubbed the rest of the cooking surface and realized that it was actually still seasoned really well. I wish I had taken “before” pictures so you could see what I started with. I was expecting to need power tools to refinish it.
It may not look so great in that picture, but it took me several tries to get a shot where the light shining off of it didn’t overexpose the whole frame. Okay, enough about my new favorite pan.
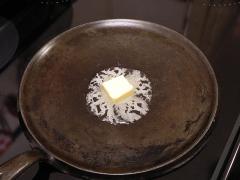
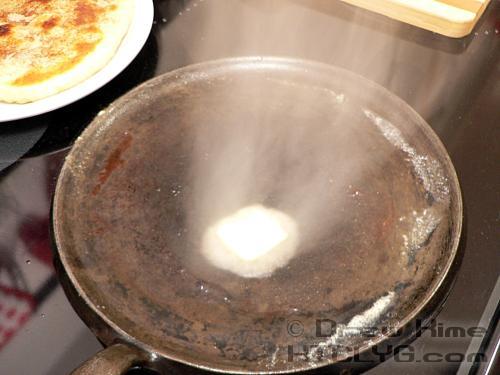
Melt a tablespoon of butter in a cast iron or non-stick pan and spread it around.
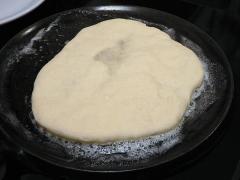
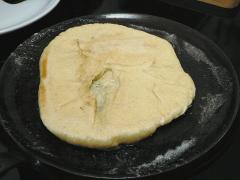
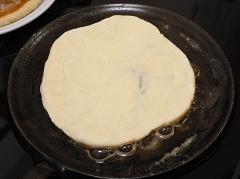
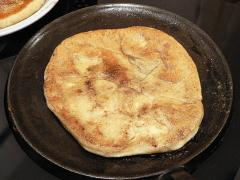
Fry the dough until golden brown on the first side and flip it over.
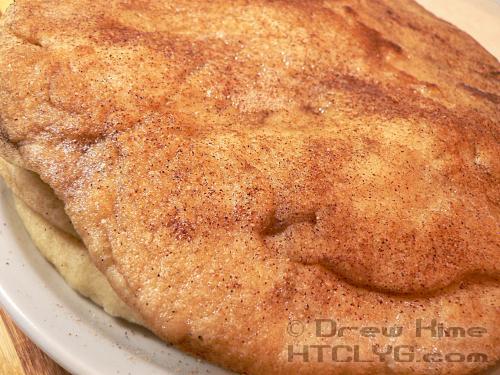
While the second side is cooking, dust the top with the cinnamon/sugar mixture.
When the second side is golden brown, remove it to a plate and add more butter. You can see from the smoking that I had let the pan get too hot.
Note to self: Cast iron skillet on electric stove, set to low! It really captures every bit of heat from the burner.
The second piece of dough got browned a bit faster than I expected. Once the pan gets hot you need less than a minute per side. It’s 30 seconds between these next two photos.
Stack them all up to keep them warm.
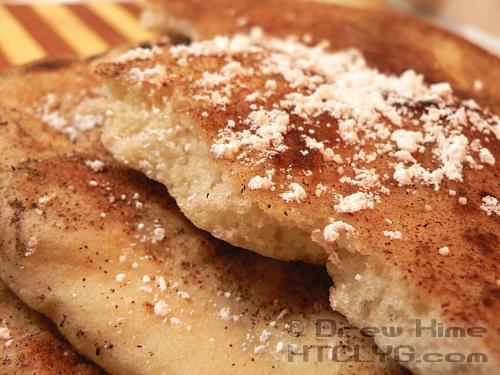
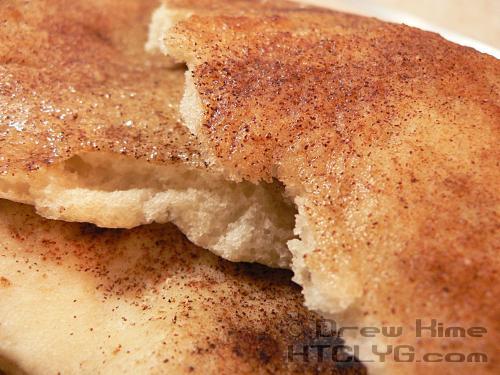
This isn’t knife-and-fork food, get in there with your hands and tear off a piece.
Add more powdered sugar … even if it doesn’t “need” it.
And that’s it.
