I’m probably going about this all wrong. I just made my first yeast bread a couple of weeks ago and got a huge kick out of it. Now if I were smart, I’d probably make the same kind of bread several times until I really got the hang of it.
No one’s going to accuse me of being smart about this. My third bread, and it’s my third recipe. True, I keep learning things not to do. I guess by process of elimination I’m eventually going to stumble on the perfect bread.
On the bright side, bread is pretty forgiving. Even when it doesn’t come out exactly how you wanted, it’s still fresh bread. I guess that’s why we’ve been making it since we learned to cultivate grain.
All of which is a long way of saying I did bread again. Pita this time. It wasn’t perfect, but I know what I did wrong.
Ingredients

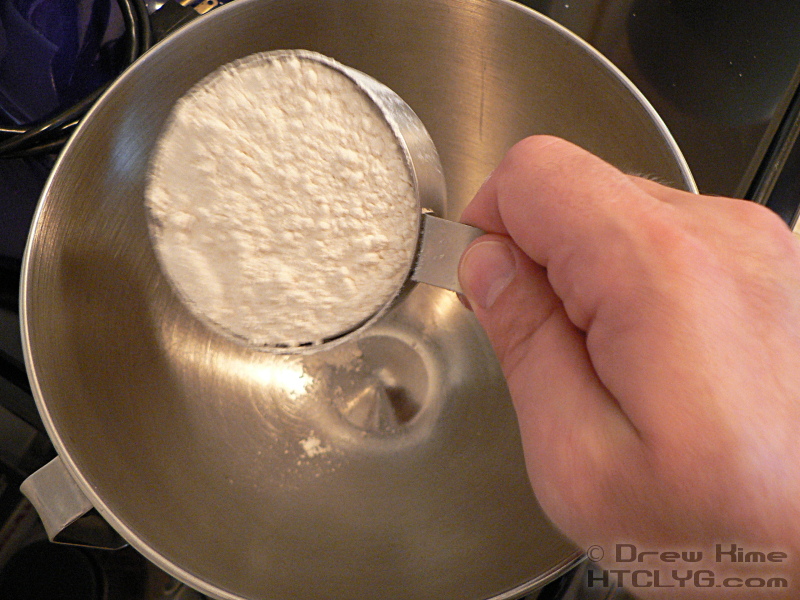
3 cups flour
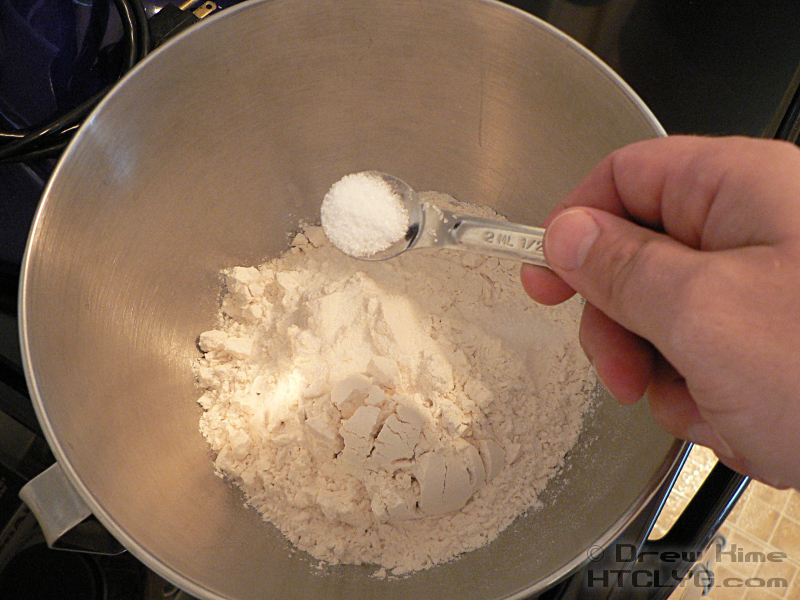
1-1/2 teaspoons salt
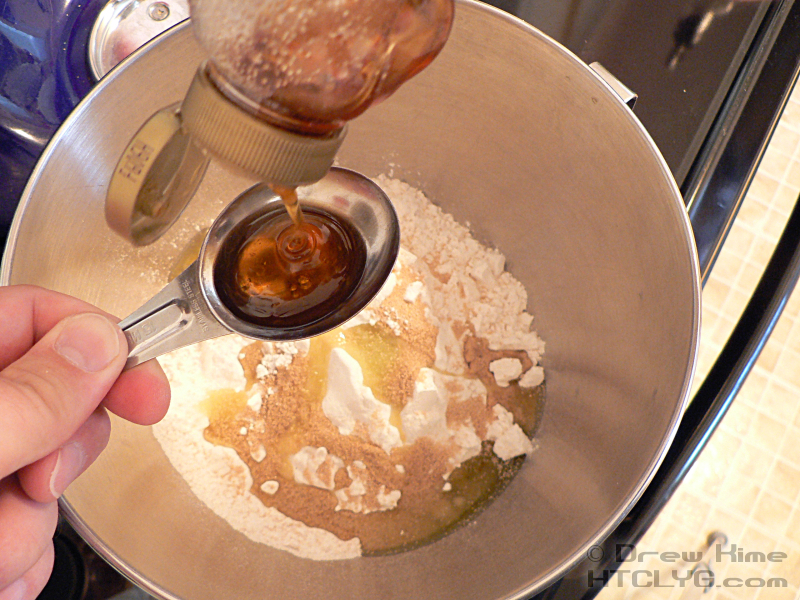
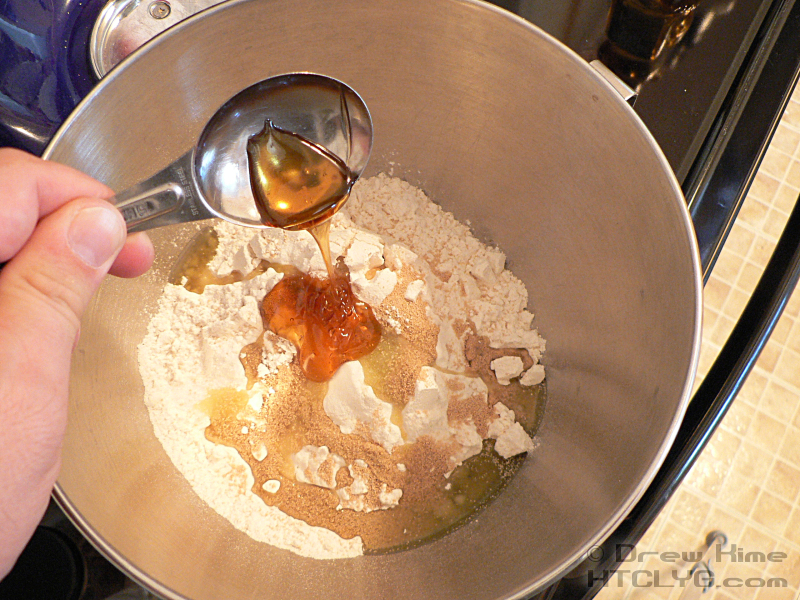
1 tablespoon honey
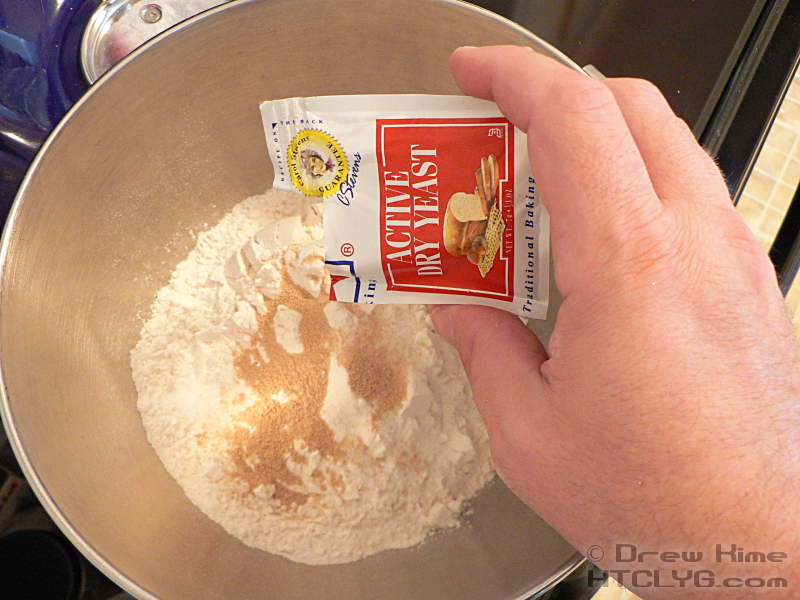
1 packet active dry yeast
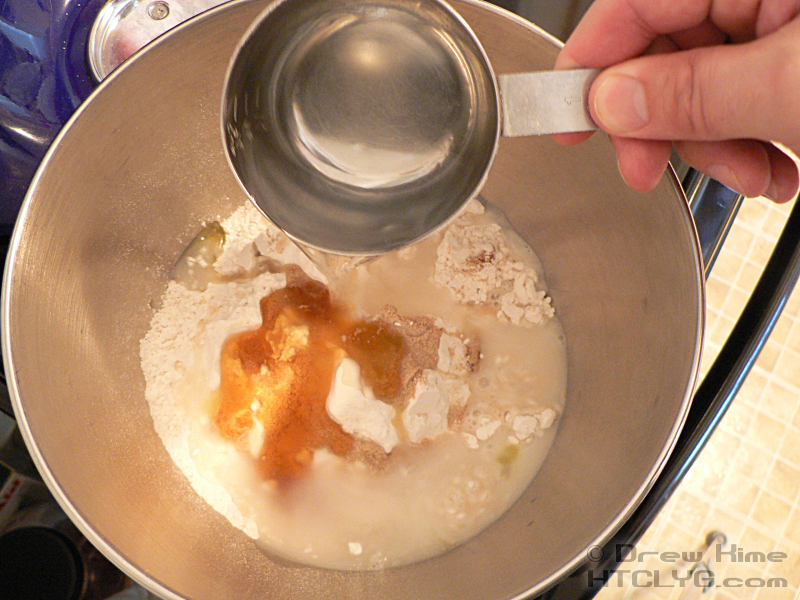
1-1/4 to 1-1/2 cups warm water
2 tablespoons olive oil
Directions
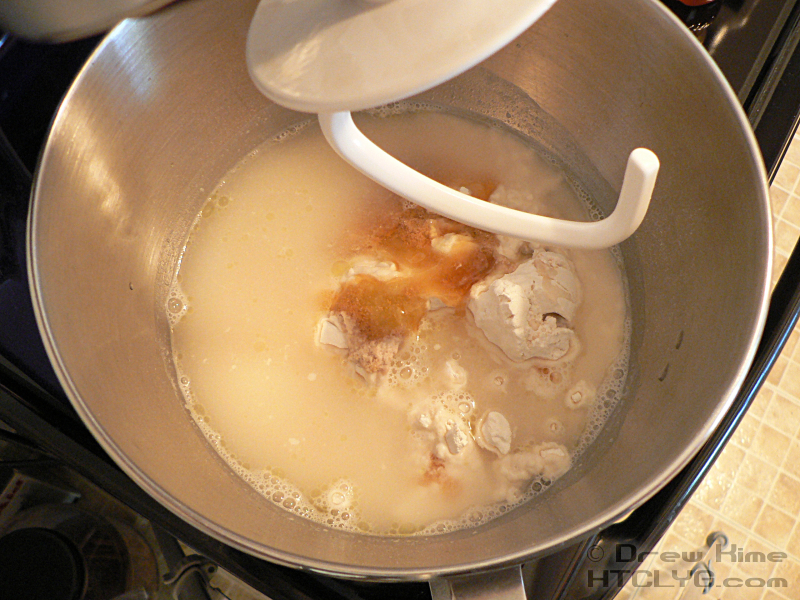
I decided to this one in the mixer, and it worked great. Add the flour, salt, yeast and olive oil.
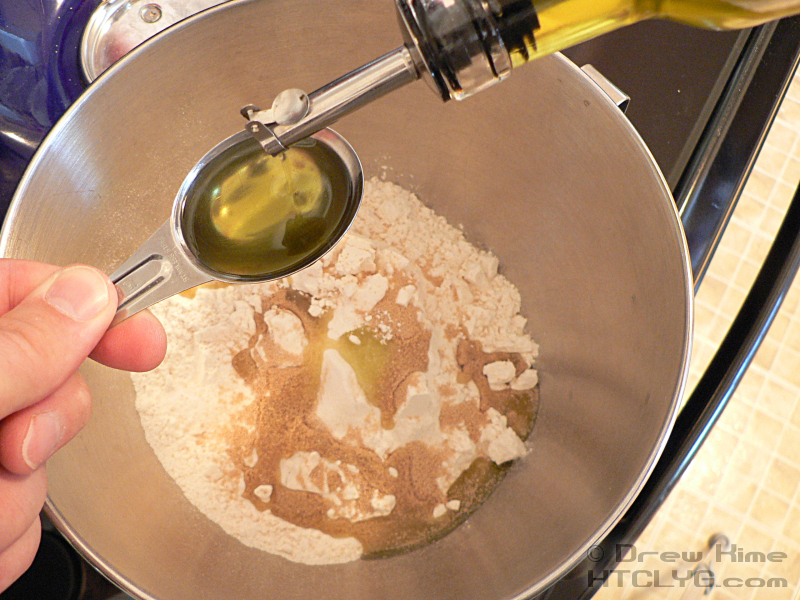
It’s important to measure the oil before the honey. (I love this trick, by the way. I read it a couple of months ago and have been waiting until I had a recipe with oil and honey so I could use it.) The oil left on the measuring spoon will keep the honey from sticking, and it will all slide right off.
Cool, huh? (Okay, so I’m easily amused.)
Finally, add the warm water — almost hot, really, it should be just over 100° to activate the yeast — and mix on low with the dough hook.
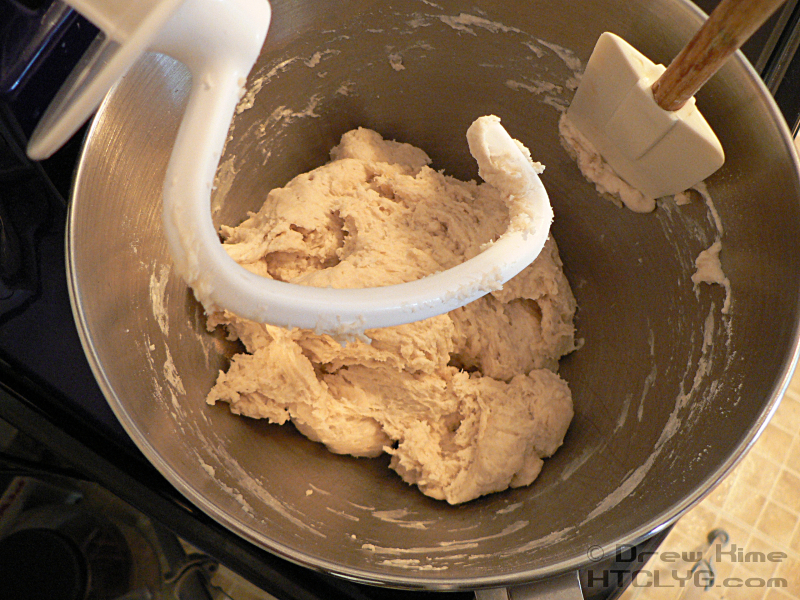
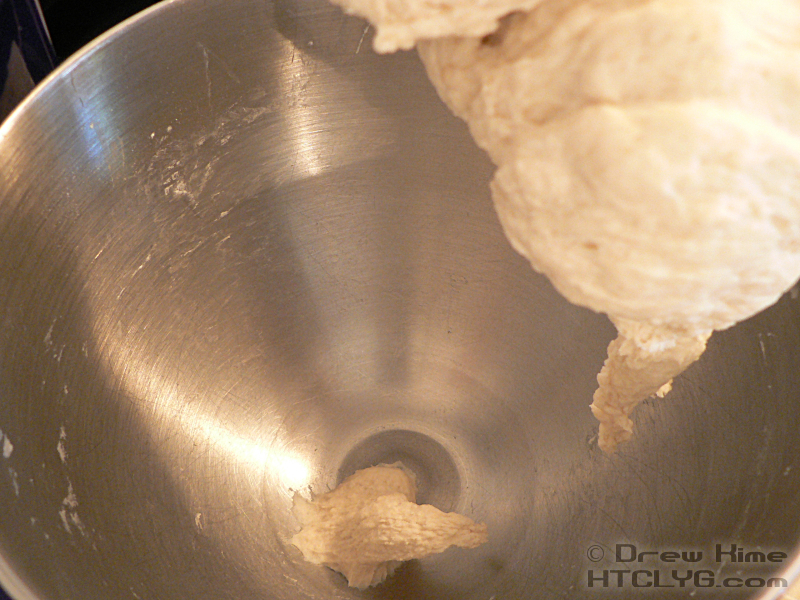
Scrape the sides down a few times while it’s mixing. This dough will be very sticky, but should come together and form a ball on the dough hook. If it doesn’t pick up all the flour, add a little water; if it sticks to the bowl instead of the hook add some flour.
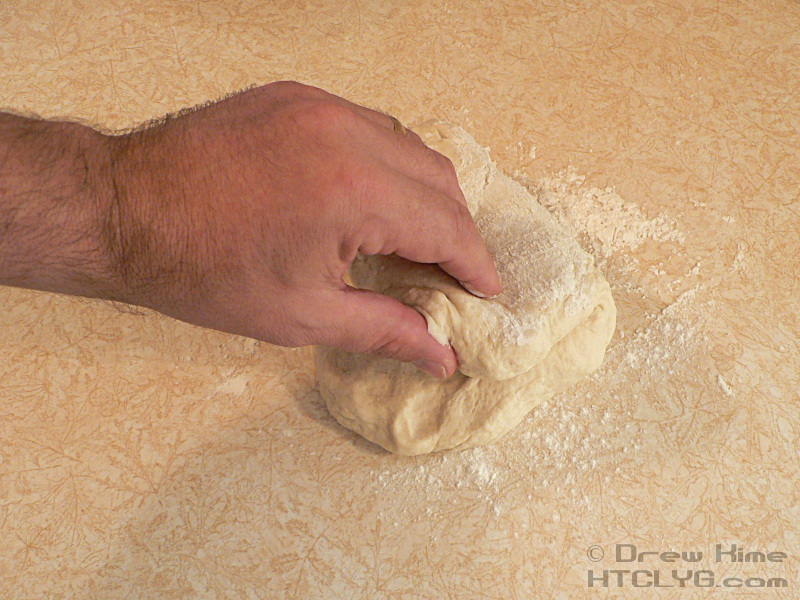
When the dough is ready, turn it out onto a floured surface. Knead the dough briefly, pushing it away with the heel of your hand, then folding it back and pushing again.

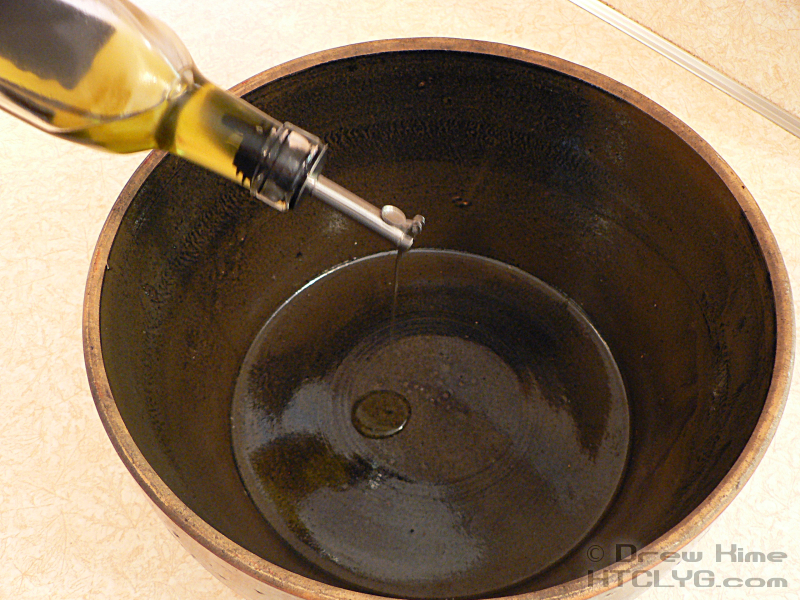
Put a tablespoon or two of oil in a bowl — your great-great-grandmother’s bread bowl, if you’ve got it.
Put the kneaded dough in the bowl and roll it around to coat it with oil so it won’t stick.
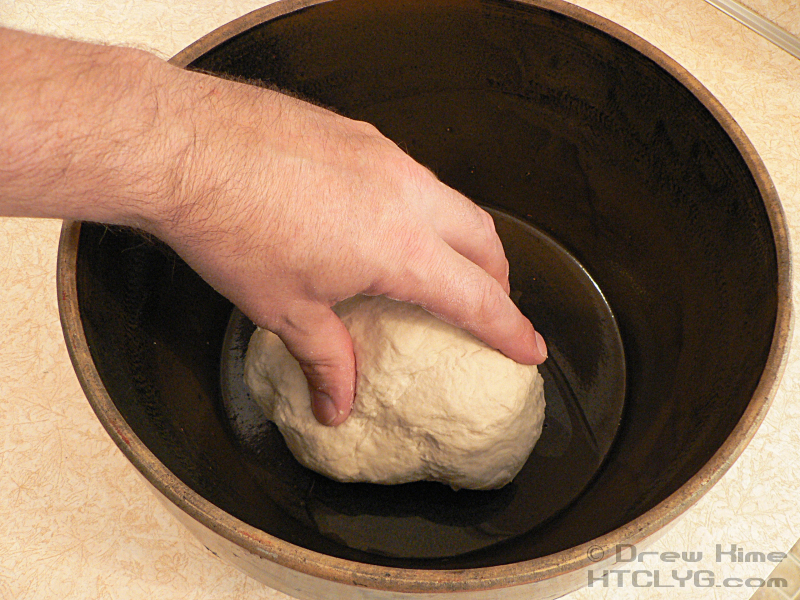

I’ve done other dough that didn’t stick in this bowl even without oil. This dough was exceptionally sticky, so I wasn’t taking chances.
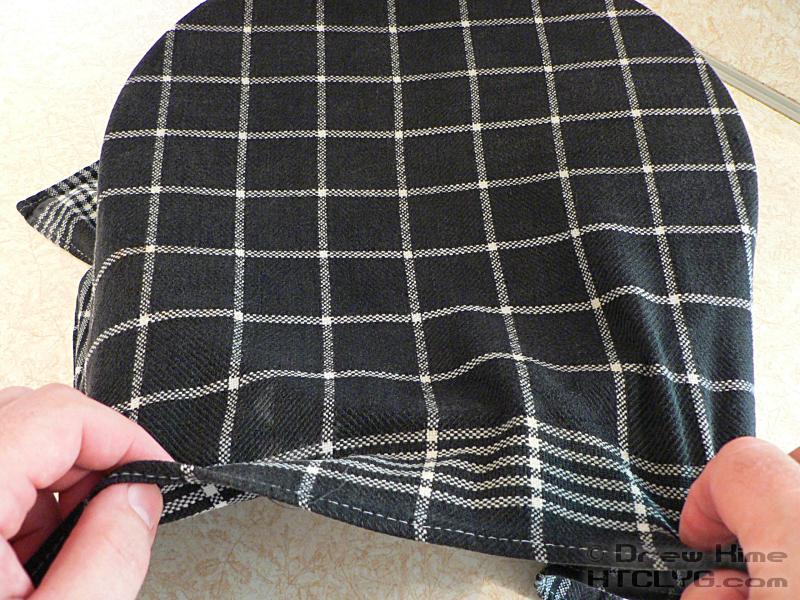
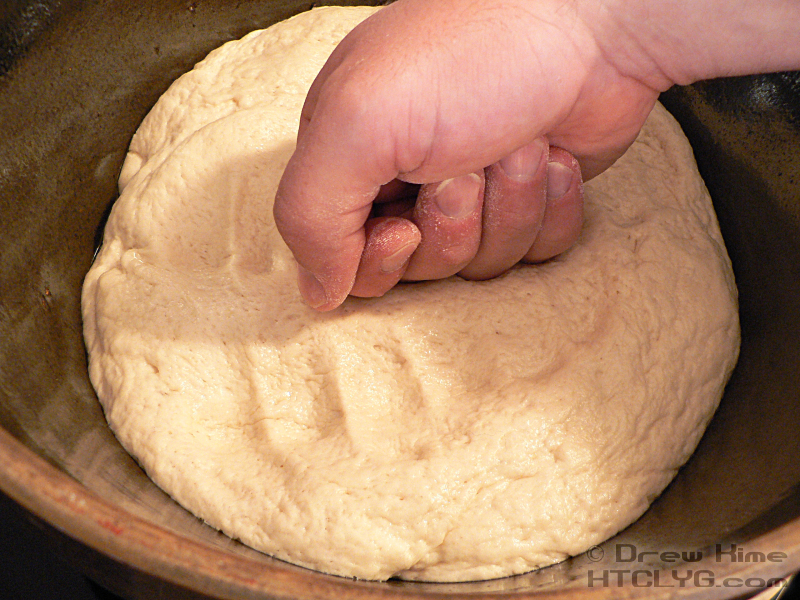
Cover the bowl with a damp towel and leave in a warm place until it has doubled in size, about 45 minutes to an hour-and-a-half. Yes, that’s a pretty wide range; it really depends on how active your yeast is and how warm it is.
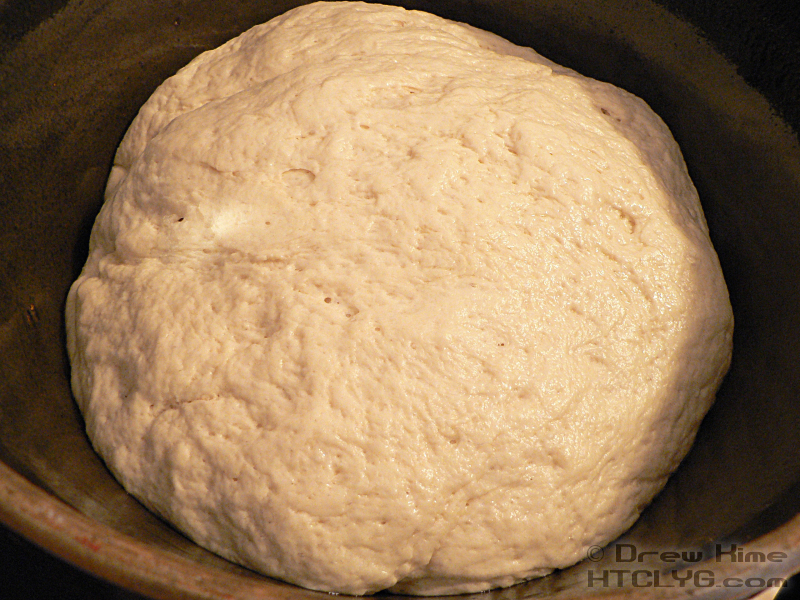
When the dough has doubled in size, punch it down and roll it out to a long tube shape.
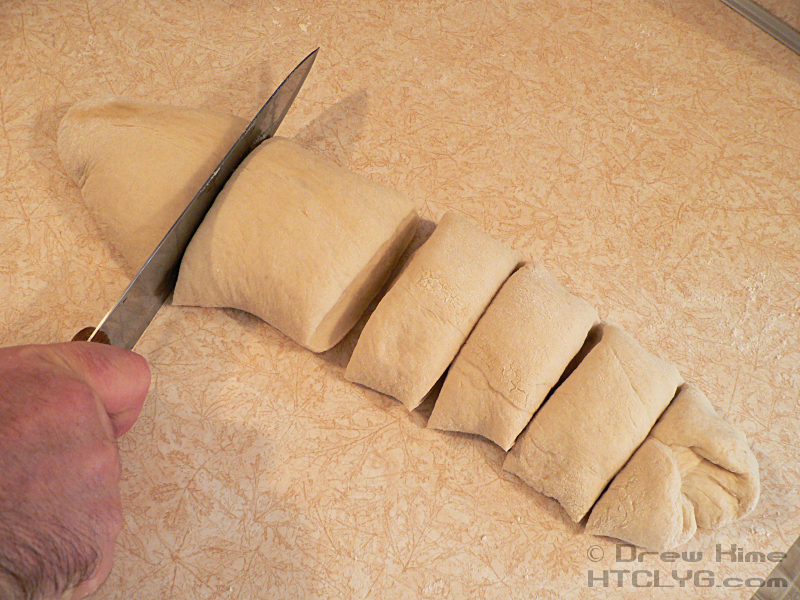
Cut the dough into six or eight even pieces. I did eight, but next time I’ll do six with this amount. Roll each piece into a ball and place on a baking sheet to rest for 20 minutes. They’ll keep rising, so space them out.
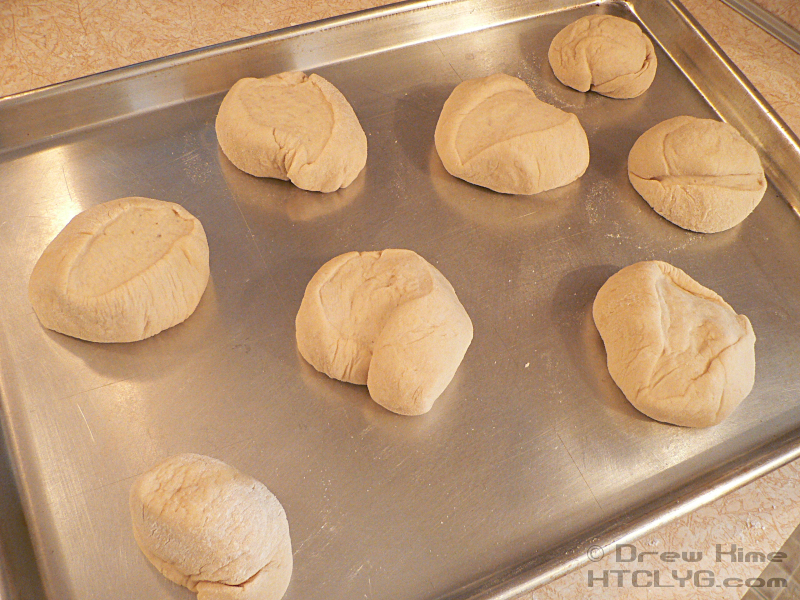
While they’re resting pre-heat the oven to 450°. If you have a pizza stone put that on the bottom shelf. Otherwise, use a heavy baking sheet upside-down.
On a floured surface, and with flour on the rolling pin, roll each piece of dough out to about a quarter-inch thick. They should be about six inches across.
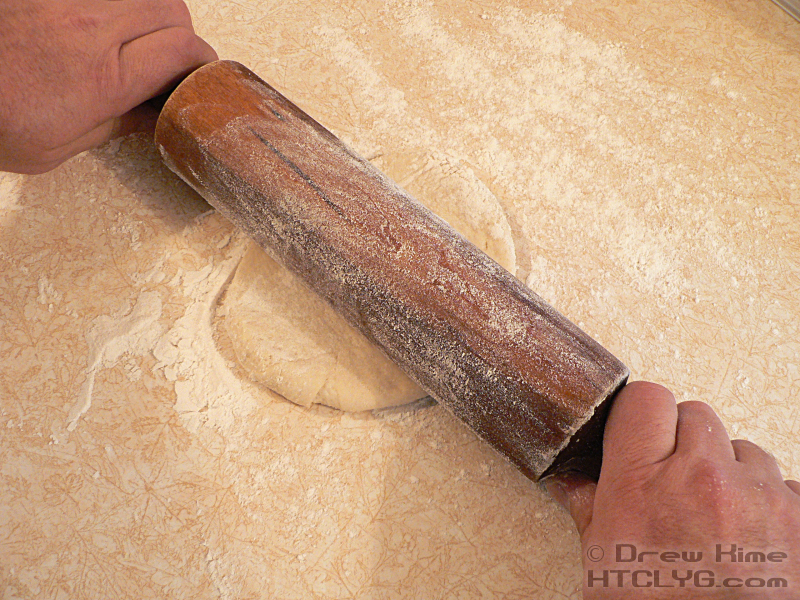
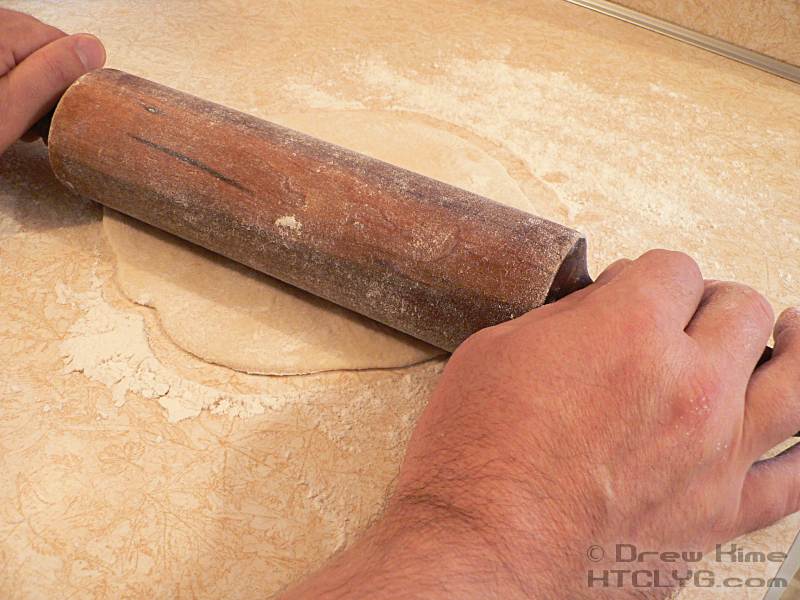
I did those a bit too thin. I need to either not make so many from this size batch, like I said above, or make them smaller around than I did. I’ll point out the problem down a little farther.
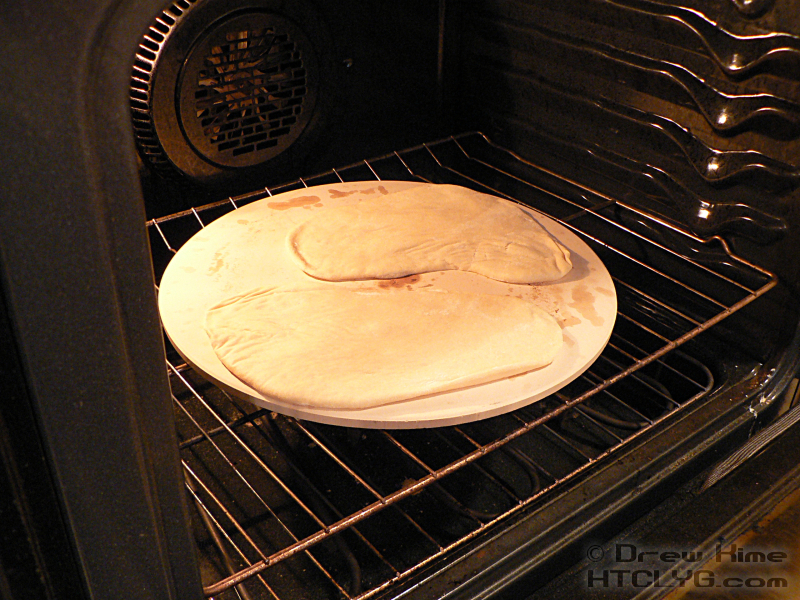
Place the rolled-out dough on baking sheets to rise until doubled in height. Apparently there’s a food blog rule that you have to take a low-angle shot of the final rise before putting bread in the oven. I’d hate to get in trouble, so here it is.

When the dough has risen, and the oven is completely heated, place as many pitas as you can on the stone without overlapping. I could only fit two at a time.

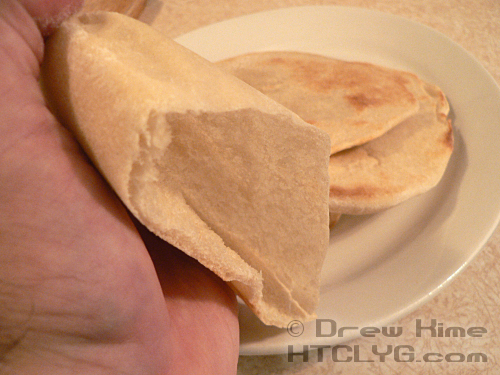
If you didn’t go overboard and roll the dough too thin, they’ll puff up like the one on the right in the next shot.
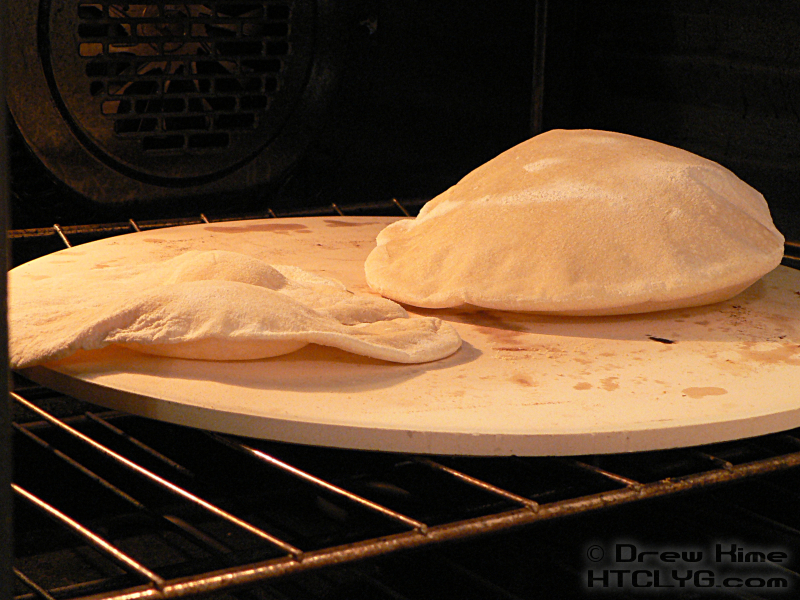
Whether they puff up or not, cook them for about three minutes, until they’re lightly browned on the bottom. If you want them crispy, flip them and do another two minutes on the other side.
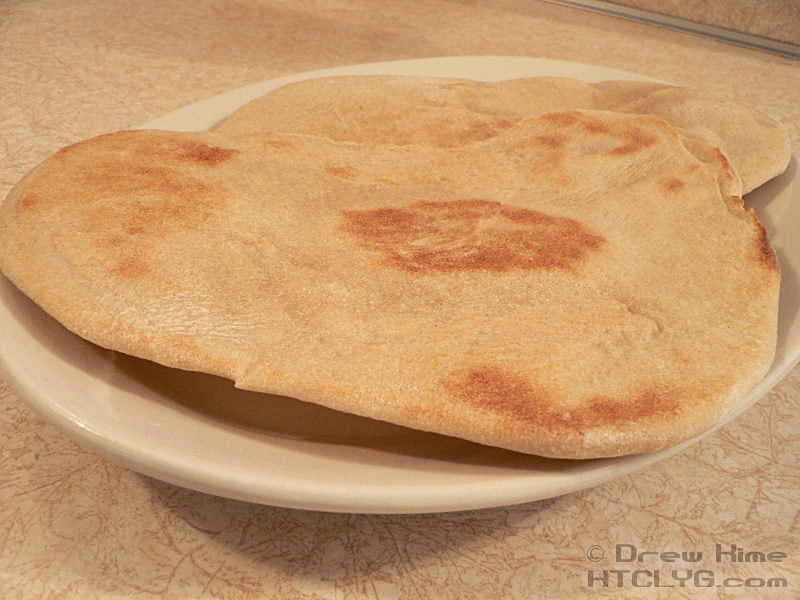
The ones that puff up can be cut in half and used for pocket sandwiches. (Ooh, foreshadowing …)
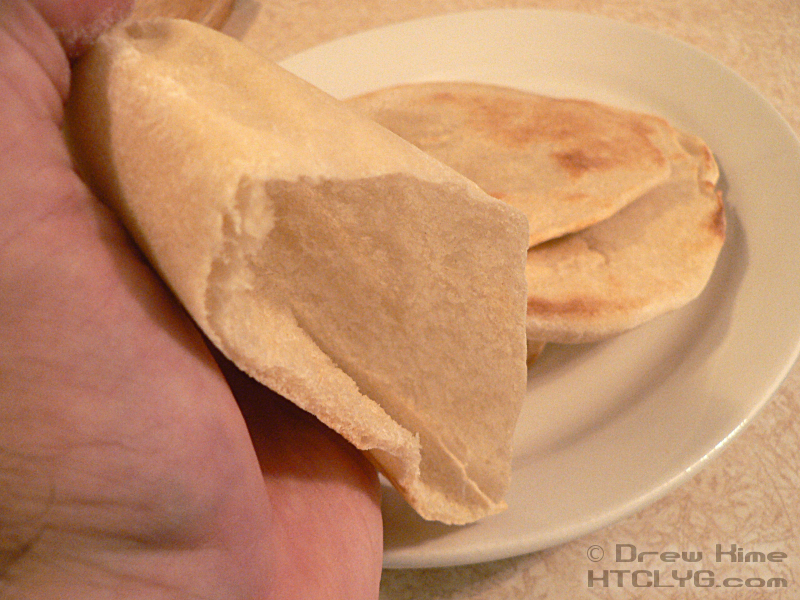
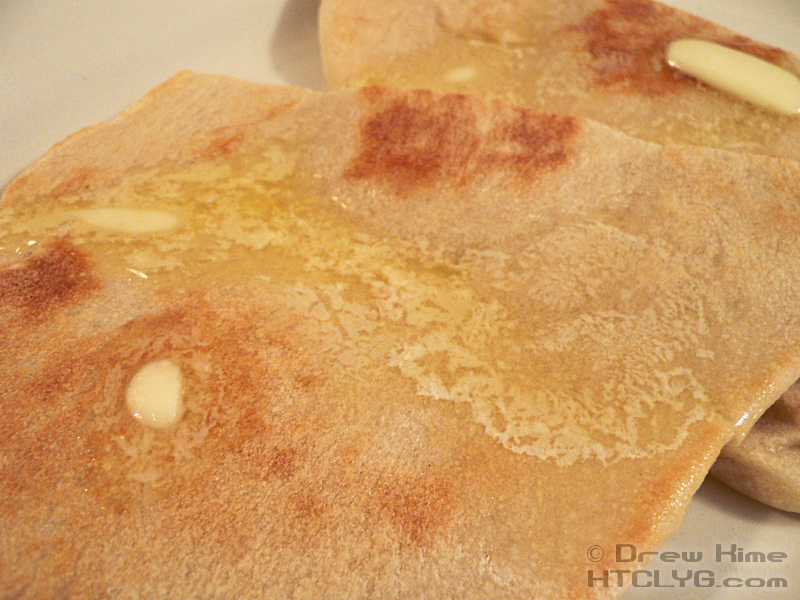
Or do what you always do with fresh bread, butter them up and dig in.
And that’s it.
Okay, the rest of it is posted. Check out the tzatziki sauce and gyro recipes.


