London Broil didn’t come from London. You probably wouldn’t find it there. And in fact it doesn’t really refer to a specific cut of meat, but to a technique for cooking ordinarily tough cuts: Top Round Steak, Chuck Shoulder Steak, Flank Steak, Sirloin Tip, etc. So the term “London Broil” should be used like “pot roast” — a technique, not a cut.
But if you’re in the U.S., you’ll probably see plenty of “London Broil” in the meat counter or at the butcher’s. Whichever cut it actually is, here’s the basic process to turn it into a great summer dinner. (Oh, and great leftovers.)
Ingredients

4-5 pounds “London Broil”
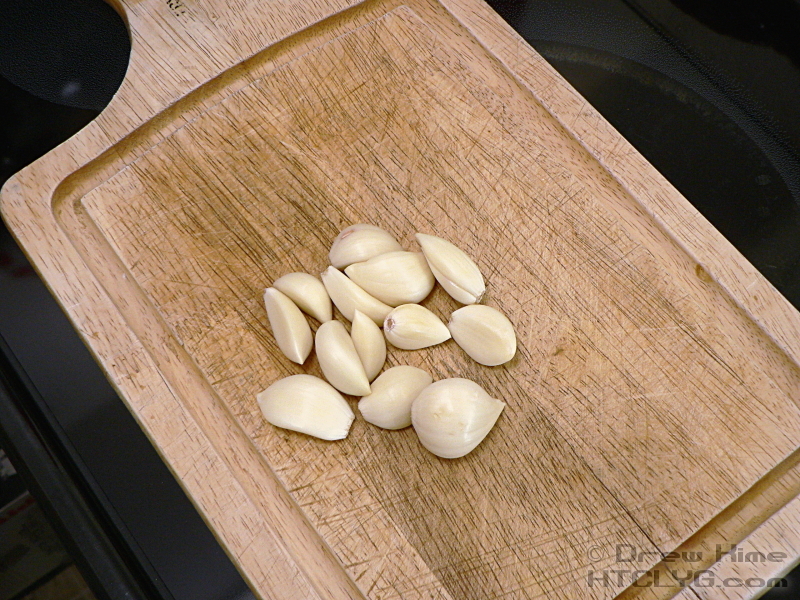
1 head garlic
1 cup chive vinegar (or white wine)
1-2 tablespoons ground ginger
1/2 large onion
salt and pepper
Directions
Marinade
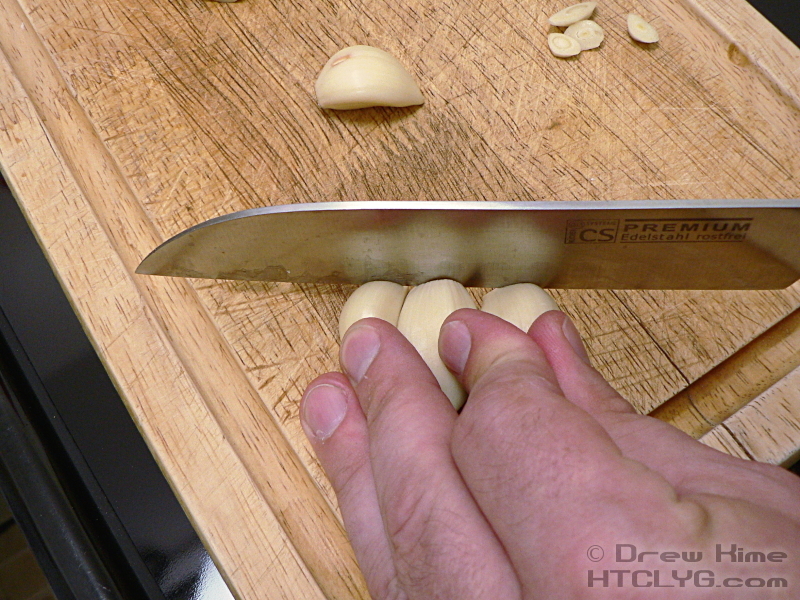
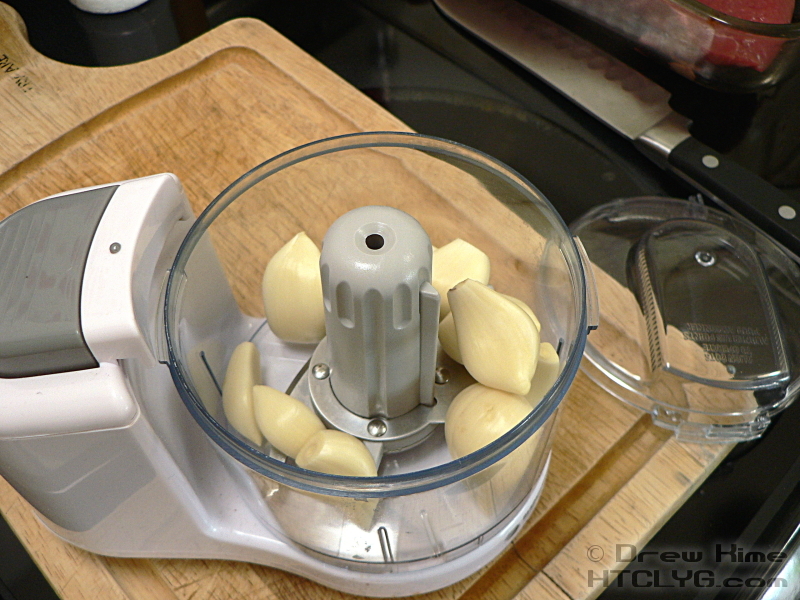
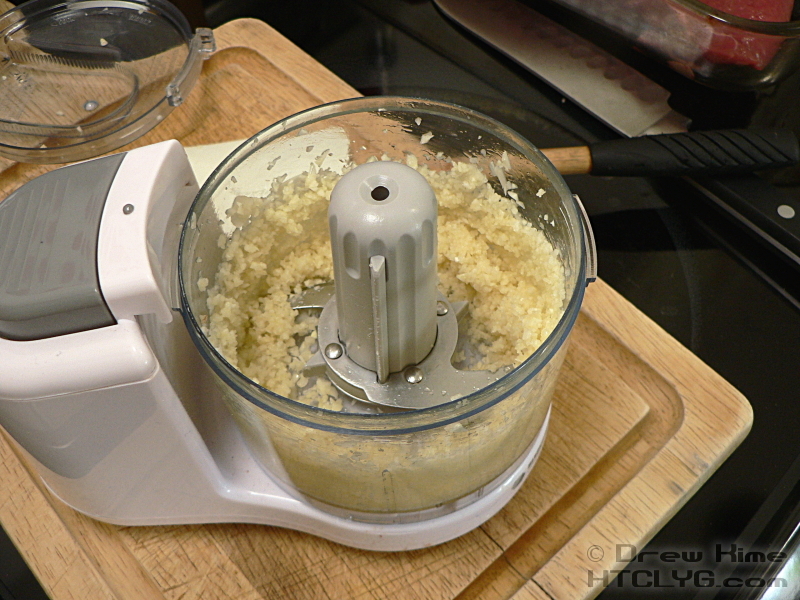
Peel the garlic and cut the stems off. If you’ve got a mini-chopper handy, throw them in and process until they’re a fine mince. (Or mince by hand, and don’t blame me for how you’ll smell.)
Season the beef generously on both sides with kosher salt and coarse ground black pepper.


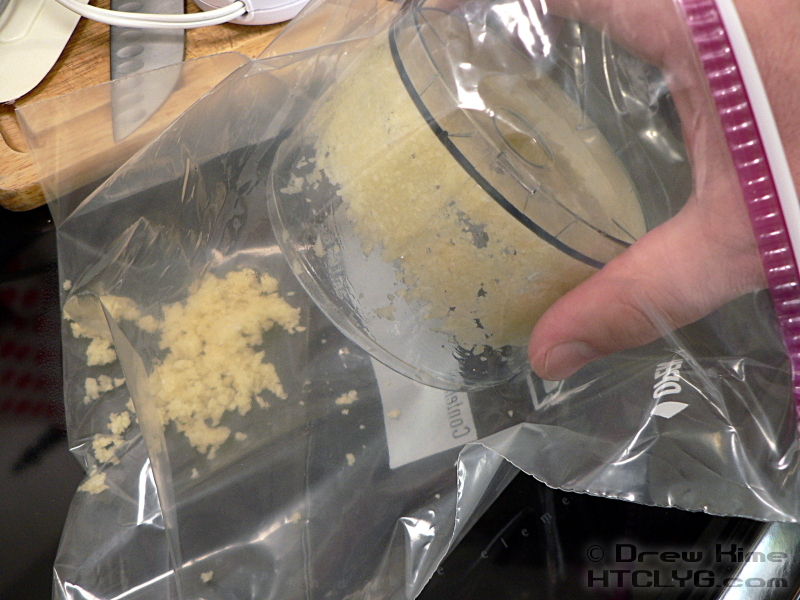
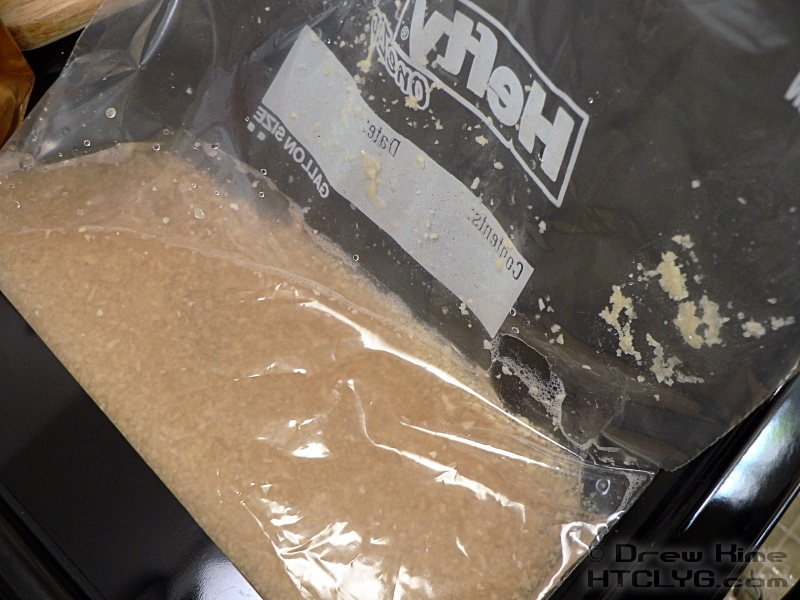
If you have really large zip-top bags that will fit your cuts of beef, mix everything in there. Add the garlic, vinegar (or wine) and ginger. To get all the garlic juice left in the chopper, I poured the vinegar in there first.


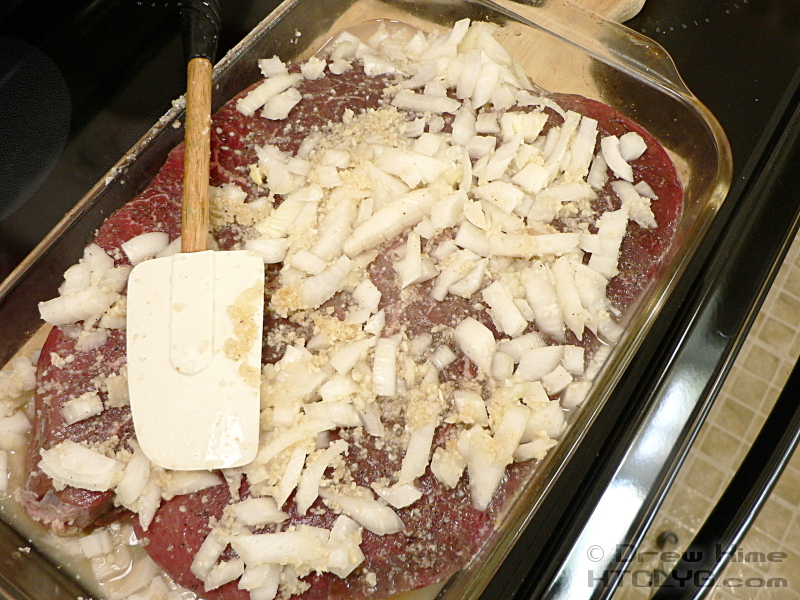
What should be happening here is adding the beef and diced onions to the bag. But it wasn’t as big as I thought it was. Or the meat was bigger. Either way, it didn’t fit. So I poured the marinade over the beef in a baking dish before adding the onions.

You want the marinade to come into contact with as much of the meat as possible. Since I wasn’t doing this in a bag — where you can squeeze out all the air and keep the marinade right up against the whole cut — I added a beer to the baking dish. If I had white wine on hand I’d have used that. (If you’re starting to think this is not an exact science, you’re right.)
Turn each piece over several times as you let it rest for two hours or more. Some people insist on overnight, or up to 24 hours. Someday I’ll plan that far ahead. Make sure the last two hours are not in the fridge, so it comes to room temperature before you start cooking.
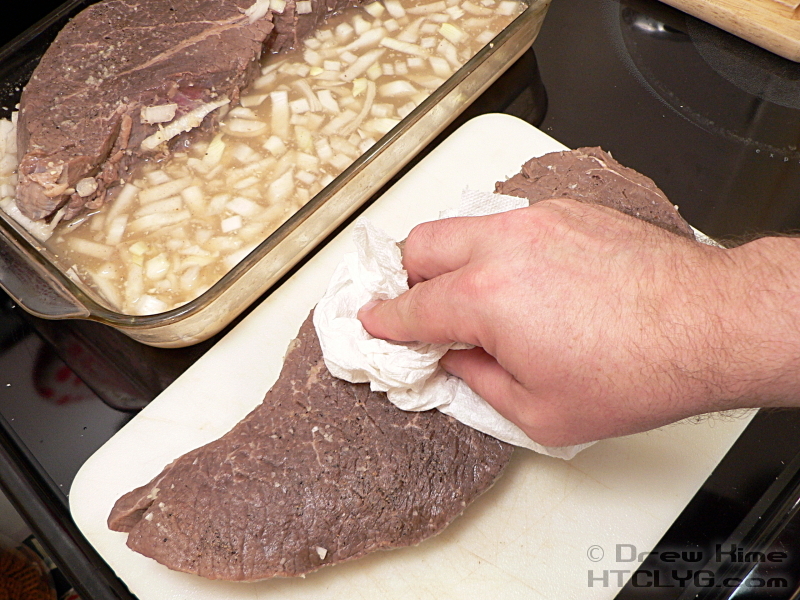
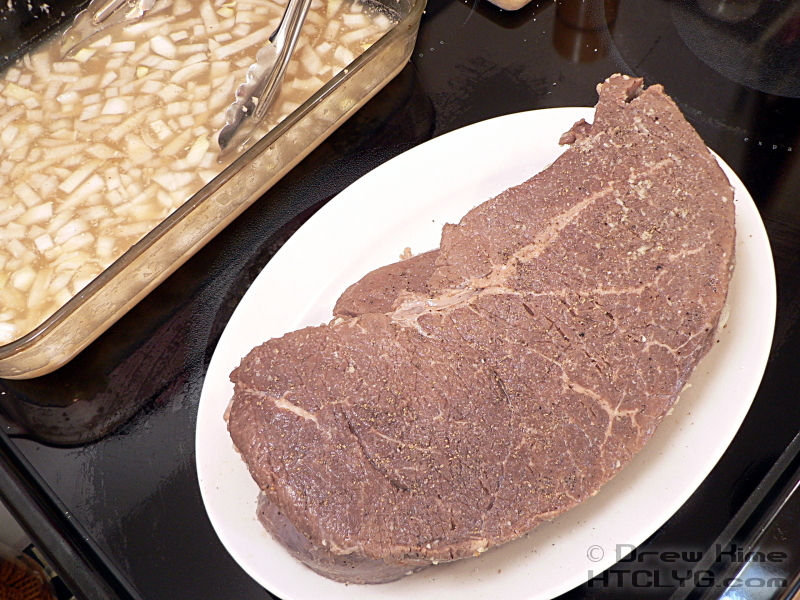
When you’re ready to cook, pour off all the marinade and pat the beef dry. Don’t worry that it’s not red any more. The vinegar (or wine) actually starts to cook the meat.
Grilling
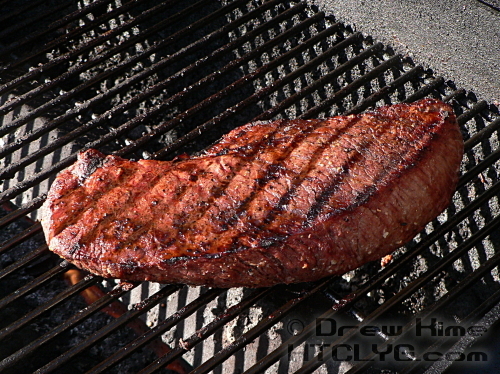
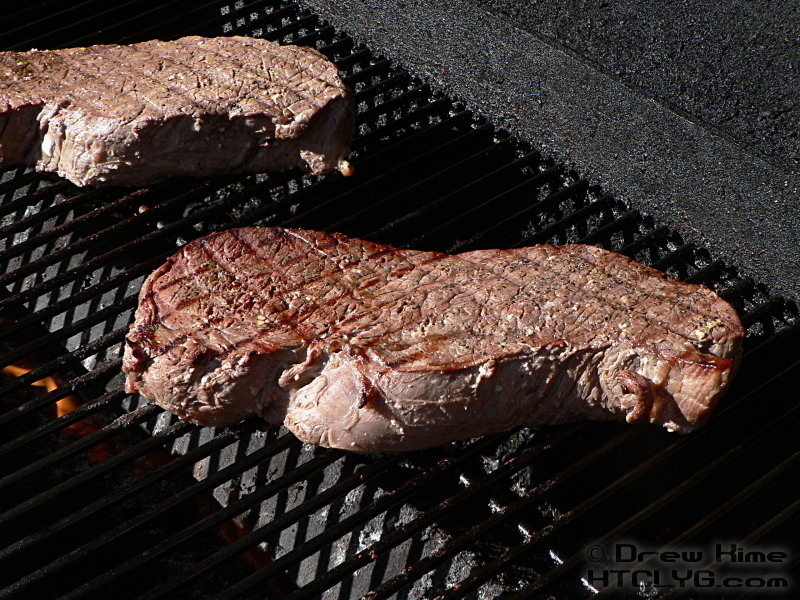
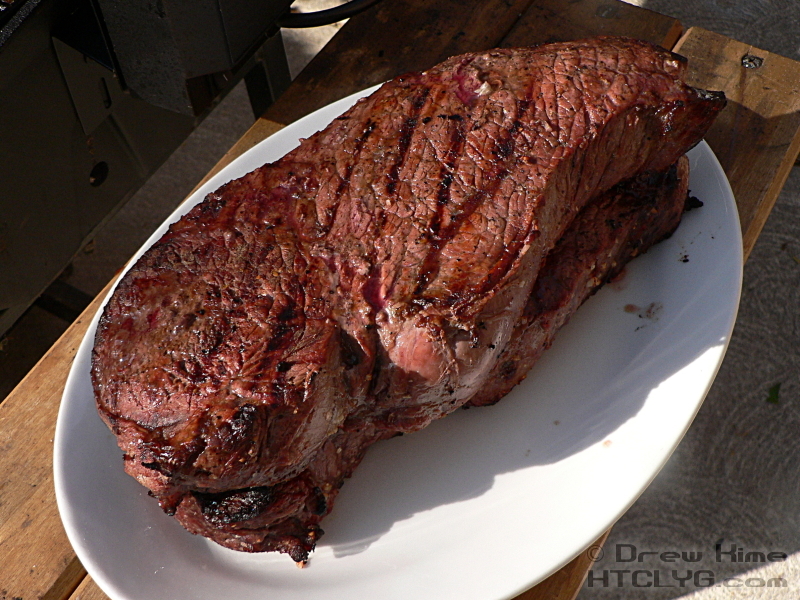
Pre-heat the grill so the bars are hot, and make sure they are clean and well lubed with bacon fat, lard or olive oil. Cook over a medium flame for two or three minutes, then turn each piece 45 degrees. This will give you the nice grill marks, but it’s more about cooking evenly. Flip it over when the bottom is well browned.

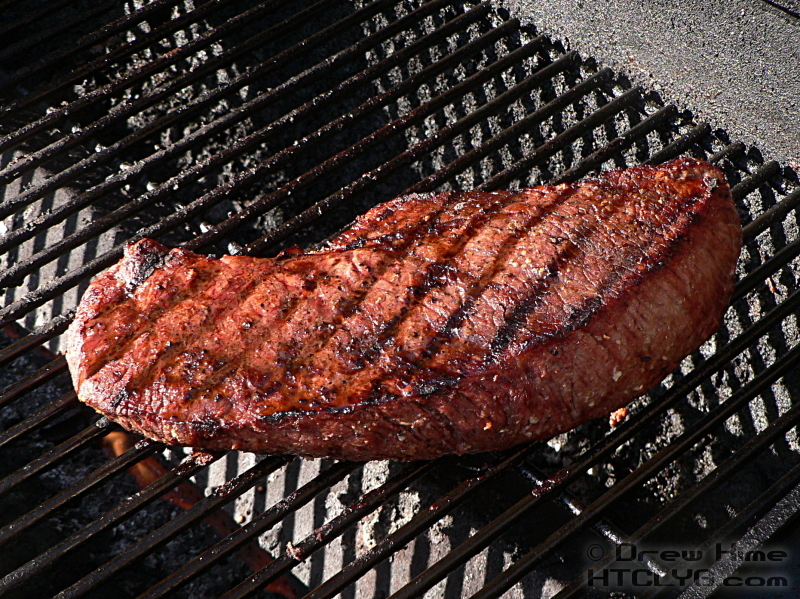
Once the second side is browned, turn the flame down low and flip it again. Cook over low heat until some juice starts to rise to the top of the beef, then turn it over again and repeat for the other side.
If you can’t get the flame down low enough, the edges could burn before you get any juice on top. Don’t just let it sit there and turn into charcoal, move it off to the side so it’s not directly over the flame.
When it’s done, transfer the meat to a clean plate. Don’t use the same one you carried it out to the grill with, unless you wash it first. Or unless you like food poisoning.

Serving
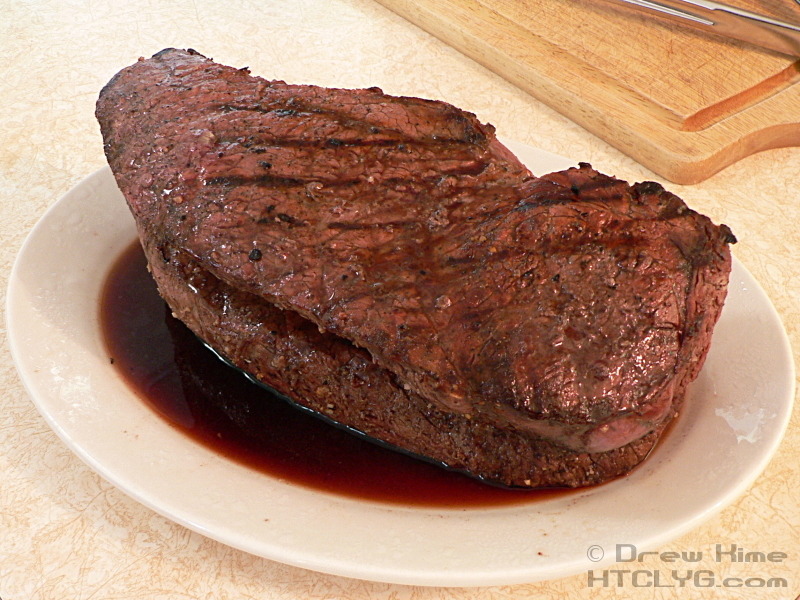
The thicker a cut of meat is, the longer it should rest after you cook it. While cooking, the heat creates a lot of pressure. If you cut into it, all the juice will run out onto the plate and you’ll end up with dry meat no matter how perfectly it’s cooked. I like to cover it with a piece of aluminum foil. This helps the temperature equalize from the outside to the inside.
After letting it rest for about 15 minutes, the heat will have pushed lots of juice out.
The cuts used for London Broil are typically large cuts of large muscles, with the fibers running the length of the cut. The shorter you cut these fibers the more tender the meat will be. So slice as thin as you can across the fibers.

Return the sliced beef to the plate with all the juice, and spoon it over the top.
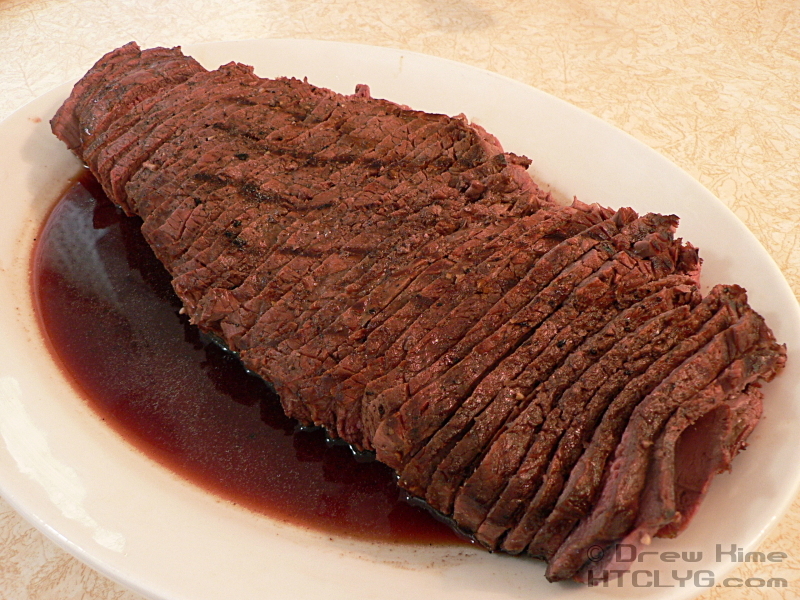
Serve family style, so everyone can dip their slices in the juice as they serve themselves.

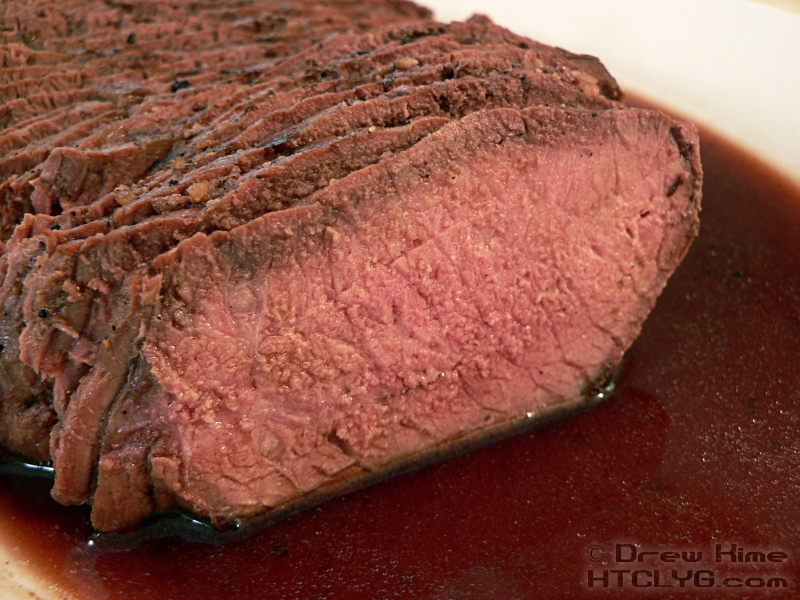
If you did everything right, you should have a super-flavorful crust around a warm, medium-rare center.
And that’s it.


