
Way back in August Beah asked for pierogis.
Being of Polish heritage, pierogis were a mainstay in family dinners. We never had potato and cheddar cheese filled ones, that’s more of an Americanized version. Ours were potato filled, sometimes with some bacon in it (!) and then sautéed with lots of butter and onions. Delicious! If we felt “bad,” we’d also whip up a batch of boiled green beans, sautéed with (more) bacon and butter.
They seem like a fall dish to me, so I finally got around to doing them. And holy cow, were they harder than I expected.
They tasted great, so I’ve got the recipe down. But the technique … that’s a whole different story. I could probably practice until I get it right, but I think I’m going to look for someone who already knows what they’re doing to show me.
(Oh, and I did the Americanized version.)
Ingredients
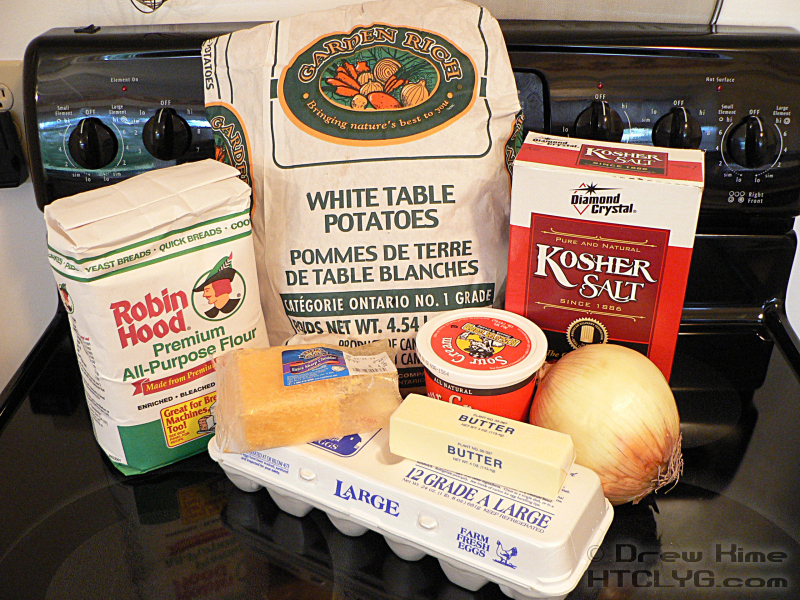
Dough
3 cups flour
3 large eggs
8 ounces sour cream
1 teaspoon kosher salt
Filling
2 medium Russet potatoes
1/4 large onion
4 ounces sharp cheddar cheese
For frying
3/4 large onion
2 much butter
Directions
It’s going to take a while to cook the potatoes, so start those before doing the dough. (Also, if you have a block of cheese put it in the freezer. I’ll come back to that in a bit.)
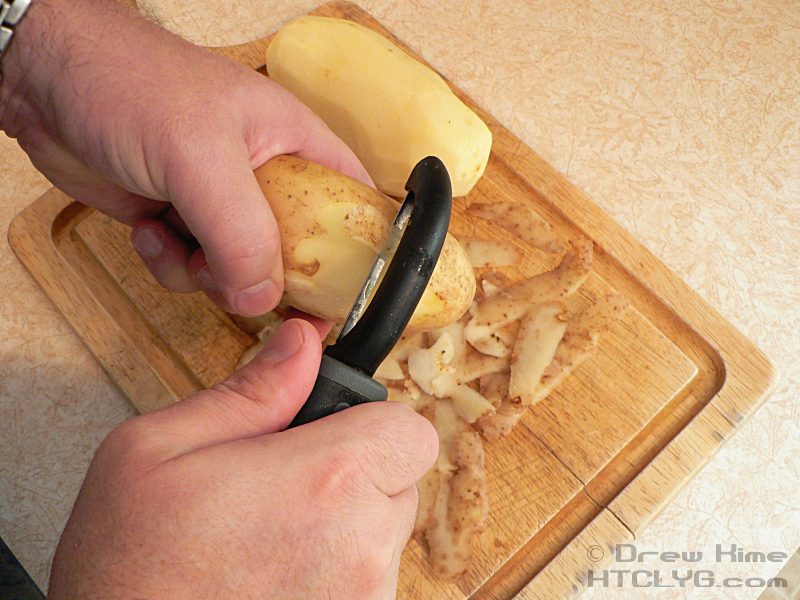
After peeling, slice and dice into evenly sized cubes less than an inch on a side.
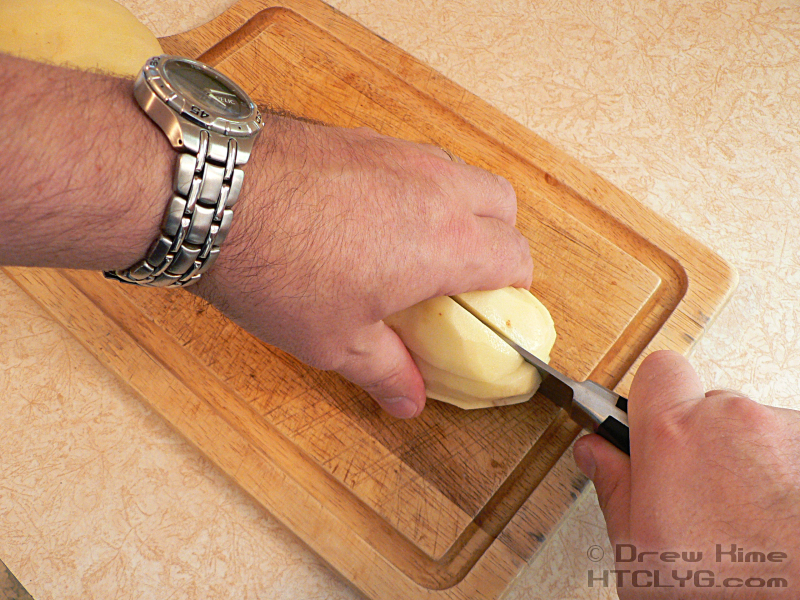
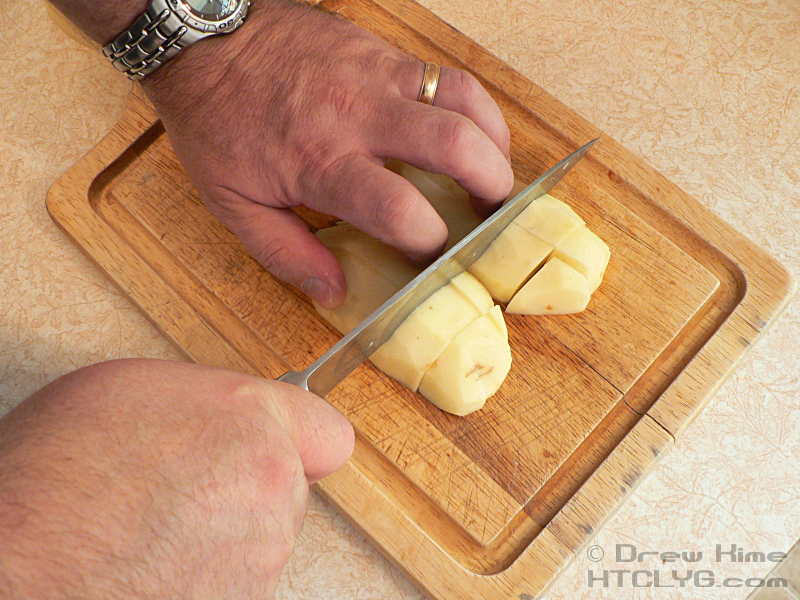
Put the peeled and diced potatoes in a pot of salted water, enough to cover the potatoes by at least an inch.


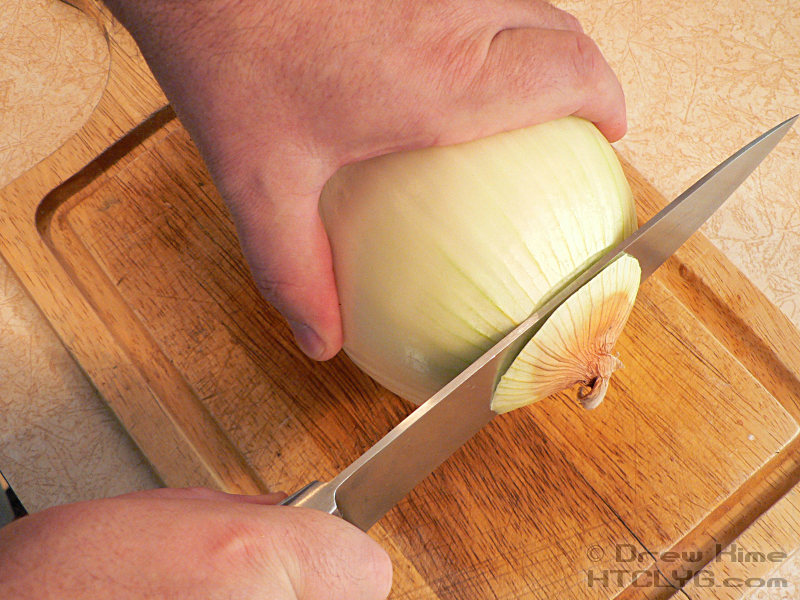
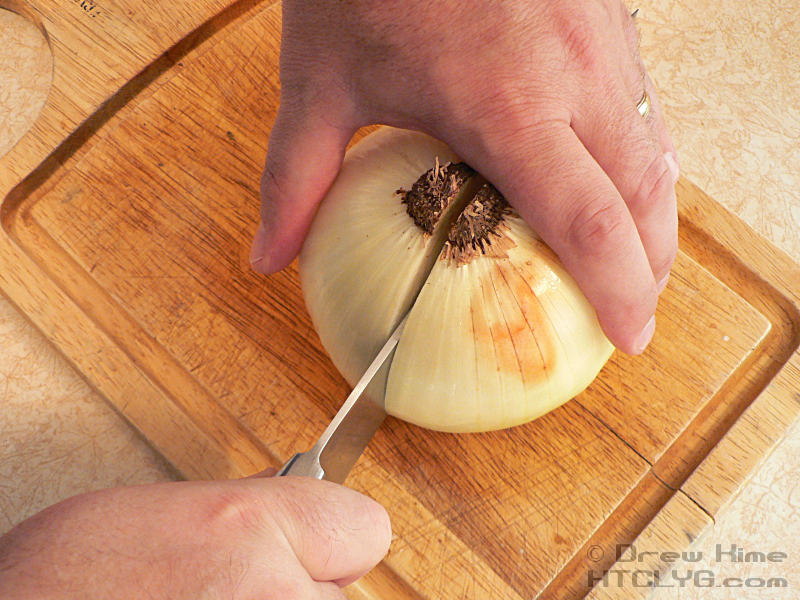
The filling
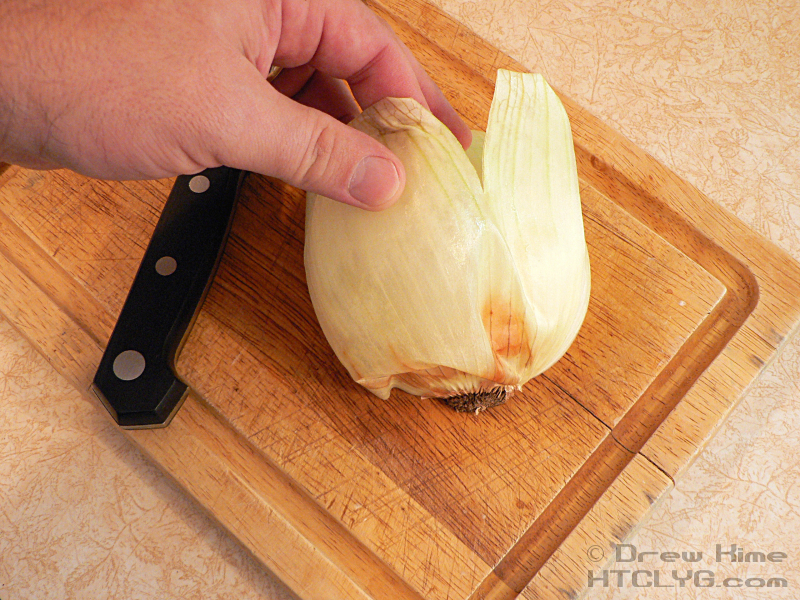
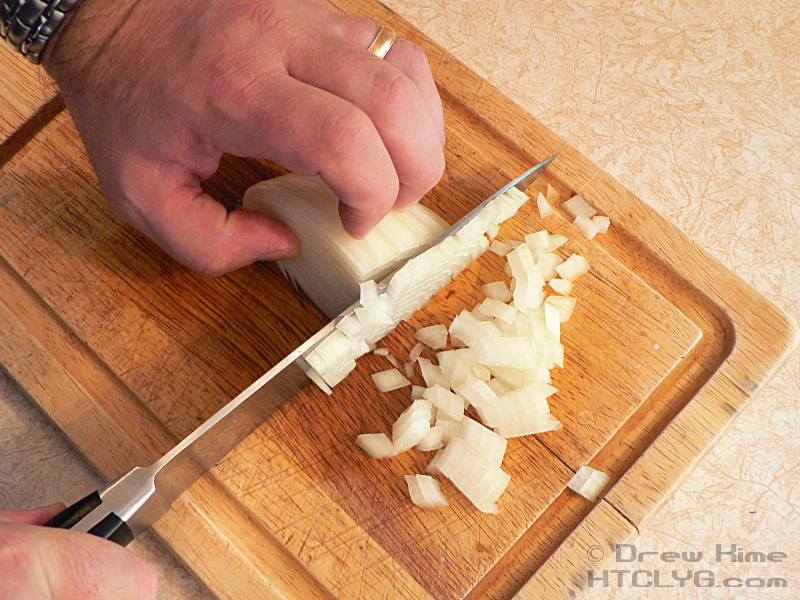
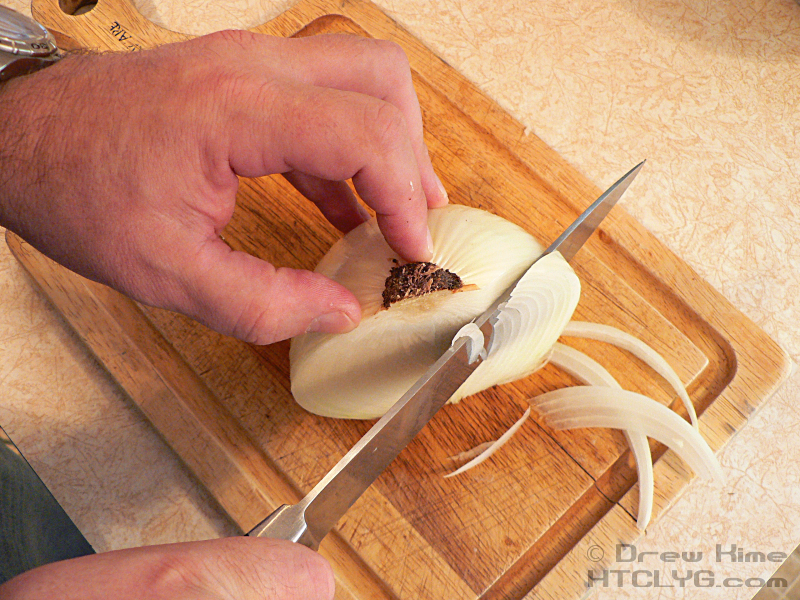
While the potatoes are boiling, prep the onion: Chop the stem end off, cut in half through the root, peel the papery outer layer (or layers) off, and cut one of the halves in half again.
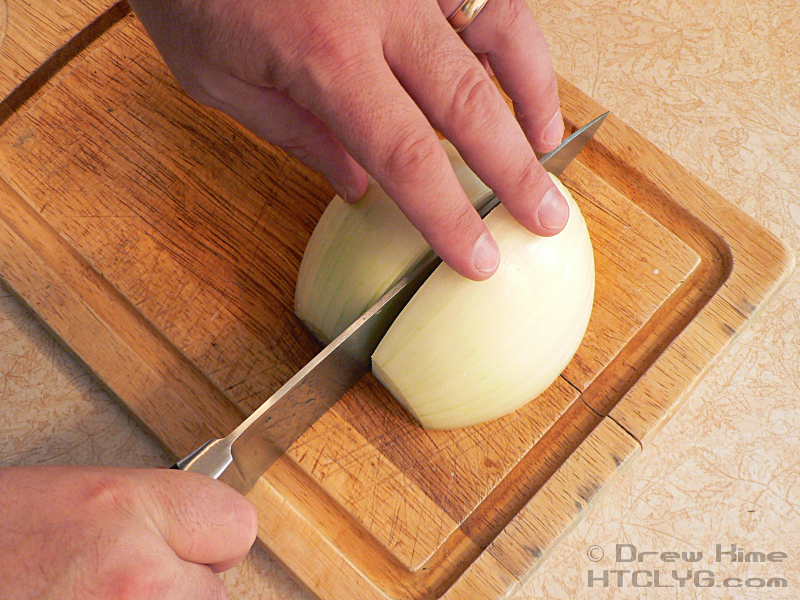
Make vertical slices across the quarter, stopping just short of the root. Then turn 90 degrees and dice all of it.

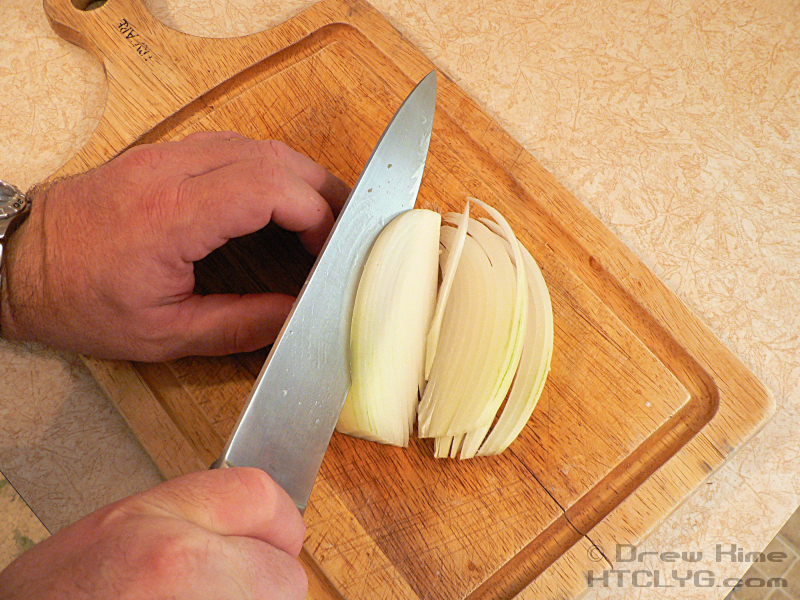
While you’re already working the onion, you might as well shred the rest of it that’s not going in the filling. You can follow that link for the quick way, or do it like I show here, with the root holding everything together. You can lay it on it’s side and turn the knife sideways, or stand it on its end and slice straight down.
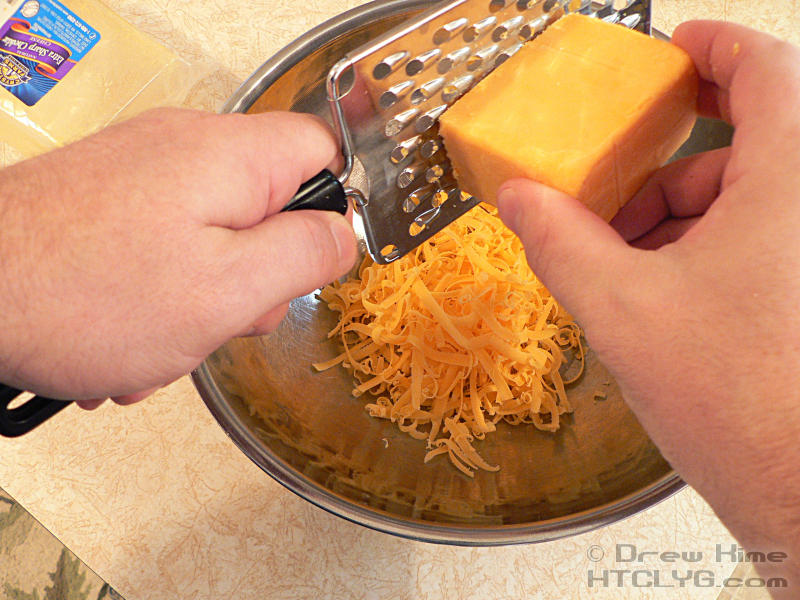
Remember when I said to put the cheese in the freezer? It doesn’t stick to the grater as much if you do it that way. If you bought pre-shredded, go ahead and add that.
Here’s another great gadget we inherited from my wife’s great-aunt: a potato ricer. This thing is super-heavy-duty and will probably last for several more generations. It looks like a giant garlic press, and works exactly the same way. Which is why I should have realized my mistake.

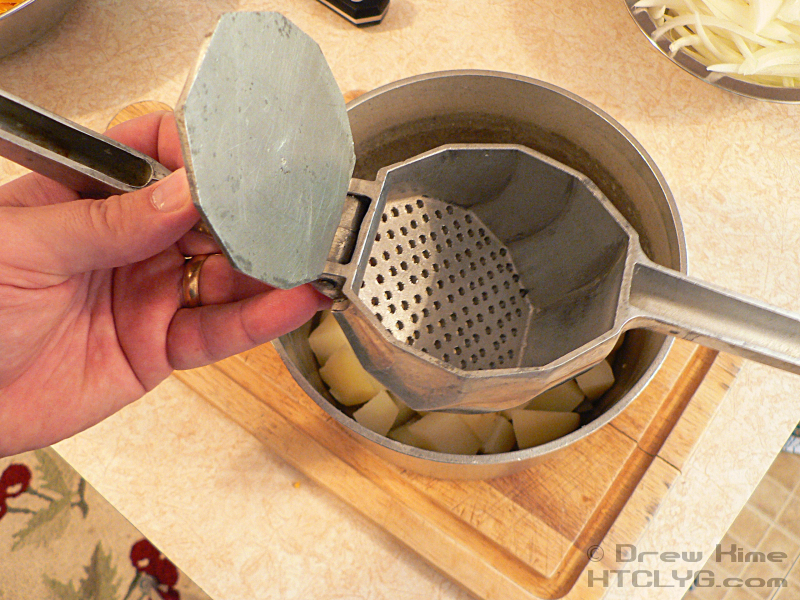
I tried putting some of the diced onion in first, with the cooked potato behind it to push it through. (Oh, drain the potatoes when the largest piece is soft all the way through, about 20 minutes depending on how small you cut them.)
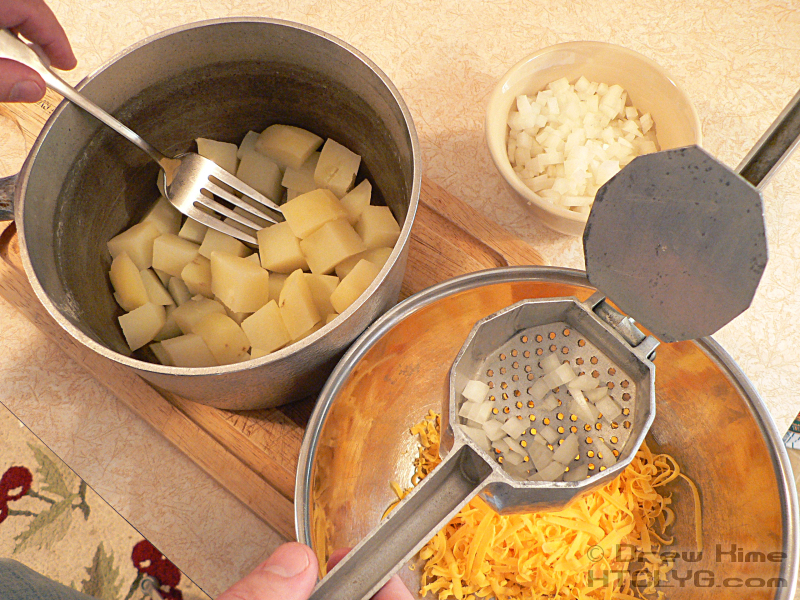
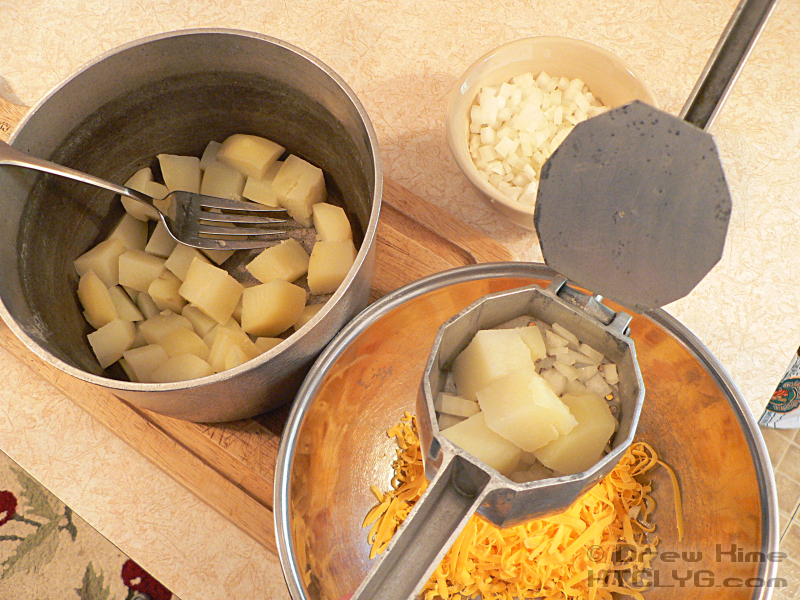
You can see the potato coming through, but the onion really blocked it up. Just like the skin on garlic does to a garlic press if you try not peeling it. If I had thought about what I was doing for two minutes I would have realized that. So anyway … I scooped the onion out and processed the rest of the potatoes.
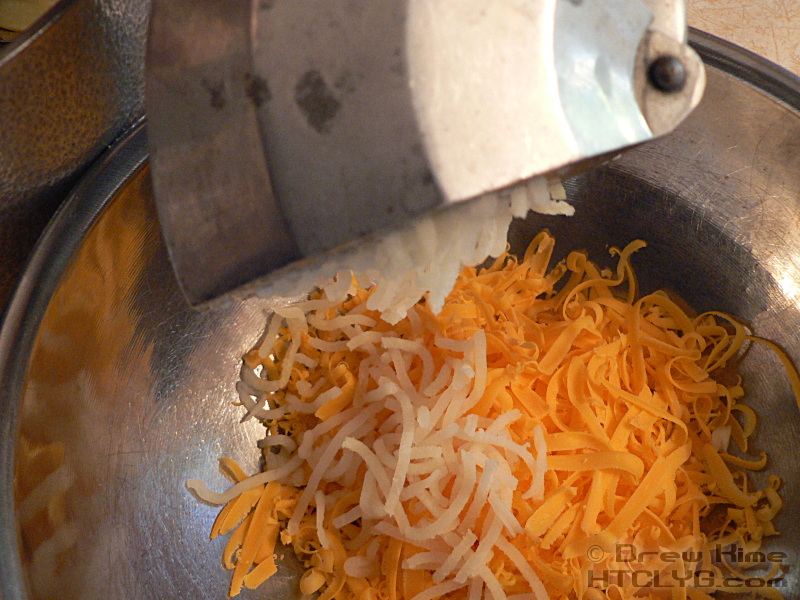
Kind of looks like pasta, doesn’t it? Gives me an idea for something to try later …
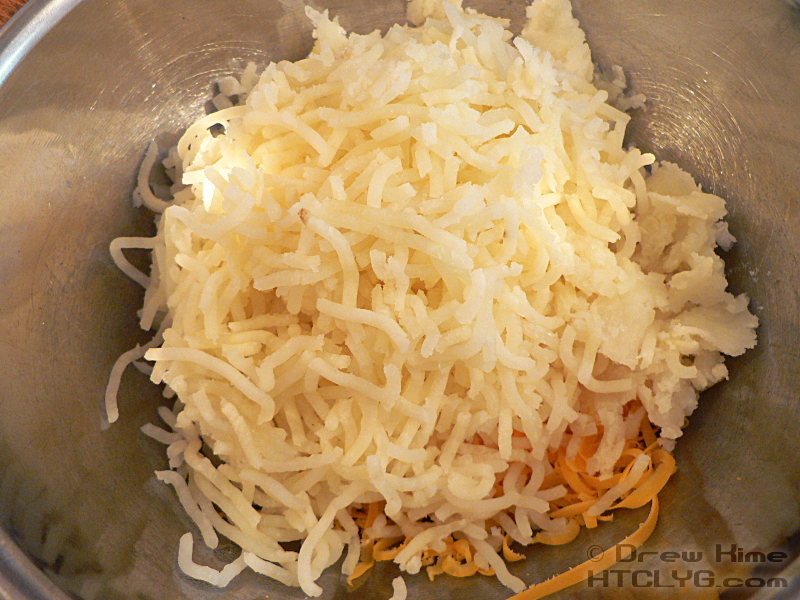
Add the onion and cheese to the potatoes and mix.


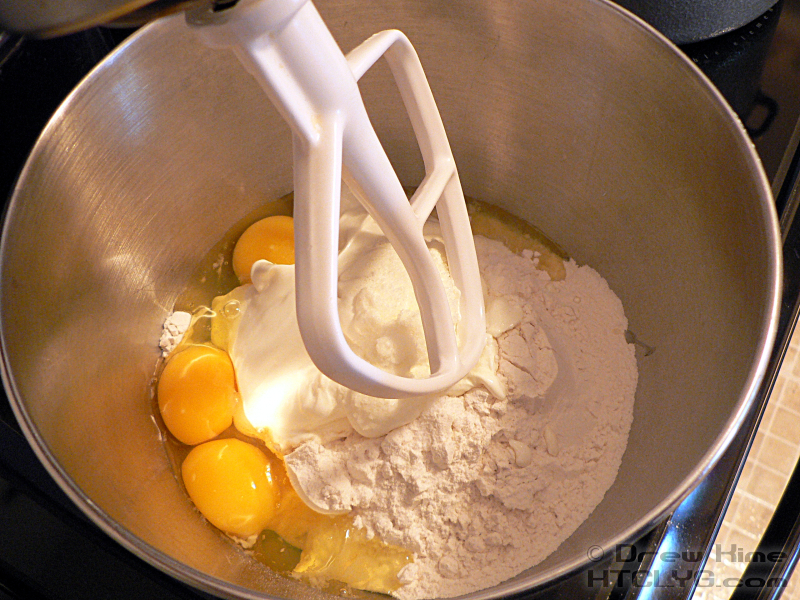
The dough
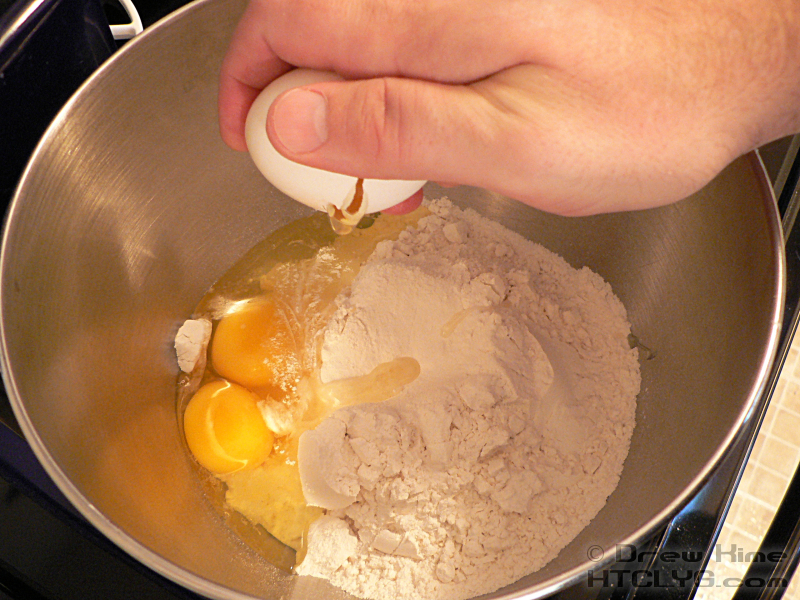
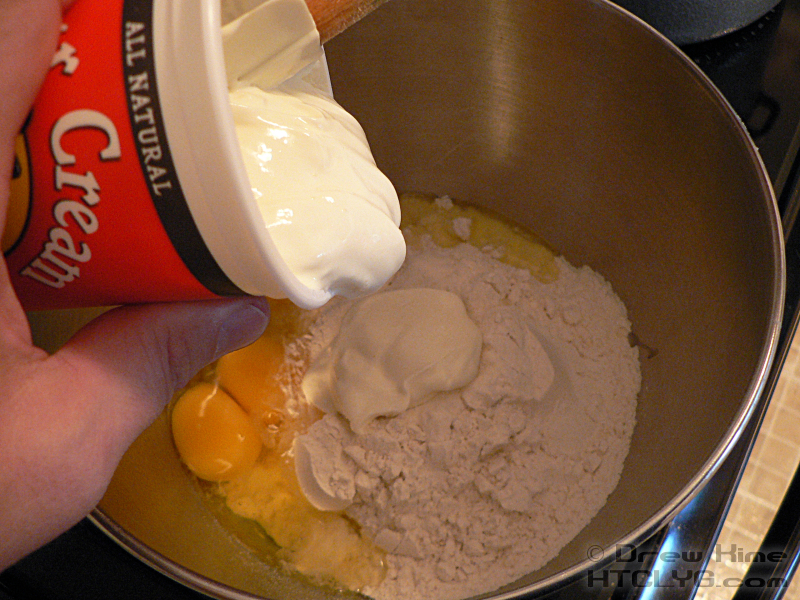
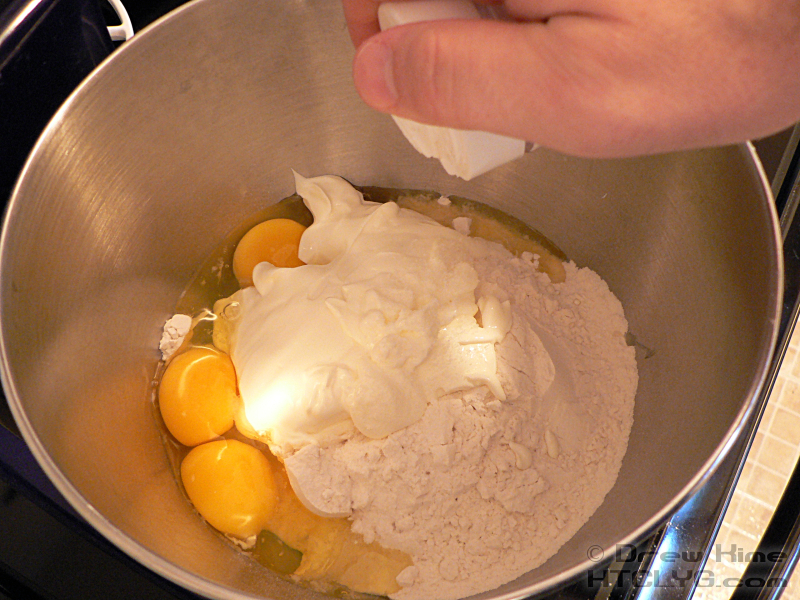
In the bowl of your mixer — if you don’t have a mixer, use any large bowl and God help you doing this big, sticky mess by hand — combine the flour, eggs, sour cream and salt.

Using the beater attachment, mix on low until the flour is mostly incorporated then turn it out onto a floured surface.

Knead the dough by hand until it is a smooth, even consistency.
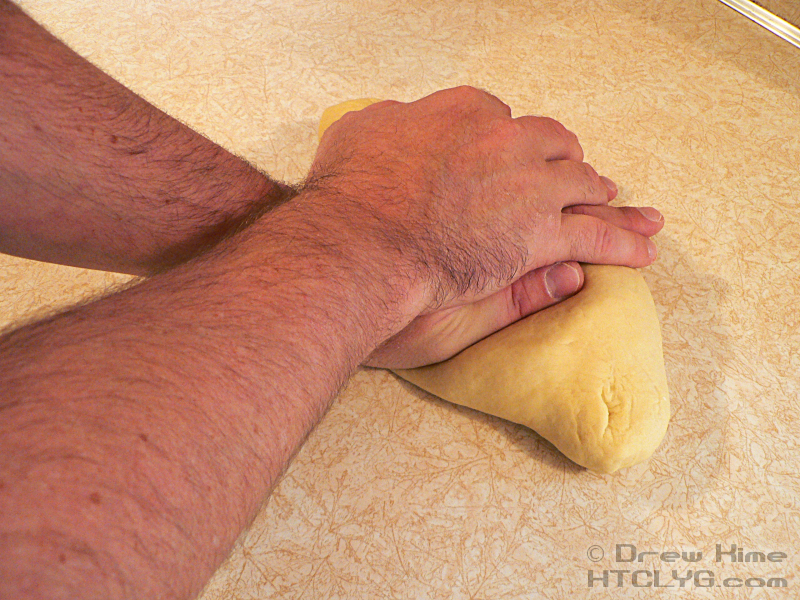
I’ve seen some recipes that call for the dough to be very wet and sticky at this point. I’m more familiar with making Italian style egg pasta, so I may have added a little too much flour. But as hard as the next steps were, I can’t imagine trying to work with something stickier than this. Either way, flour your rolling pin before rolling the dough out.
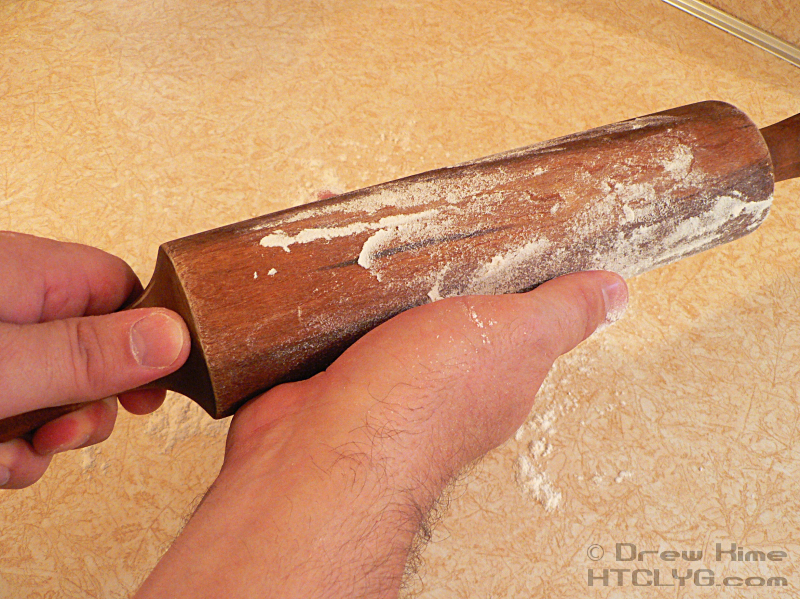
And roll it thinner than you would for a pie crust, less than an eighth-inch thick.

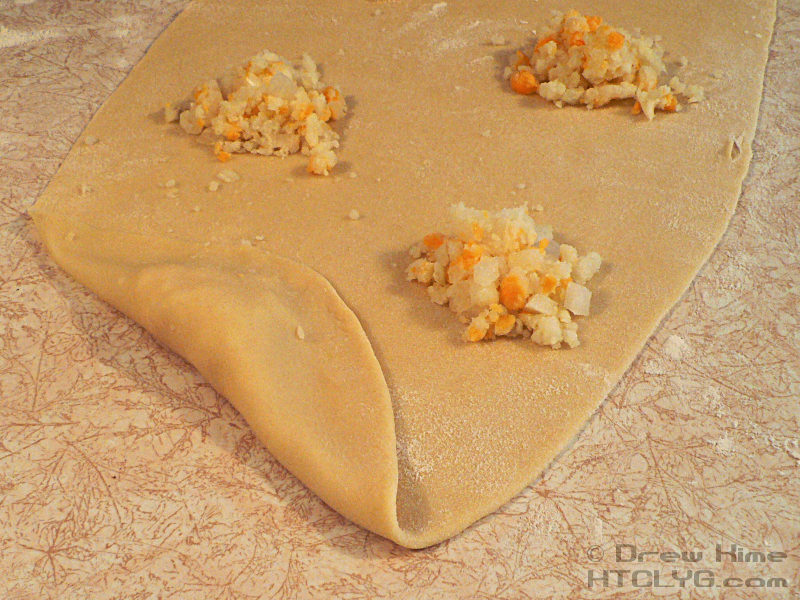
Assembly
Arrange little piles of the filling — about two teaspoons — down the edges of the dough.
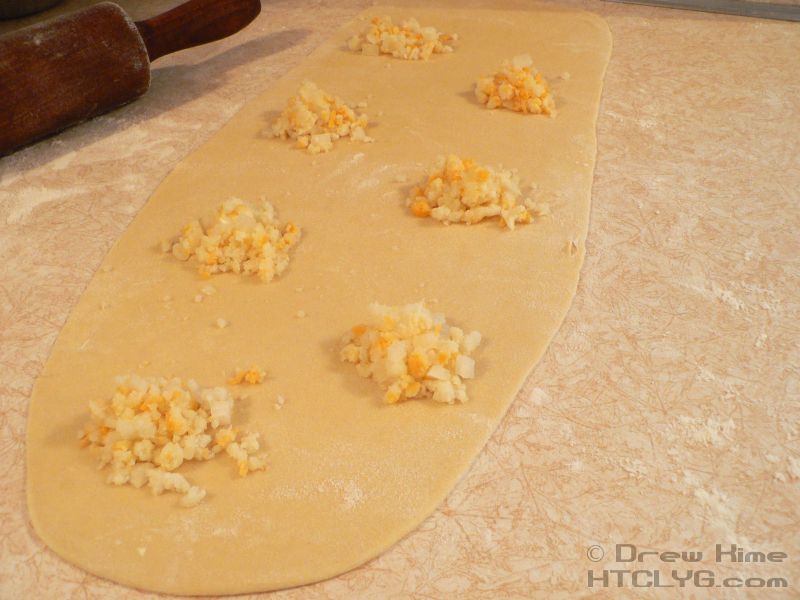
Fold the dough over each little pile and cut a half-moon shape with a cup or coffee mug.
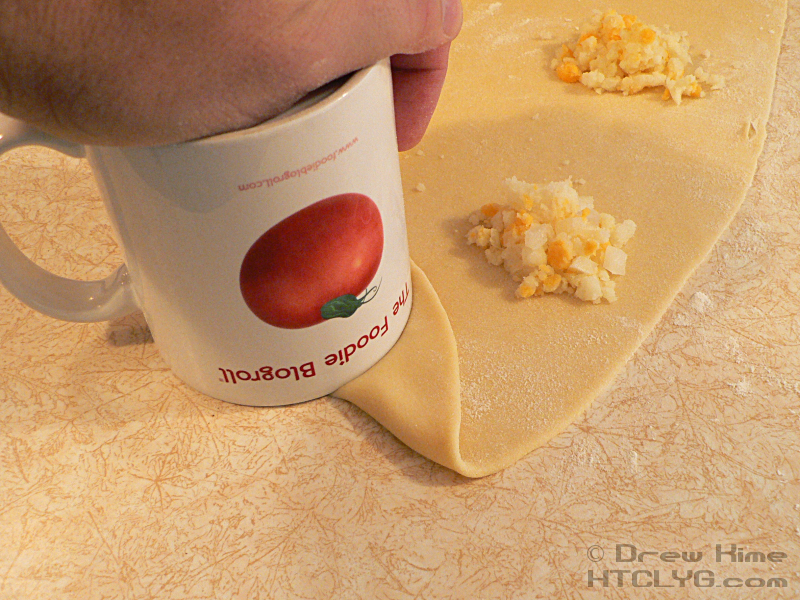
Yes, I’ve got cookie cutters this size. I prefer the mug because the rounded edge mashes the dough together better, forming a seal. The sharp edge on a cookie cutter would slice through without pressing the top and bottom together.
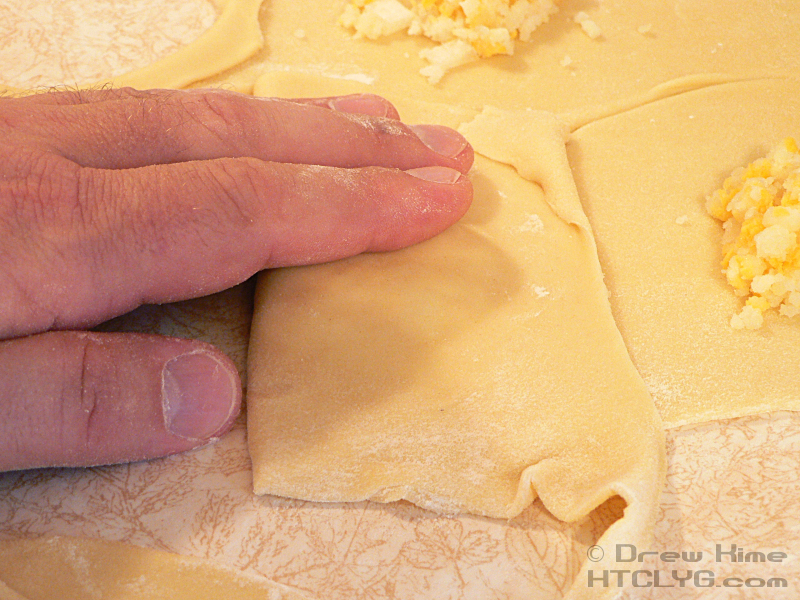
BIG IMPORTANT NOTE!
You want to squeeze as much of the air out as possible before crimping the edges. Press the filling down flat, then work from the edge of the filling outward with your fingertips.
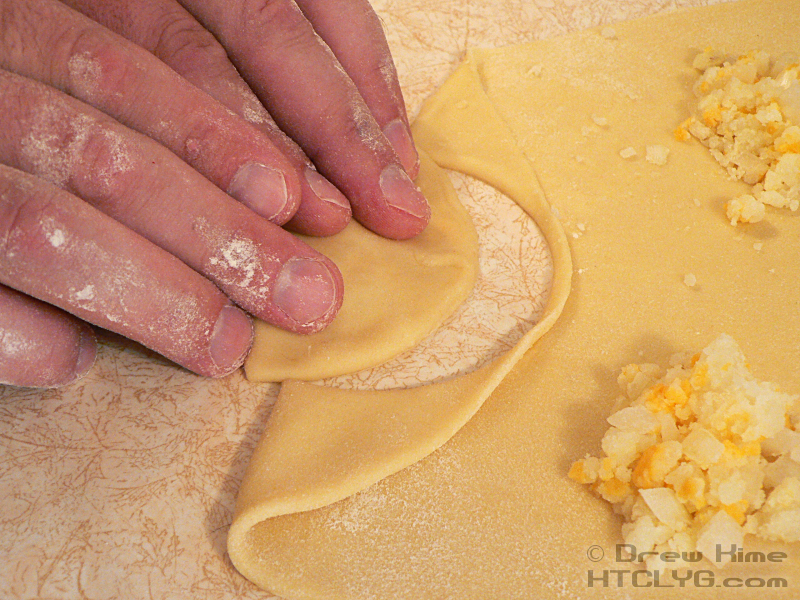
This little pile here took me way too long to make.

Notice how many of them I had to re-fold the edeges and crimp them again by hand. I’m clearly not ready to work at a Polish restaurant. I kept ripping the dough, squeezing the filling out through the edges, trapping big bubbles inside … it wasn’t pretty. Oh, I got it all done, but it took forever. (And that pile there is less than half of what I eventually made.)
Cooking
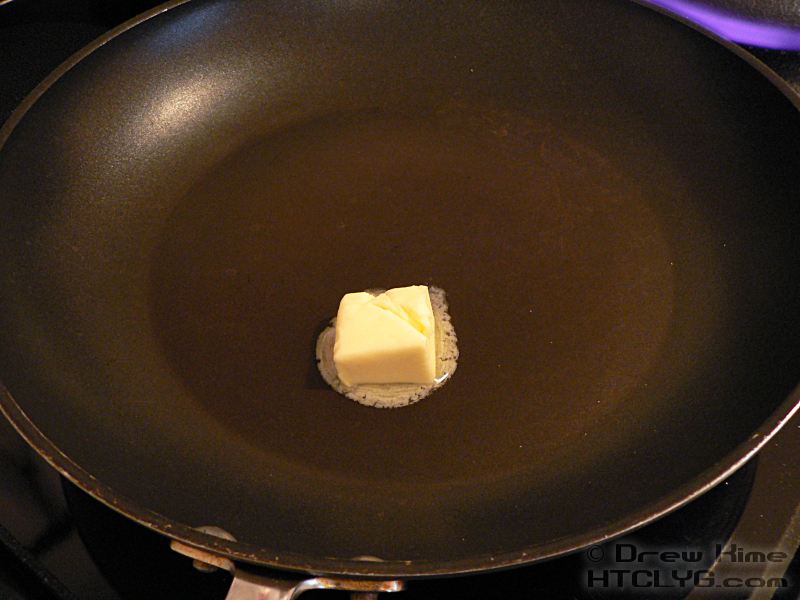
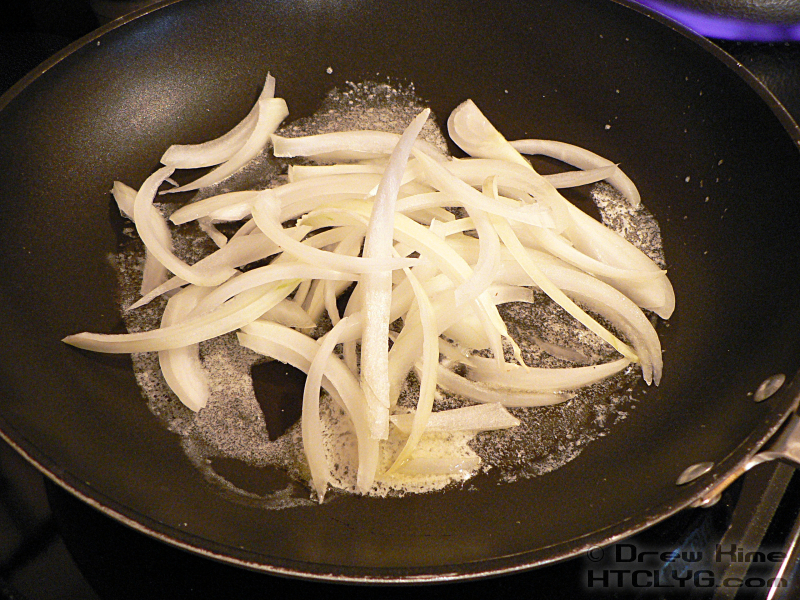
You could just boil them as they are at this point. But the traditional way to serve these is to sauté them in butter with onion. That’s why we shredded the rest of the onion several steps back. Unless you’re working in a restaurant with a giant grill, you’re going to have to work in batches. Melt a couple of tablespoons of butter over medium heat and add a handful of shredded onion.
While that’s going, put as many dumplings (yes, dumplings, that’s technically what you just made) as you can fit in a single layer in boiling water. They’re done as soon as they float, which should be just a couple of minutes.
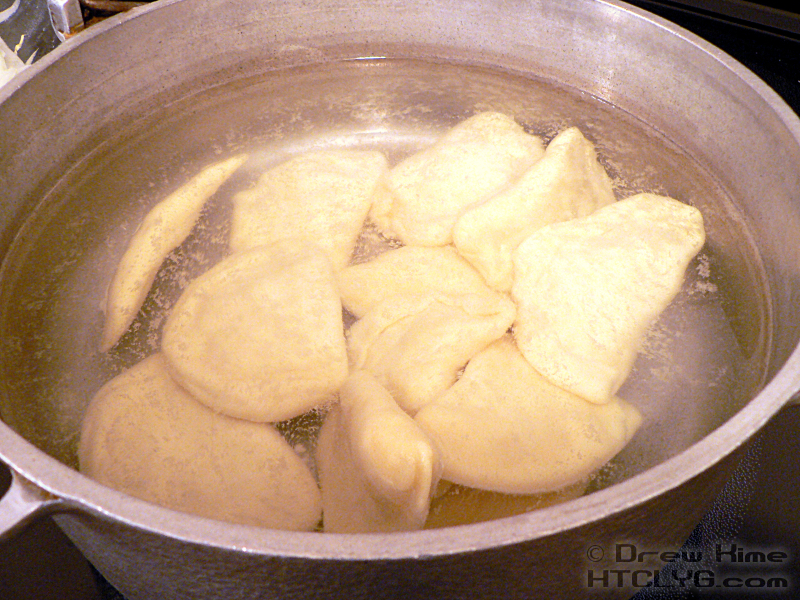
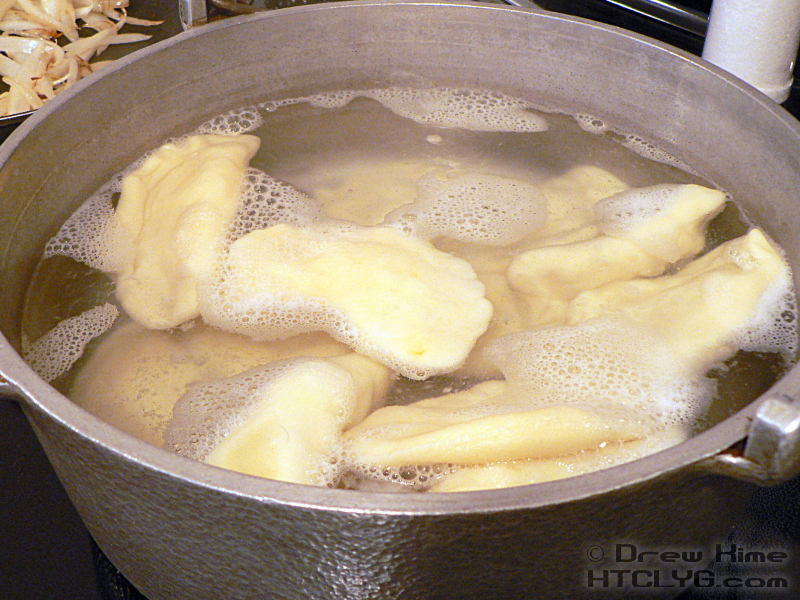
That last step is why you want to get all the air out when you seal them. First, they’ll float as soon as you put them in the water and you won’t know when they’re done. Second, the bubble will expand and your dumpling could pop like a balloon.
Once the dumplings float, add them to the butter and onions and fry until golden brown on both sides.
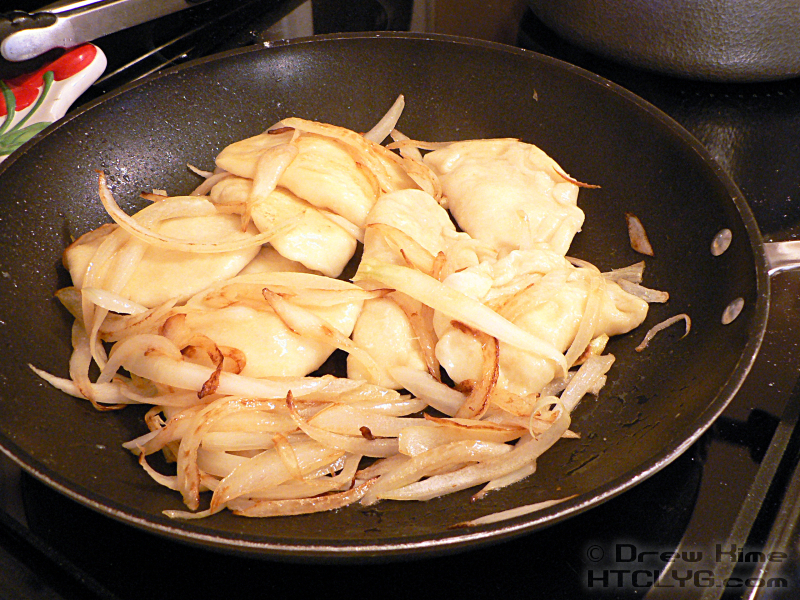
This first batch is pretty lightly fried. Everybody was crowding into the kitchen asking when it was going to be ready, so I pulled these off quick.
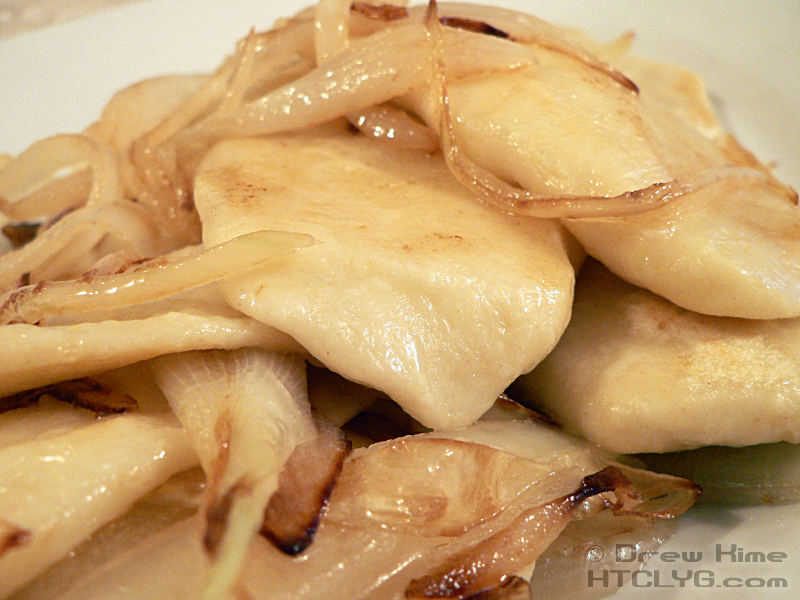
Once the natives were appeased, I did the next batch a bit longer.
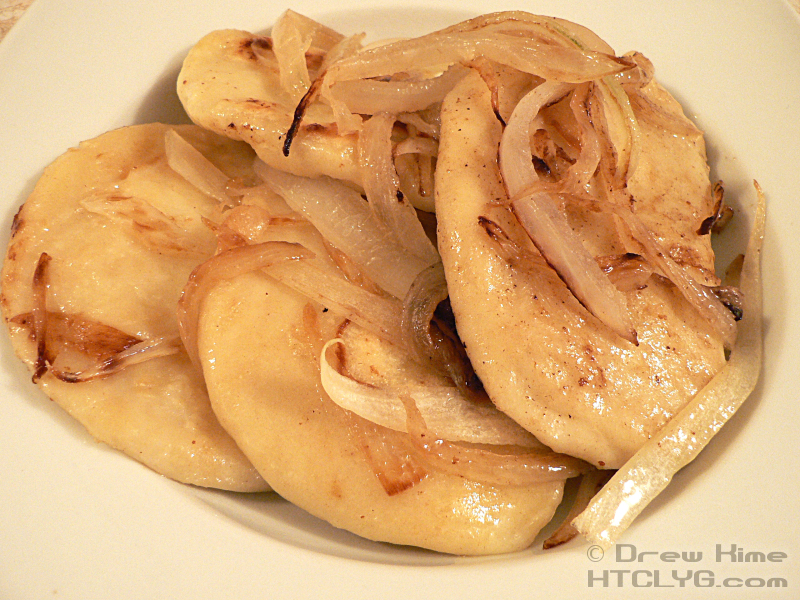
Notice the lovely brown bits on the dough, and the caramelized onions.

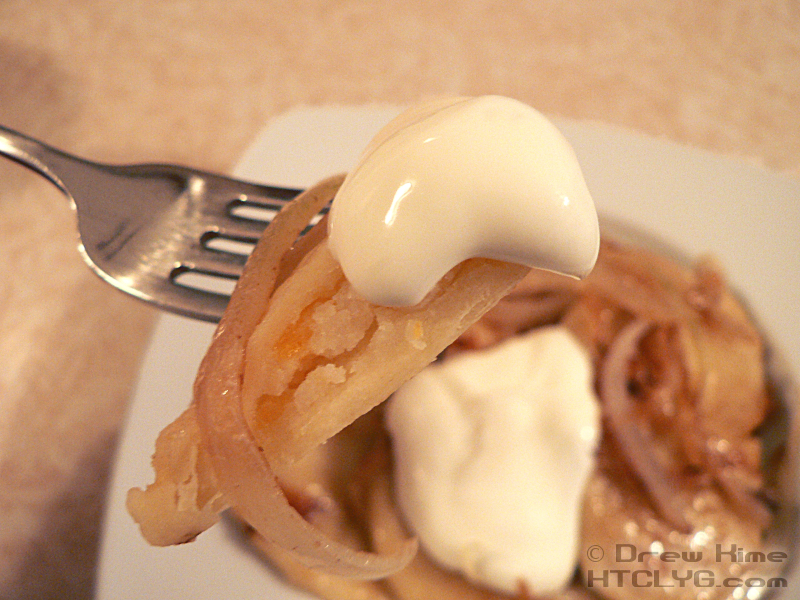
Serve with sour cream.

And that’s it.
When I said this took me too long, I wasn’t kidding. I finally got so sick of rolling and filling and pressing and boiling — this recipe makes enough to serve six normal adults, or a family of four twice — that I took a bit of a shortcut at the end.
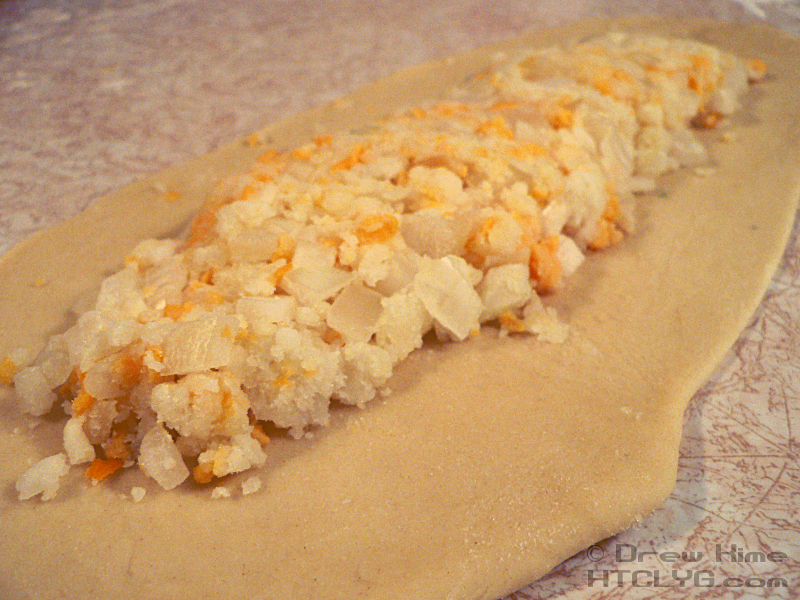
That is what is commonly called “one big-ass pierogi”. (I hope that doesn’t get caught in too many people’s spam filters. Oh well.) I had to fold the ends up to fit in the pot to boil it, and it just fit in the frying pan.
But it worked.
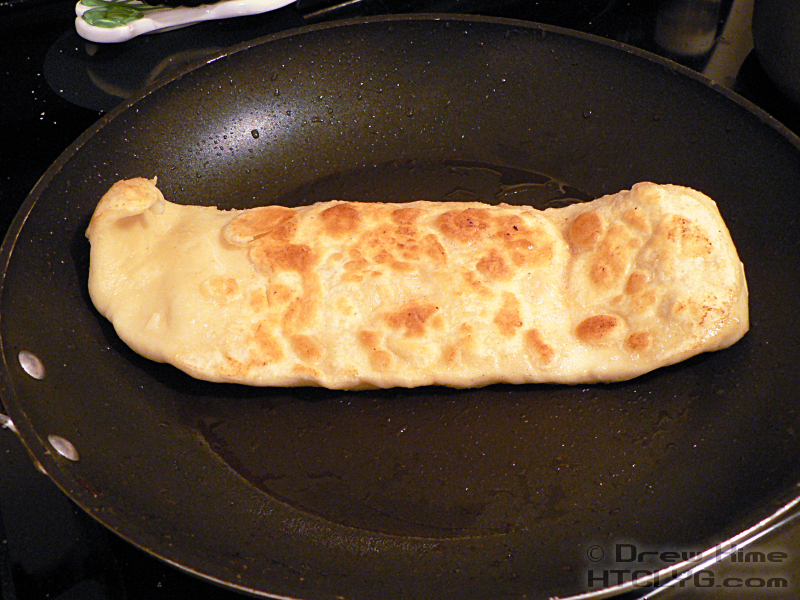
That monster is in my freezer now, waiting to reappear some night as a mutant side dish.
If you know an old Polish woman in the Cleveland area who’d like to show me how to make these things the right way, leave a note in the comments. If I don’t get a lesson, I’m not going to keep knocking myself out trying to teach myself.


